DOSE of Colors Liquid Matte Lipstick Review

I know everyone has been raving about Dose of Colors matte liquid lipsticks, so I had to try them! I’ve been a fan girl of Dose of Colors since last year’s IMATS LA and I’ve been in love with their consistency and pigmentation. Once I found out about their matte liquid lipsticks I couldn’t wait to try them out.

The liquid lipsticks are gorgeous, the packaging is sleek with a transparent frosted casing. The formula is thicker in consistency and the color is INSANE with pigmentation that lasts all day. 
 

These lipsticks are opaque and don’t really sheer out when applied. But for lipstick security I like to make sure that my lips are lined with either a neutral lip liner or a similar colored lip liner. This ensures a cleaner edge and helps to prevent the color from feathering onto the rest of my skin. 

The only real cons I have with this lipstick is that if you apply too much product, it will cause your lips to feel dry and uncomfortable. Although, I know that all matte lipsticks have this same issue, I think it’s worth mentioning here. Also, because the lipstick is long lasting, it took a long time for me to remove the stain with a makeup wipe. An oil based makeup remover is your best bet when removing the lipstick to avoid constant scrubbing. 

Overall, I really enjoy these lipsticks, the photos I took aren't very true to color and I'm not sure if it's because of my camera or the lighting, but the colors are so rich and bold in real life. I can tell that these lip colors will be used in rotation because a little bold lip ain't never hurt nobody ;)

IMATS LA Recap & Haul Snapshot

Oh IMATS.... Ever year, I look forward to celebrating my makeup obsessions with the rest of the makeup loving community! Every blogger, Youtube star and beauty enthusiast was in attendance, and there's nothing better than to be in a room surrounded by your peers. My best friends/cousins accompany me and make this trip more of an experience than a haul, and I love them to death for geeking out with me every single year. We've attended IMATS for the past 6 years and every year I get excited and almost sick from anticipation :)

My goal for IMATS was lipstick, lipstick and more lipstick :) I've been a FAN of Dose of Colors for a while and I was in NEED of their matte lipsticks and a few of their highlighters. I also wanted to try a few of Anastasia Beverly Hills Liquid Lipsticks because i've only heard amazing things in terms of their pigmentation and staying power. And we cannot forget about OCC Lip Tars! Every year I buy a small stack of OCC lip tars and this year, I went for bold, beautiful, FUN colors!

I honestly think I walked out of IMATS with more lipstick than I really NEED. But-- it was totally worth it :)

IMATS LA Haul Snap shot:

INGLOT - Every year I create a palette, this year was all about the blushes 
RCMA - Translucent Powder and 1 cheek color palette
Lady Voss - Red Cherry Eyelashes & LA Girl glazed liquid lip paints
Lady Moss - KOKO Lashes 
NYX -  Angel Veil, Illuminator, baked blushes, HD cream concealers, Mascara, lipsticks, liquid eyeliners & lip liners
Z Palette - IMATS ran out of black z palettes, but the white was was just as gorgeous! I cant wait to depot :)
Stila - Cream Perfecting Concealers: C, D, J. L
OCC - Lip tars in Rx, Banjee, Strumpet, Sebastian, Beta, Authentic
Anastasia Beverly Hills - Liquid Lipsticks in Pure Hollywood & Carina
Dose of Colors - Liquid Lipsticks in Black Rose, Purple Rain, Berry Me, Merlot. Lipsticks: Soft Touch, Poise. Highlighters: Peach Glow & Sunkissed
Embryolisse - Lait Creme
Cinema Secrets - Brush Cleanser, Moisture Spray, Super Sealer

Yep.. It's almost as if I lose all sense of reality when i walk through the doors of IMATS :)

MOTD:

FACE:
Makeup Forever HD Foundation - 153
MAC Concealer - NC 42, NC 36
Contour - INGLOT freedom System cream concealer - DW 200
Ben Nye - Banana Powder
Sephora Microsmooth Baked Foundation Powder – Tan
Anastasia Contour - Espresso
MAC Blush - Stereo Rose
Hourglass Ambient Lighting Powder - Radiant Light
The Balm - Betty Lou Manizer


EYES:
MAC e/s: Espresso, Brun, Brulee
Naked 2 Palette: Booty Call, Half Baked
MUFE: Liquid Eyeliner 
Anastasia Dip Brow Pomade 

Eyelashes - Ardell Glamour - 122
Urban Decay Eyeliner - Perversion

Lips:
NYX - Maison Matte Lipstick
MAC - Viva Glam Rihanna

And that's it! Enjoy more photos in the gallery below :) 

Seafoam Shadow

Recently i've in love with doubling up on lashes! Lashes always bring out your eyes and double stacking lashes brighten up your eyes that much more. For details I've listed everything i used, below. 

Eyes:
E/S Lorac - Sepia, Espresso
Mac – Steamy, Ricepaper
Brows – Anastasia Beverly Hills Dip Brow – Dark Brown
Liner – Makeup Forever Cream Eyeliner

Face:
Youngblood Liquid Mineral Foundation - Caribbean
Sephora Microsmooth Baked Foundation Powder – Tan
Concealer – Mac NC30, NC 35
Bronzer  Anastasia Beverly Hills Java
Highlighter  Anastasia Beverly Hills Champagne
Blush  MAC Briar Rose Beauty Powder

Lips:
MAC  Etcetera lipliner
NYX  Tiramisu Lipgloss

GLITTERRRR LIIPPPPPSSSSSS! :) With this storm here in the Bay Area, I figure I'd have some fun with glitter! I have a few stacks of NYX Cosmetics and instead of applying the glitter as an eyeshadow, I used it as a lipstick. Fun right? As an adhesive i used Gorgeous cosmetics Glitz Fix on top of my lipstick to catch the glitter. for Lippy details I listed the products used below.

Lips:
Urban Decay 24/7 Eyeliner - Perversion
MAC lipstick- Cyber
Gorgeous Cosmetics - Glitz Fix
NYX Glitter on the go - Glam Gold 

Soft & Sweet

Every year I look forward to watching the Victoria Secret Fashion show. The models are gorgeous and its just an overall entertaining show! I’ve had a girl crush on Adriana Lima since I was 15 and I don’t see it ever ending. I’ve always loved how each model looked like a bronzed goddess, but I saw a few photos from this years fashion show in London, and the models went heavy on the highlighters and soft on the eyes and lips. So to show my excitement, I’ve recreated the look here. Also, as a disclaimer, I in no way think I look like a Victoria Secret model, I just like they way their makeup looks :) For anyone interested in the details, I’ve listed the products used below.

Eyes:
E/S Urban Decay: Drink Me-Eat Me, Wonderland, Mad Hatter
Mac – Ricepaper
Brows – Anastasia Beverly Hills Dip Brow – Dark Brown
Liner – Makeup Forever Cream Eyeliner

Face:
Youngblood Liquid Mineral Foundation - Caribbean
Sephora Microsmooth Baked Foundation Powder – Tan
Concealer – Mac NC30, NC 35
Bronzer  Anastasia Beverly Hills Java
Highlighter  Anastasia Beverly Hills Champagne
Blush  MAC Briar Rose Beauty Powder

Lips:
MAC  Etcetera lipliner
MAC  Viva Glam V
NYX  Glam lipgloss VIP

Smokey Eyes for the Holidays

DSC_2285.JPG

Thanksgiving is over and now my pants don't fit like they used to :) But I put up a few lights around the house to make me feel better and now I'm planning on makeup looks for the holidays. You can never go wrong with a smokey eye right? I used MAC’s Plumage to get this look down with a few colors from my LORAC Pro Mega palette. For anyone interested in the products used I’ve listed them below.

Eyes:
MAC: Plumage, Rice paper
LORAC: Khaki, Sepia
NYX Skinny Pen Eyeliner
Anastasia Beverly Hills Dipbrow Pomade – Dark Brown

Face:
Youngblood Liquid Mineral Foundation - Caribbean
Sephora Microsmooth Baked Foundation Powder – Tan
Cover FX Cream Concealer – Medium
Bronzer – MAC Blunt
Blush – MAC Coppertone

Lips
MAC Lip Pencil – Boldly Bare
NYX Cream Lipgloss - Tiramisu

Gold Glitters and Gray Lips

I'm seeing a lot of trends going around this season and I am loving Gray lips on everybody! Just in time for for Thanksgiving, I figured I could pair my grey lips with my NYX Glitter on the go (Finally!). For the glitter, I used Gorgeous Cosmetics Glitz Fix to apply the glitter and I love the way the product holds glitter (New Fave!). The look turned out great and I LOVE the neutral coloring of the entire look. One of the only other grey toned Lipsticks that I own is MAC's 5N and to help give the lipstick more of a Gray-er undertone, I took my L'Oreal Extra Intense Pencil Eyeliner in Gray and used it as a lipliner and lined my entire lip with the eyeliner. Fun right? For those interested in the products used, i've listed them below.

Eyes:
LORAC - Camel, Sepia, Wisteria, Cream
Gorgeous Cosmetics - Glitz Fix
NYX Glitter on the go - Glam Gold
Makeup Forever - Cream eyeliner
Brows: Anastasia Beverly Hills Dip Brow - Dark Brown

Face:
Makeup Forever HD - 153
Makeup Forever HD translucent powder
Hourglass Ambient Light Powder- Diffused Light
MAC - Blunt Bronzer
NARS - Orgasm Blush

Lips:
L'Oreal Extra Intense Pencil Eyeliner - Gray
MAC - 5N

<3 <3 HAPPY THANKSGIVING <3 <3 

The SolSisters & Glide Revival - My Reflections

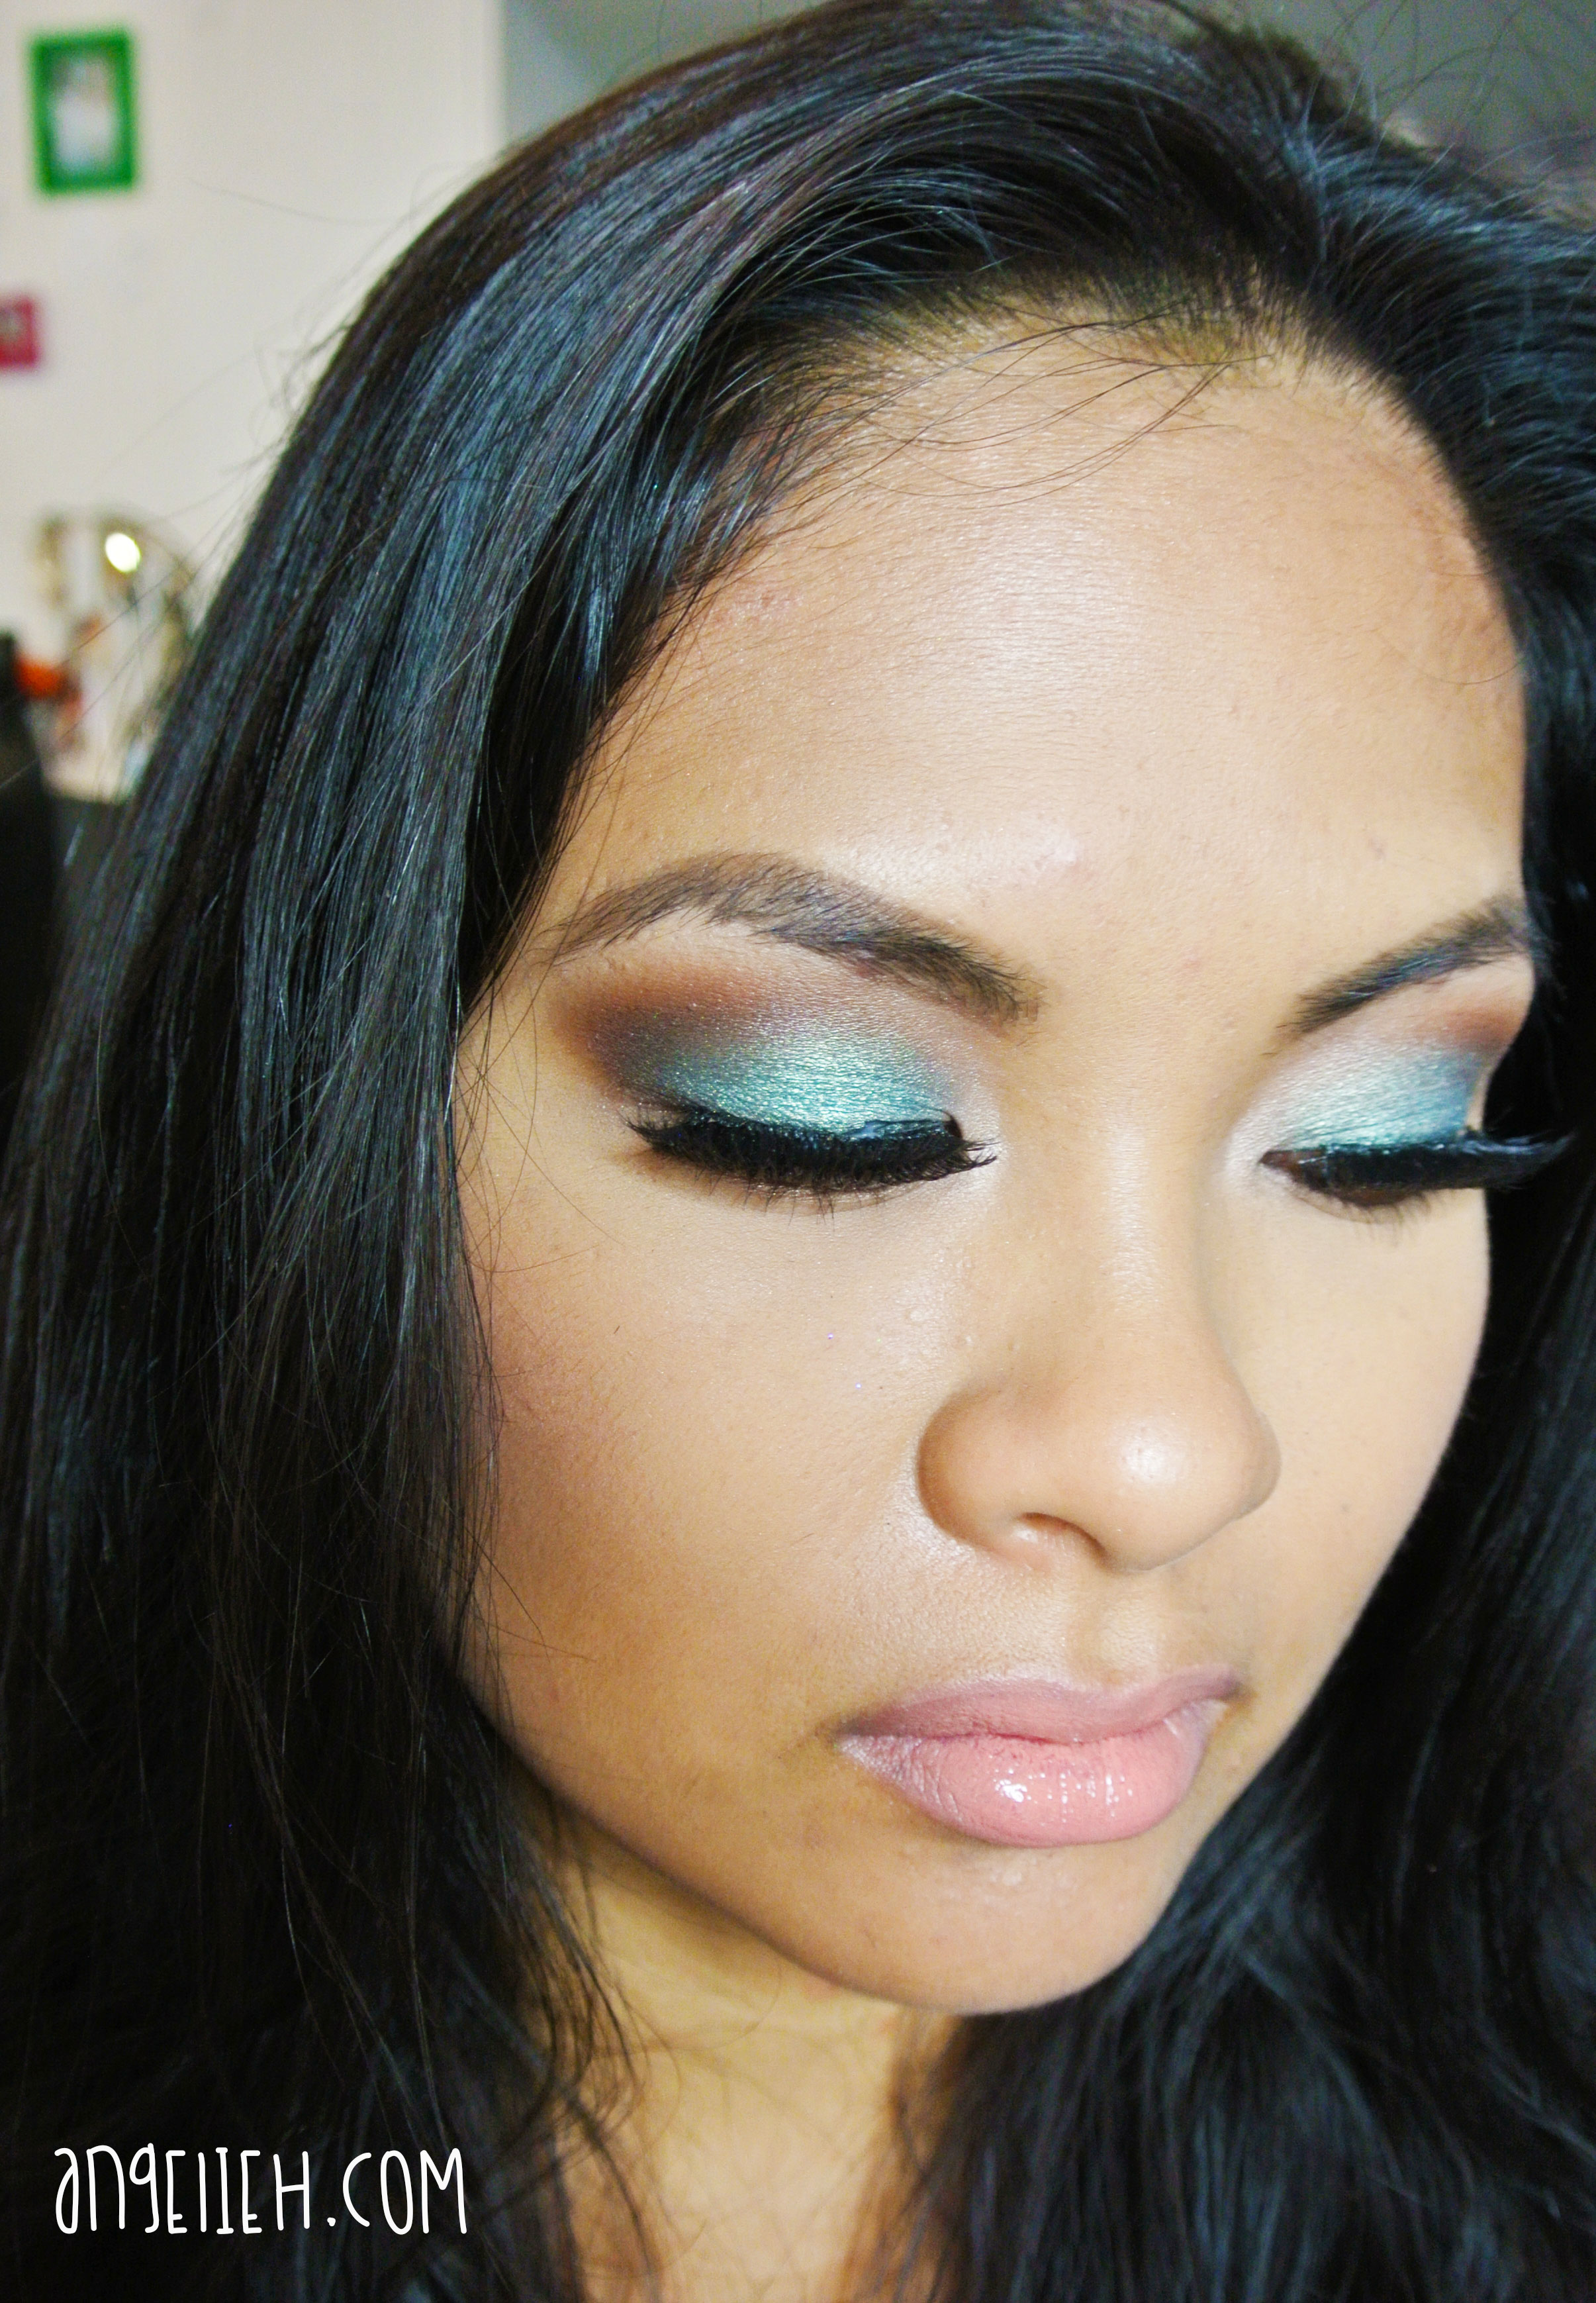
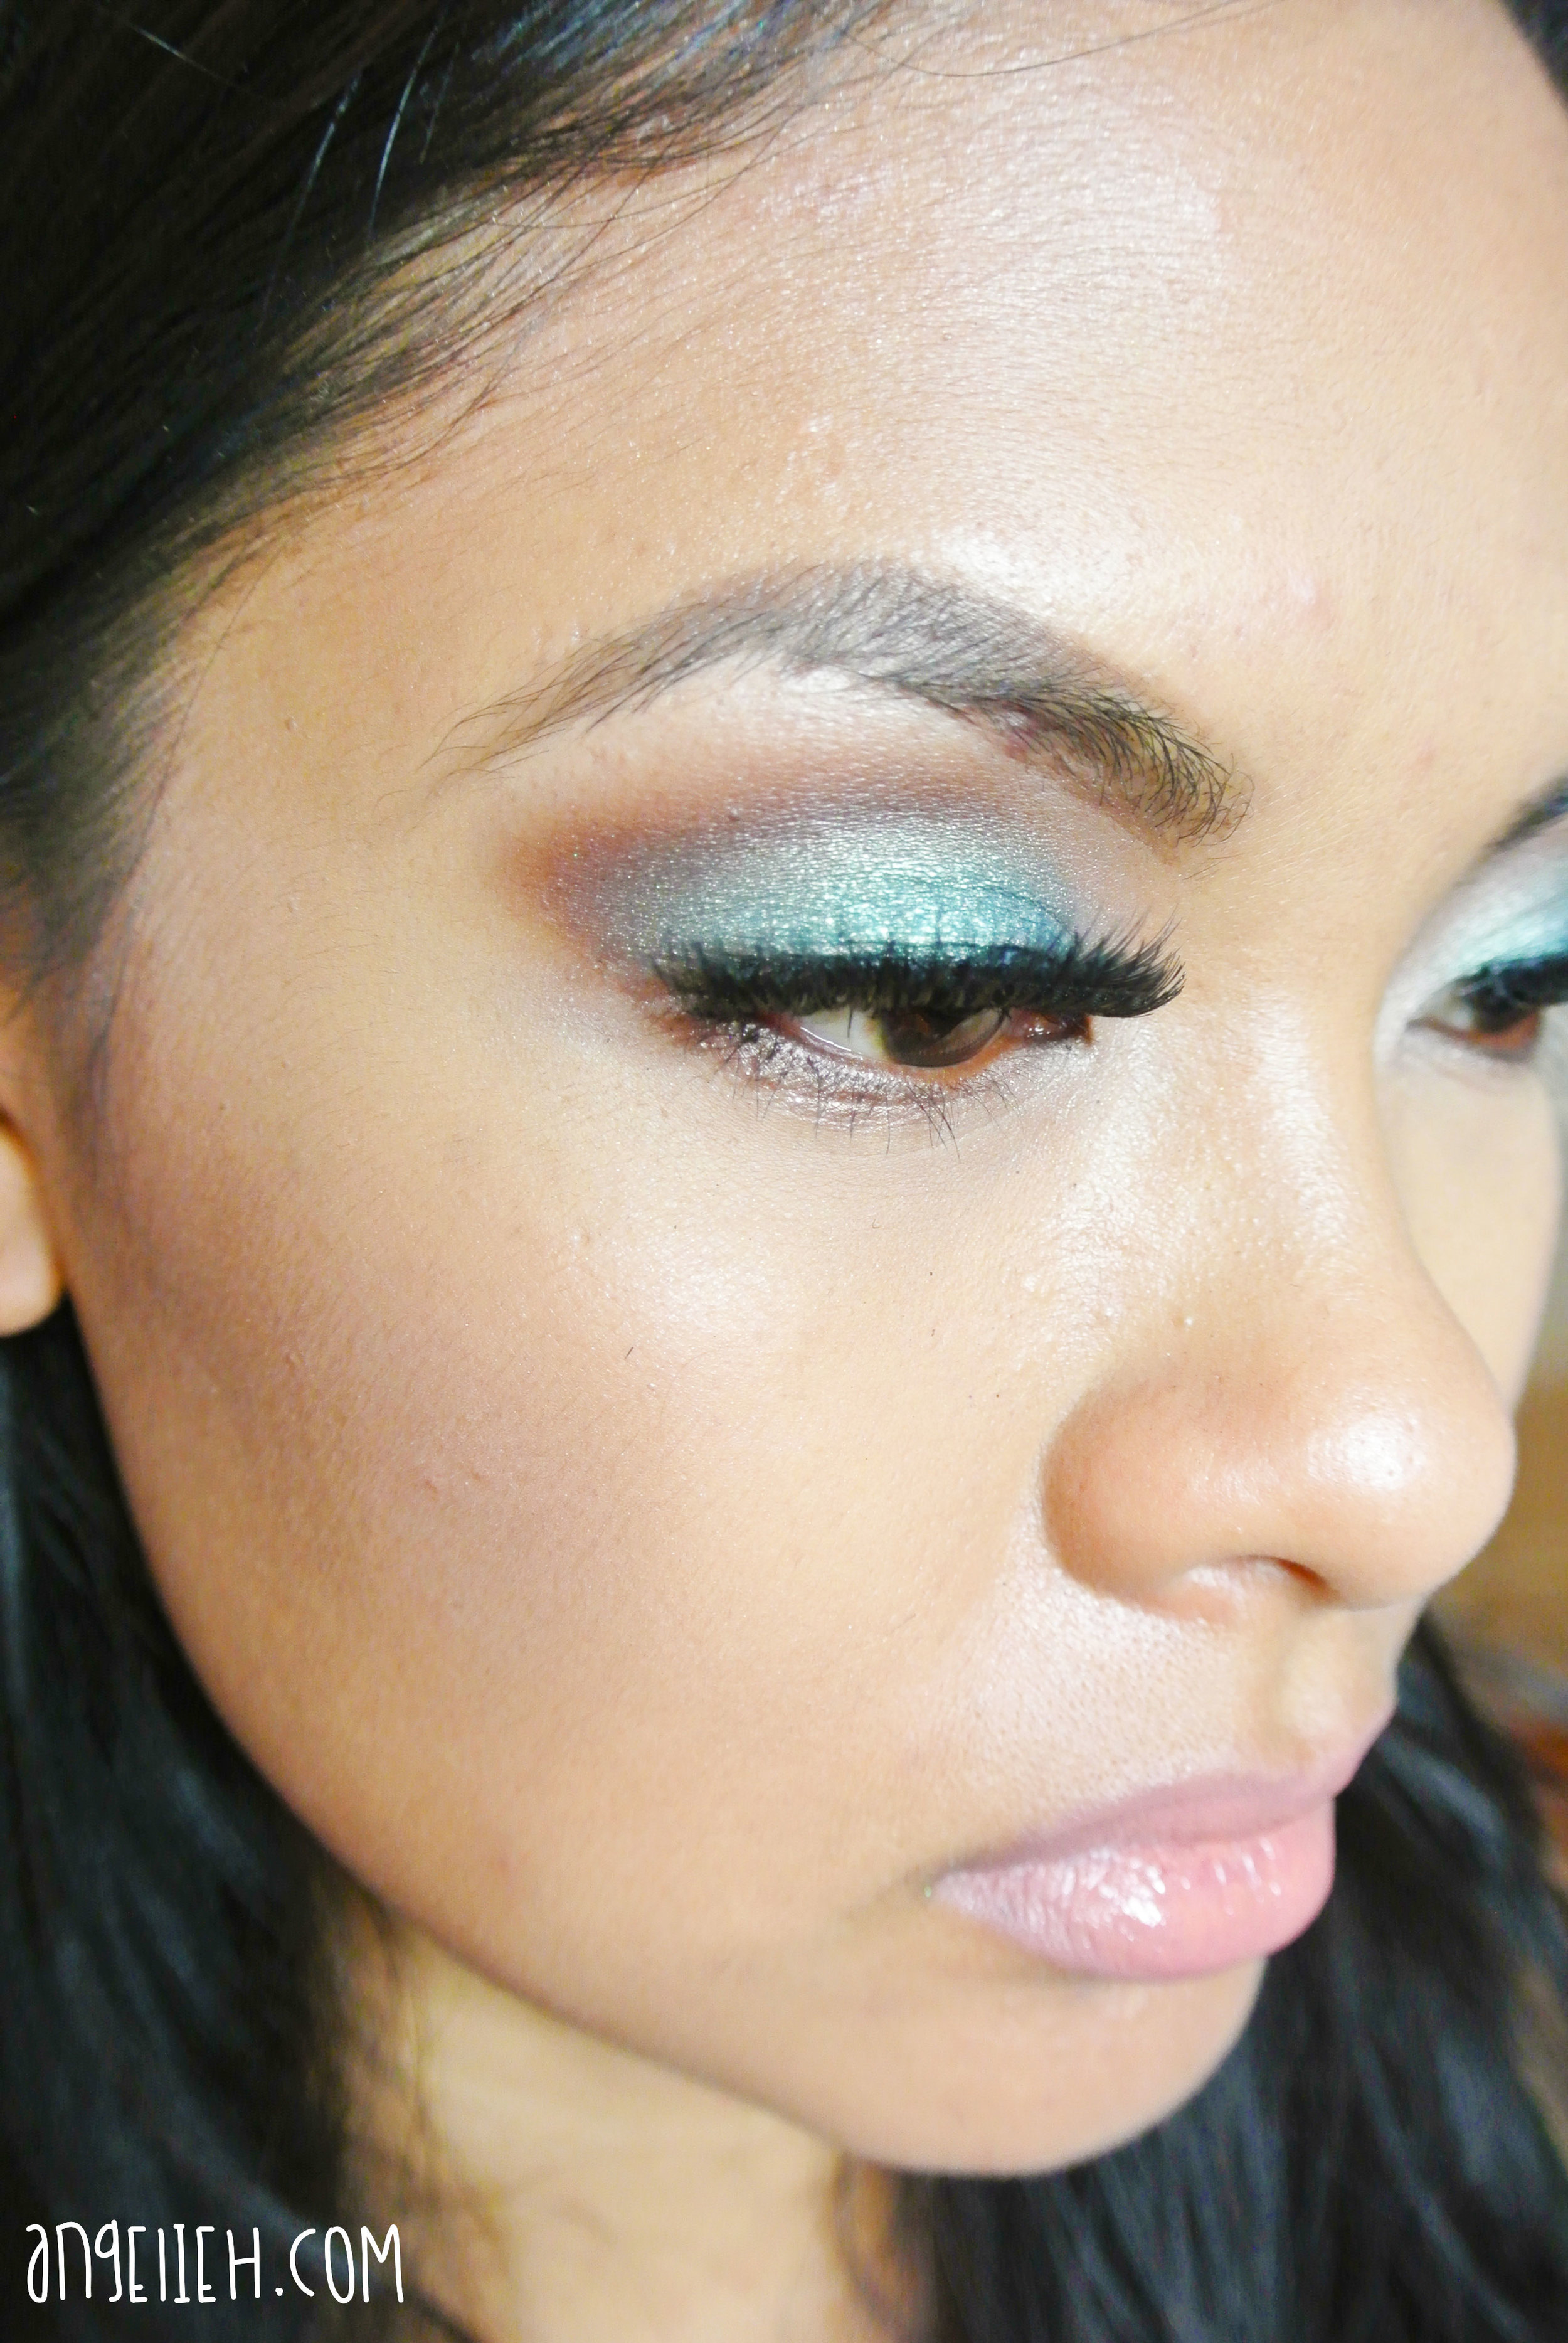
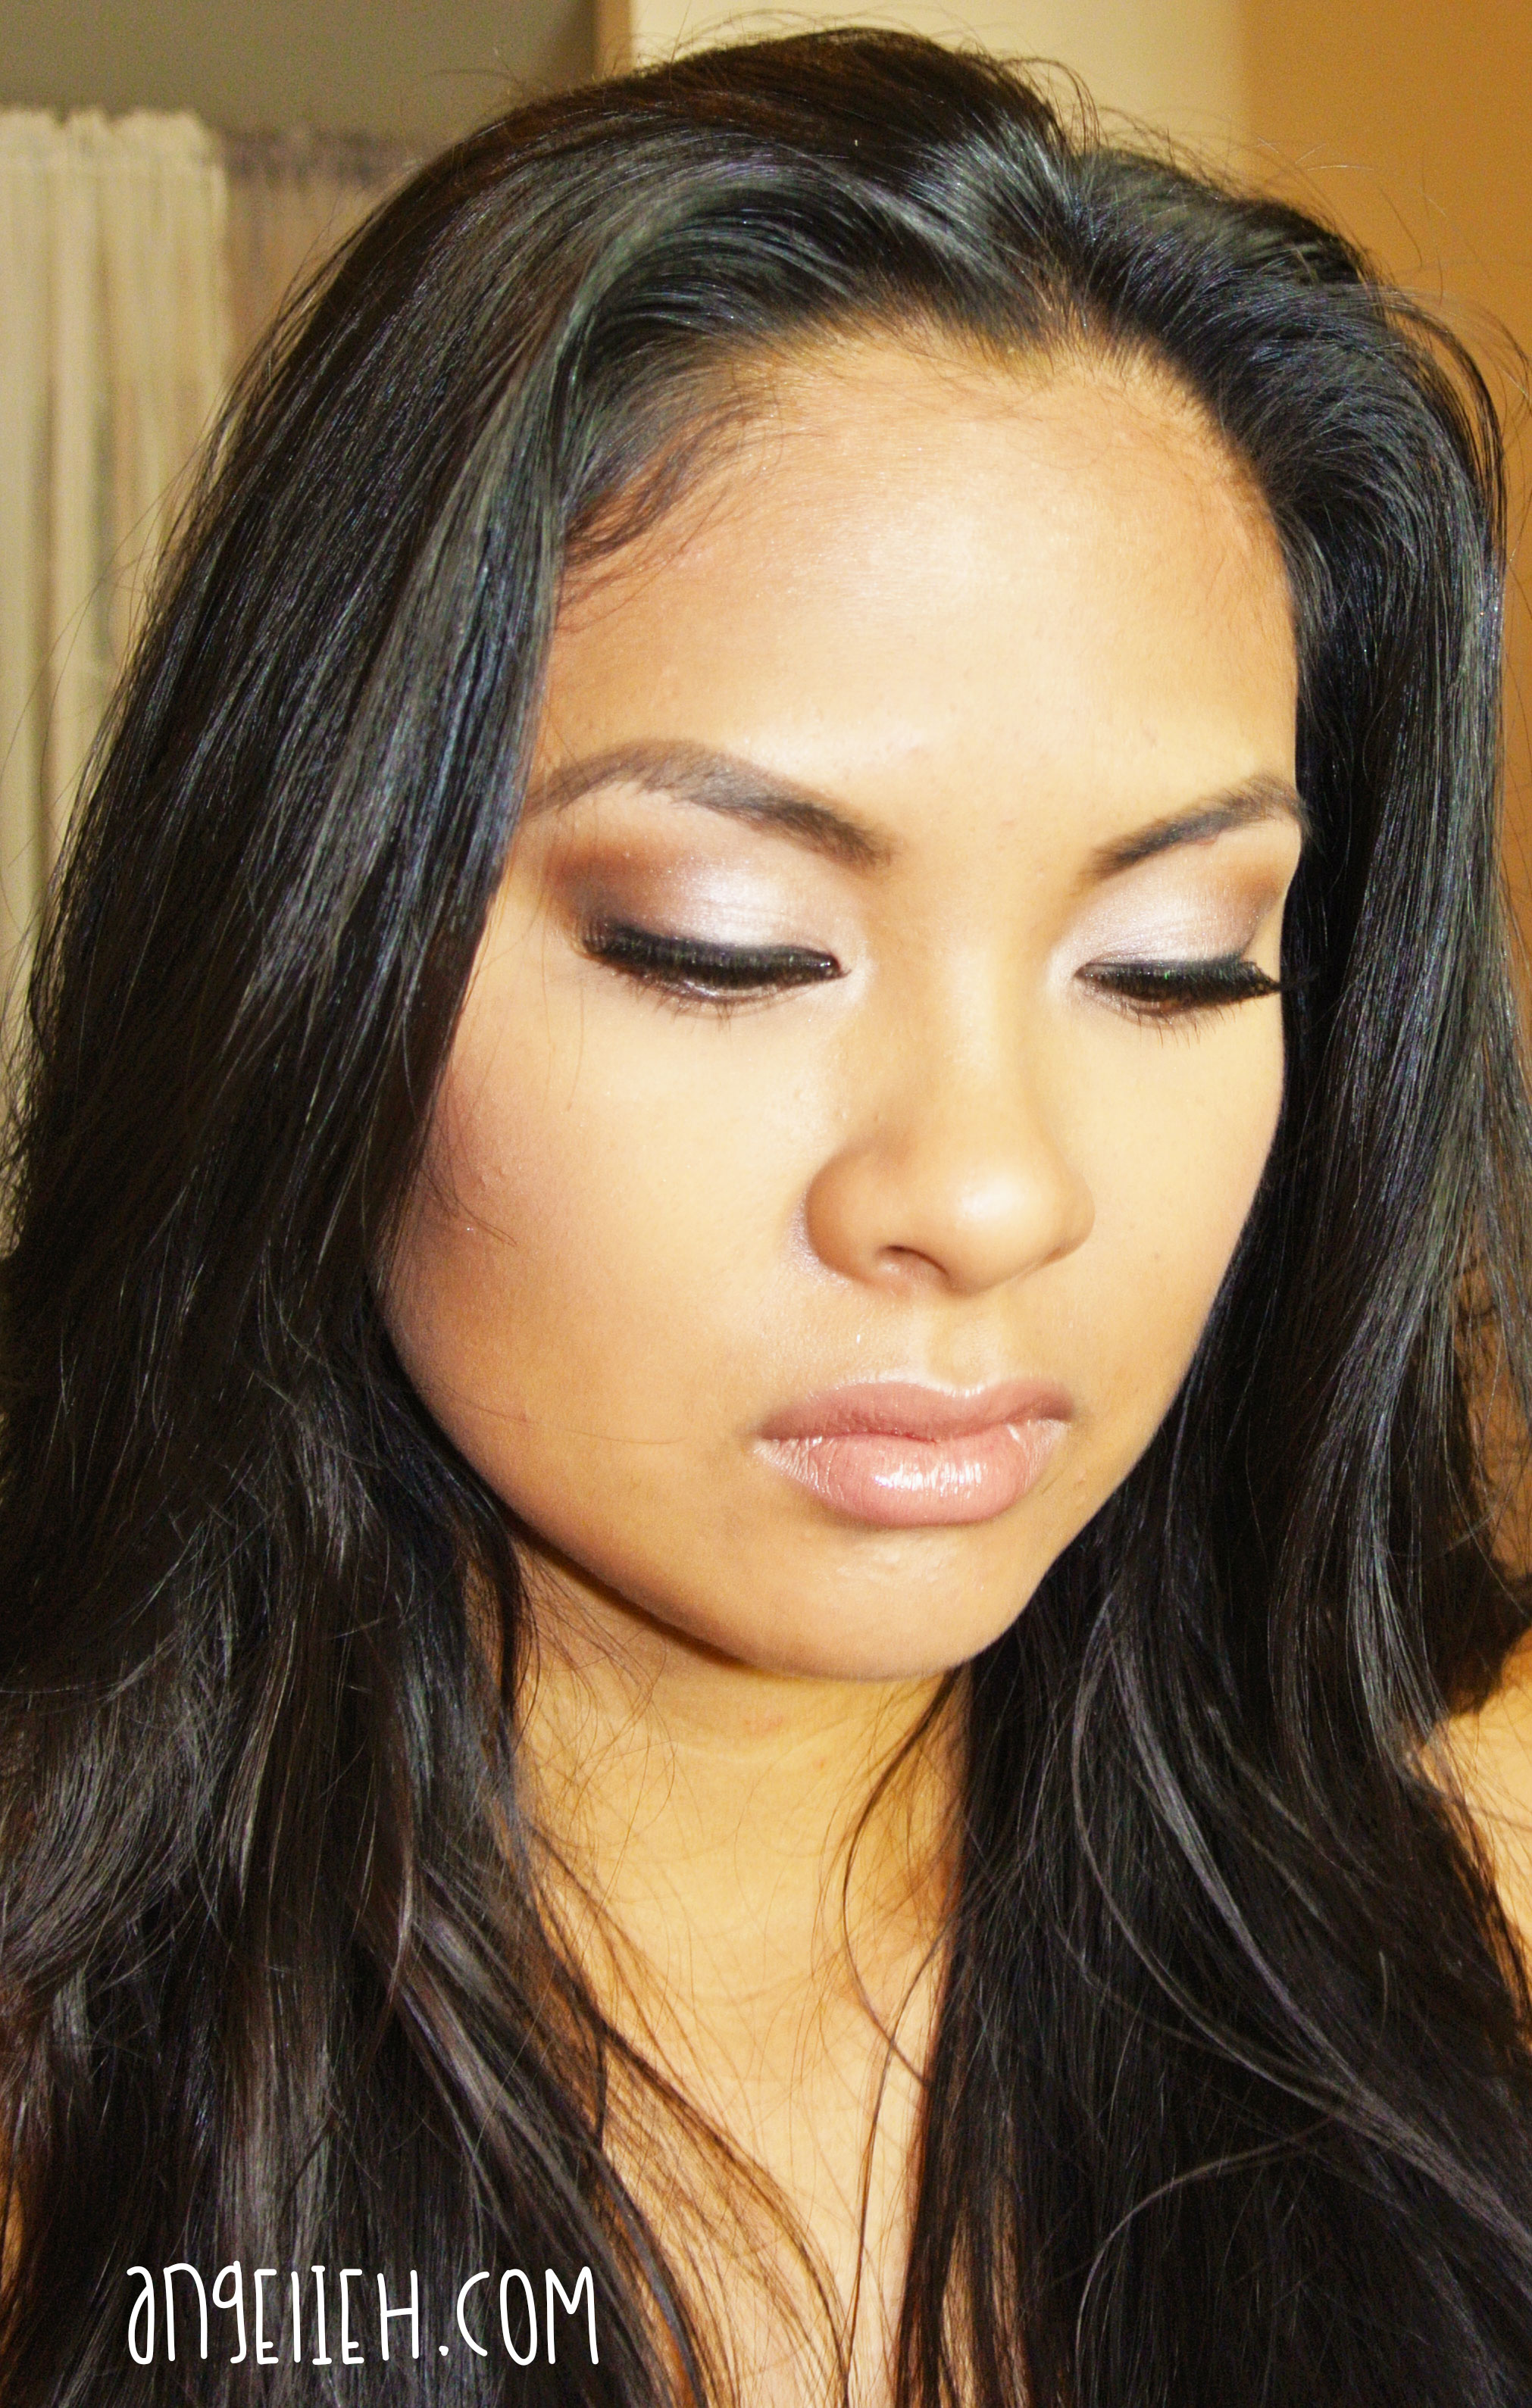
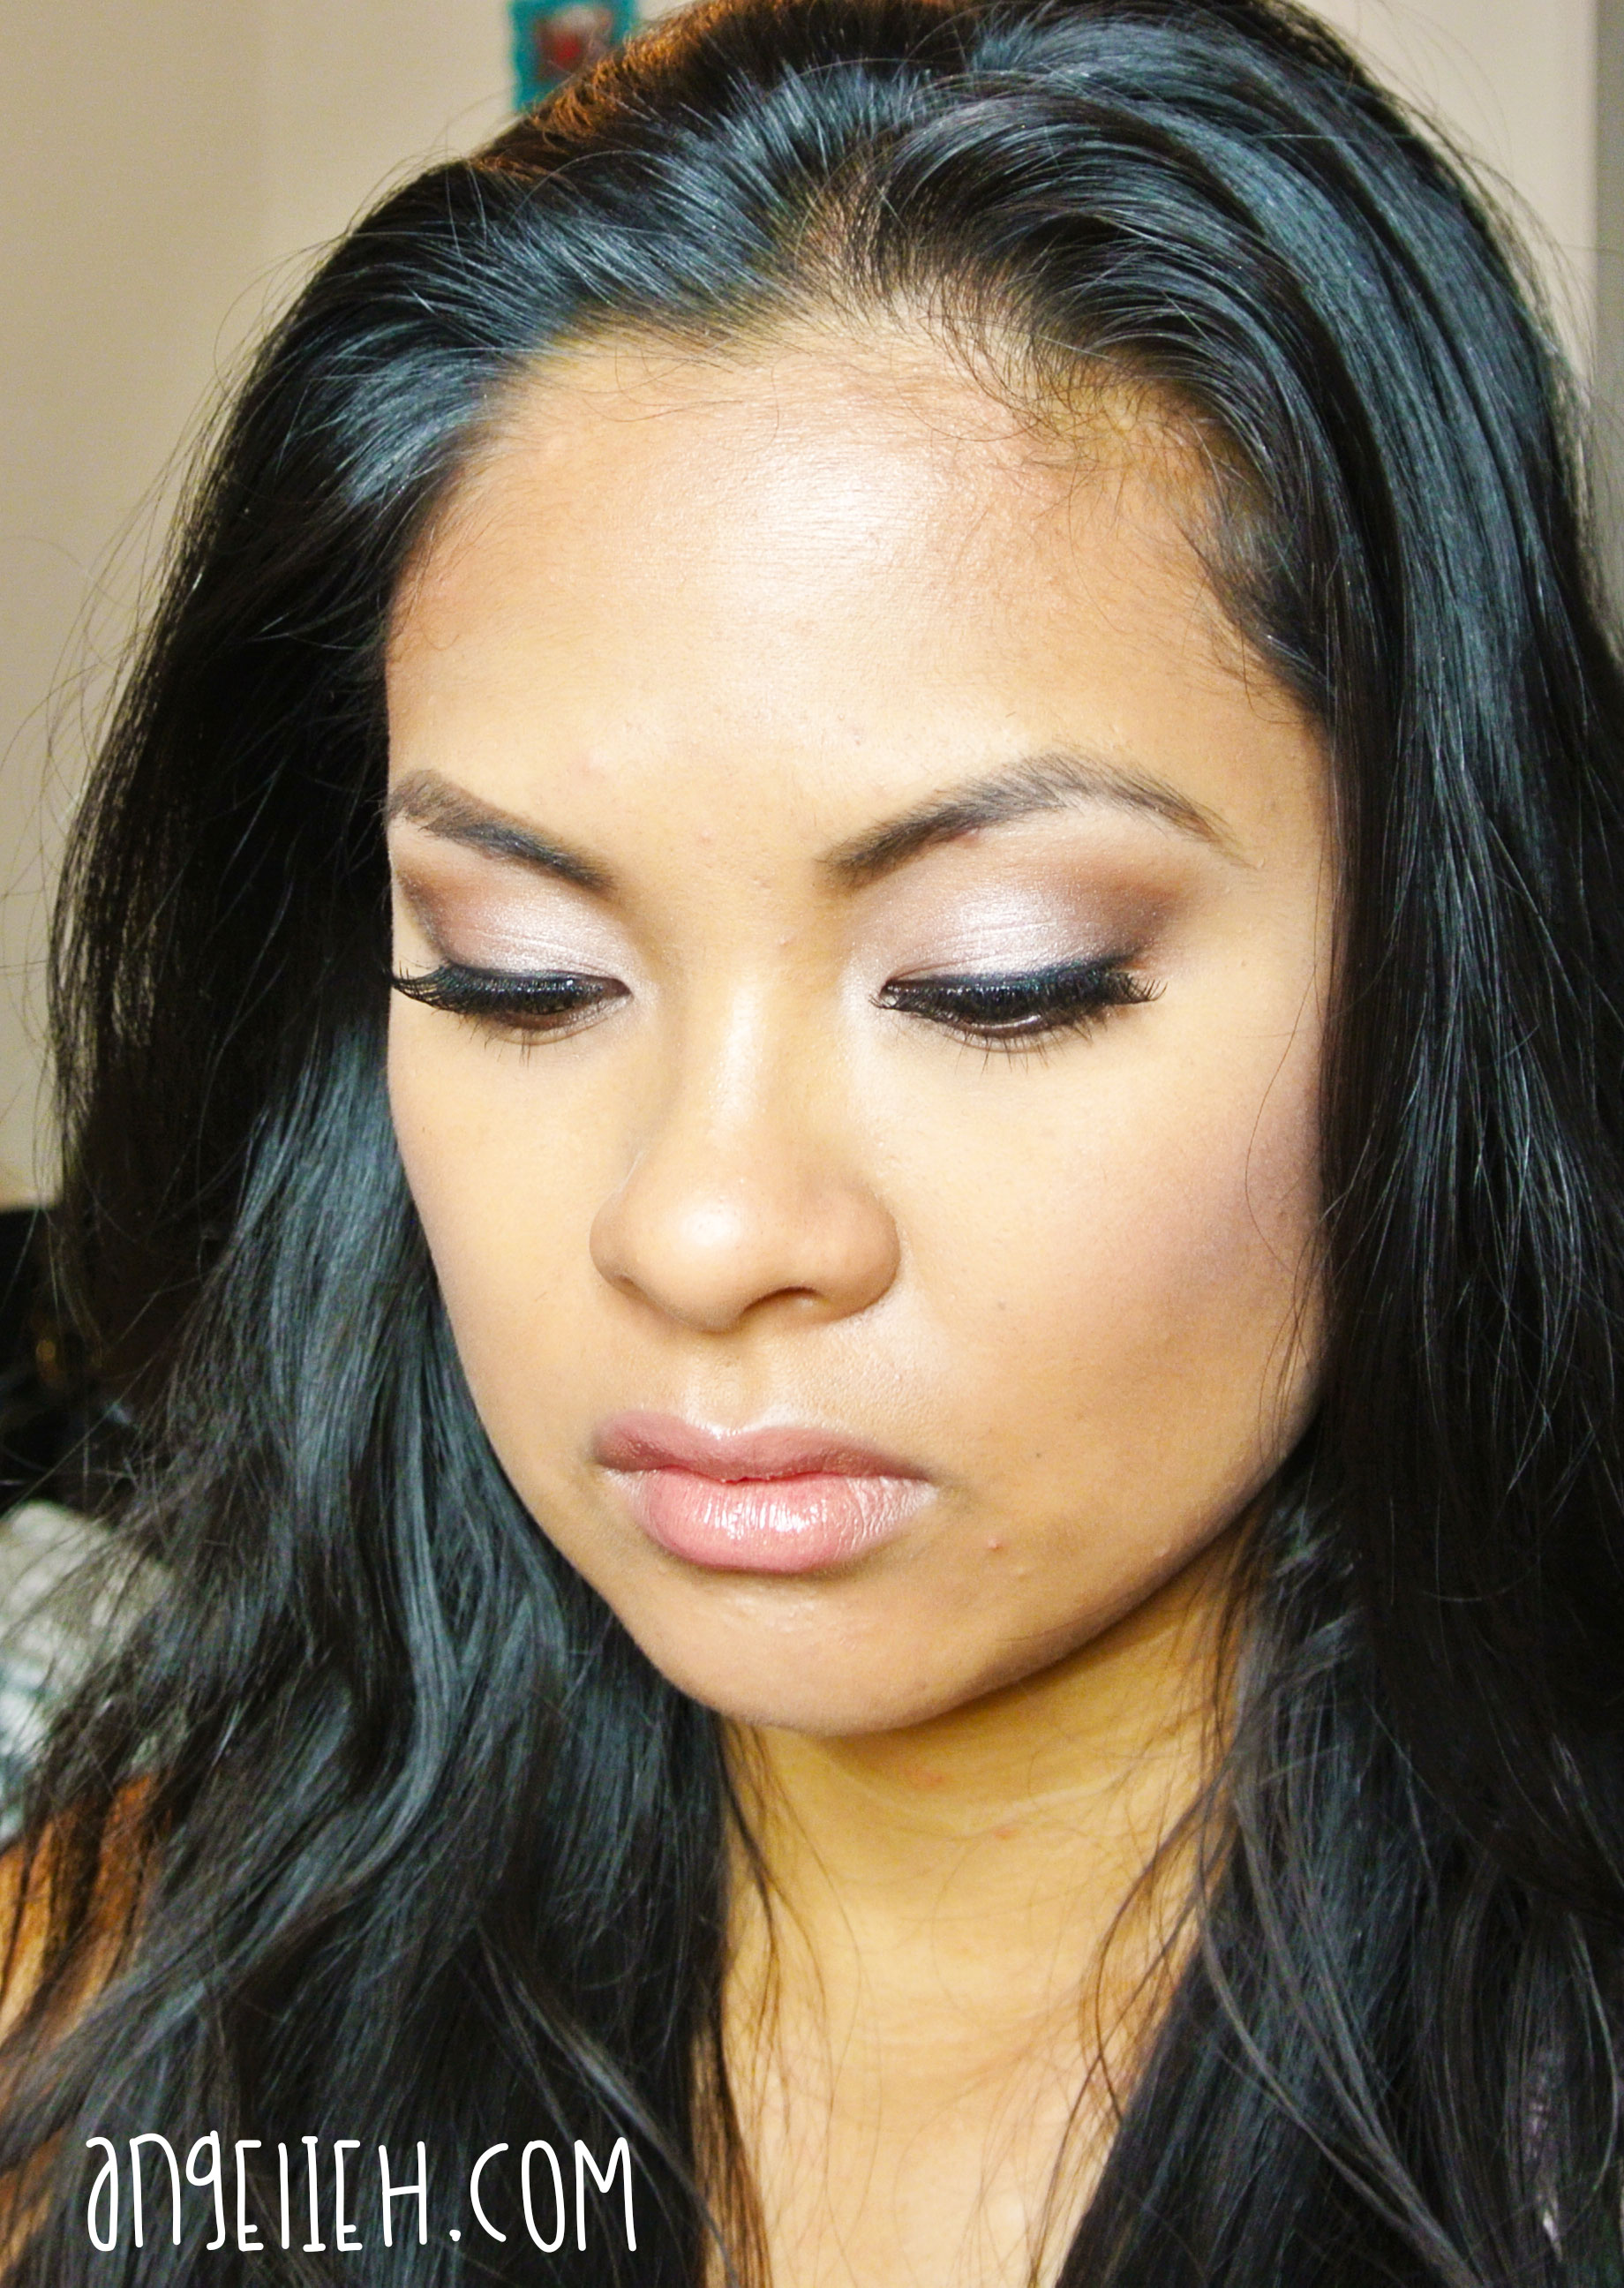
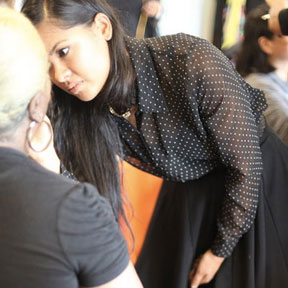
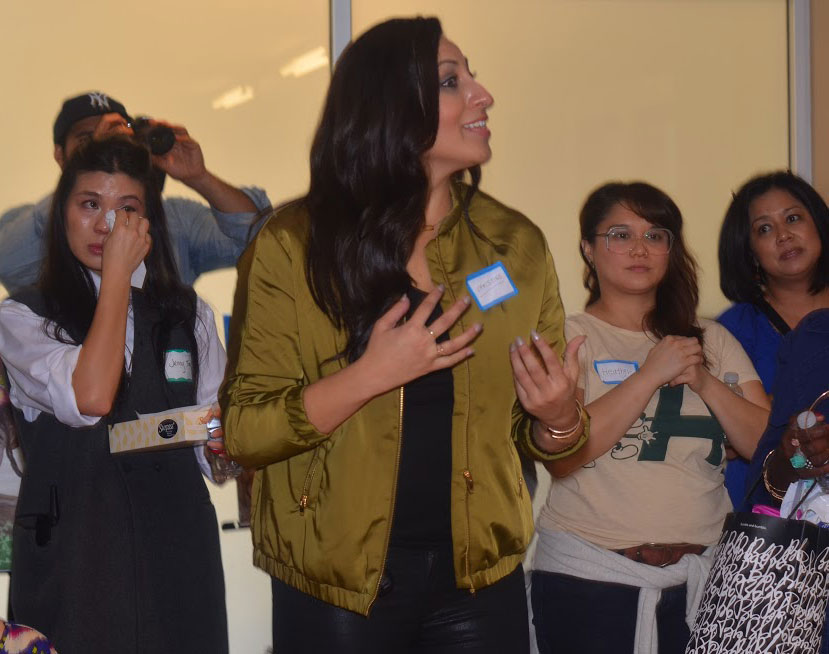
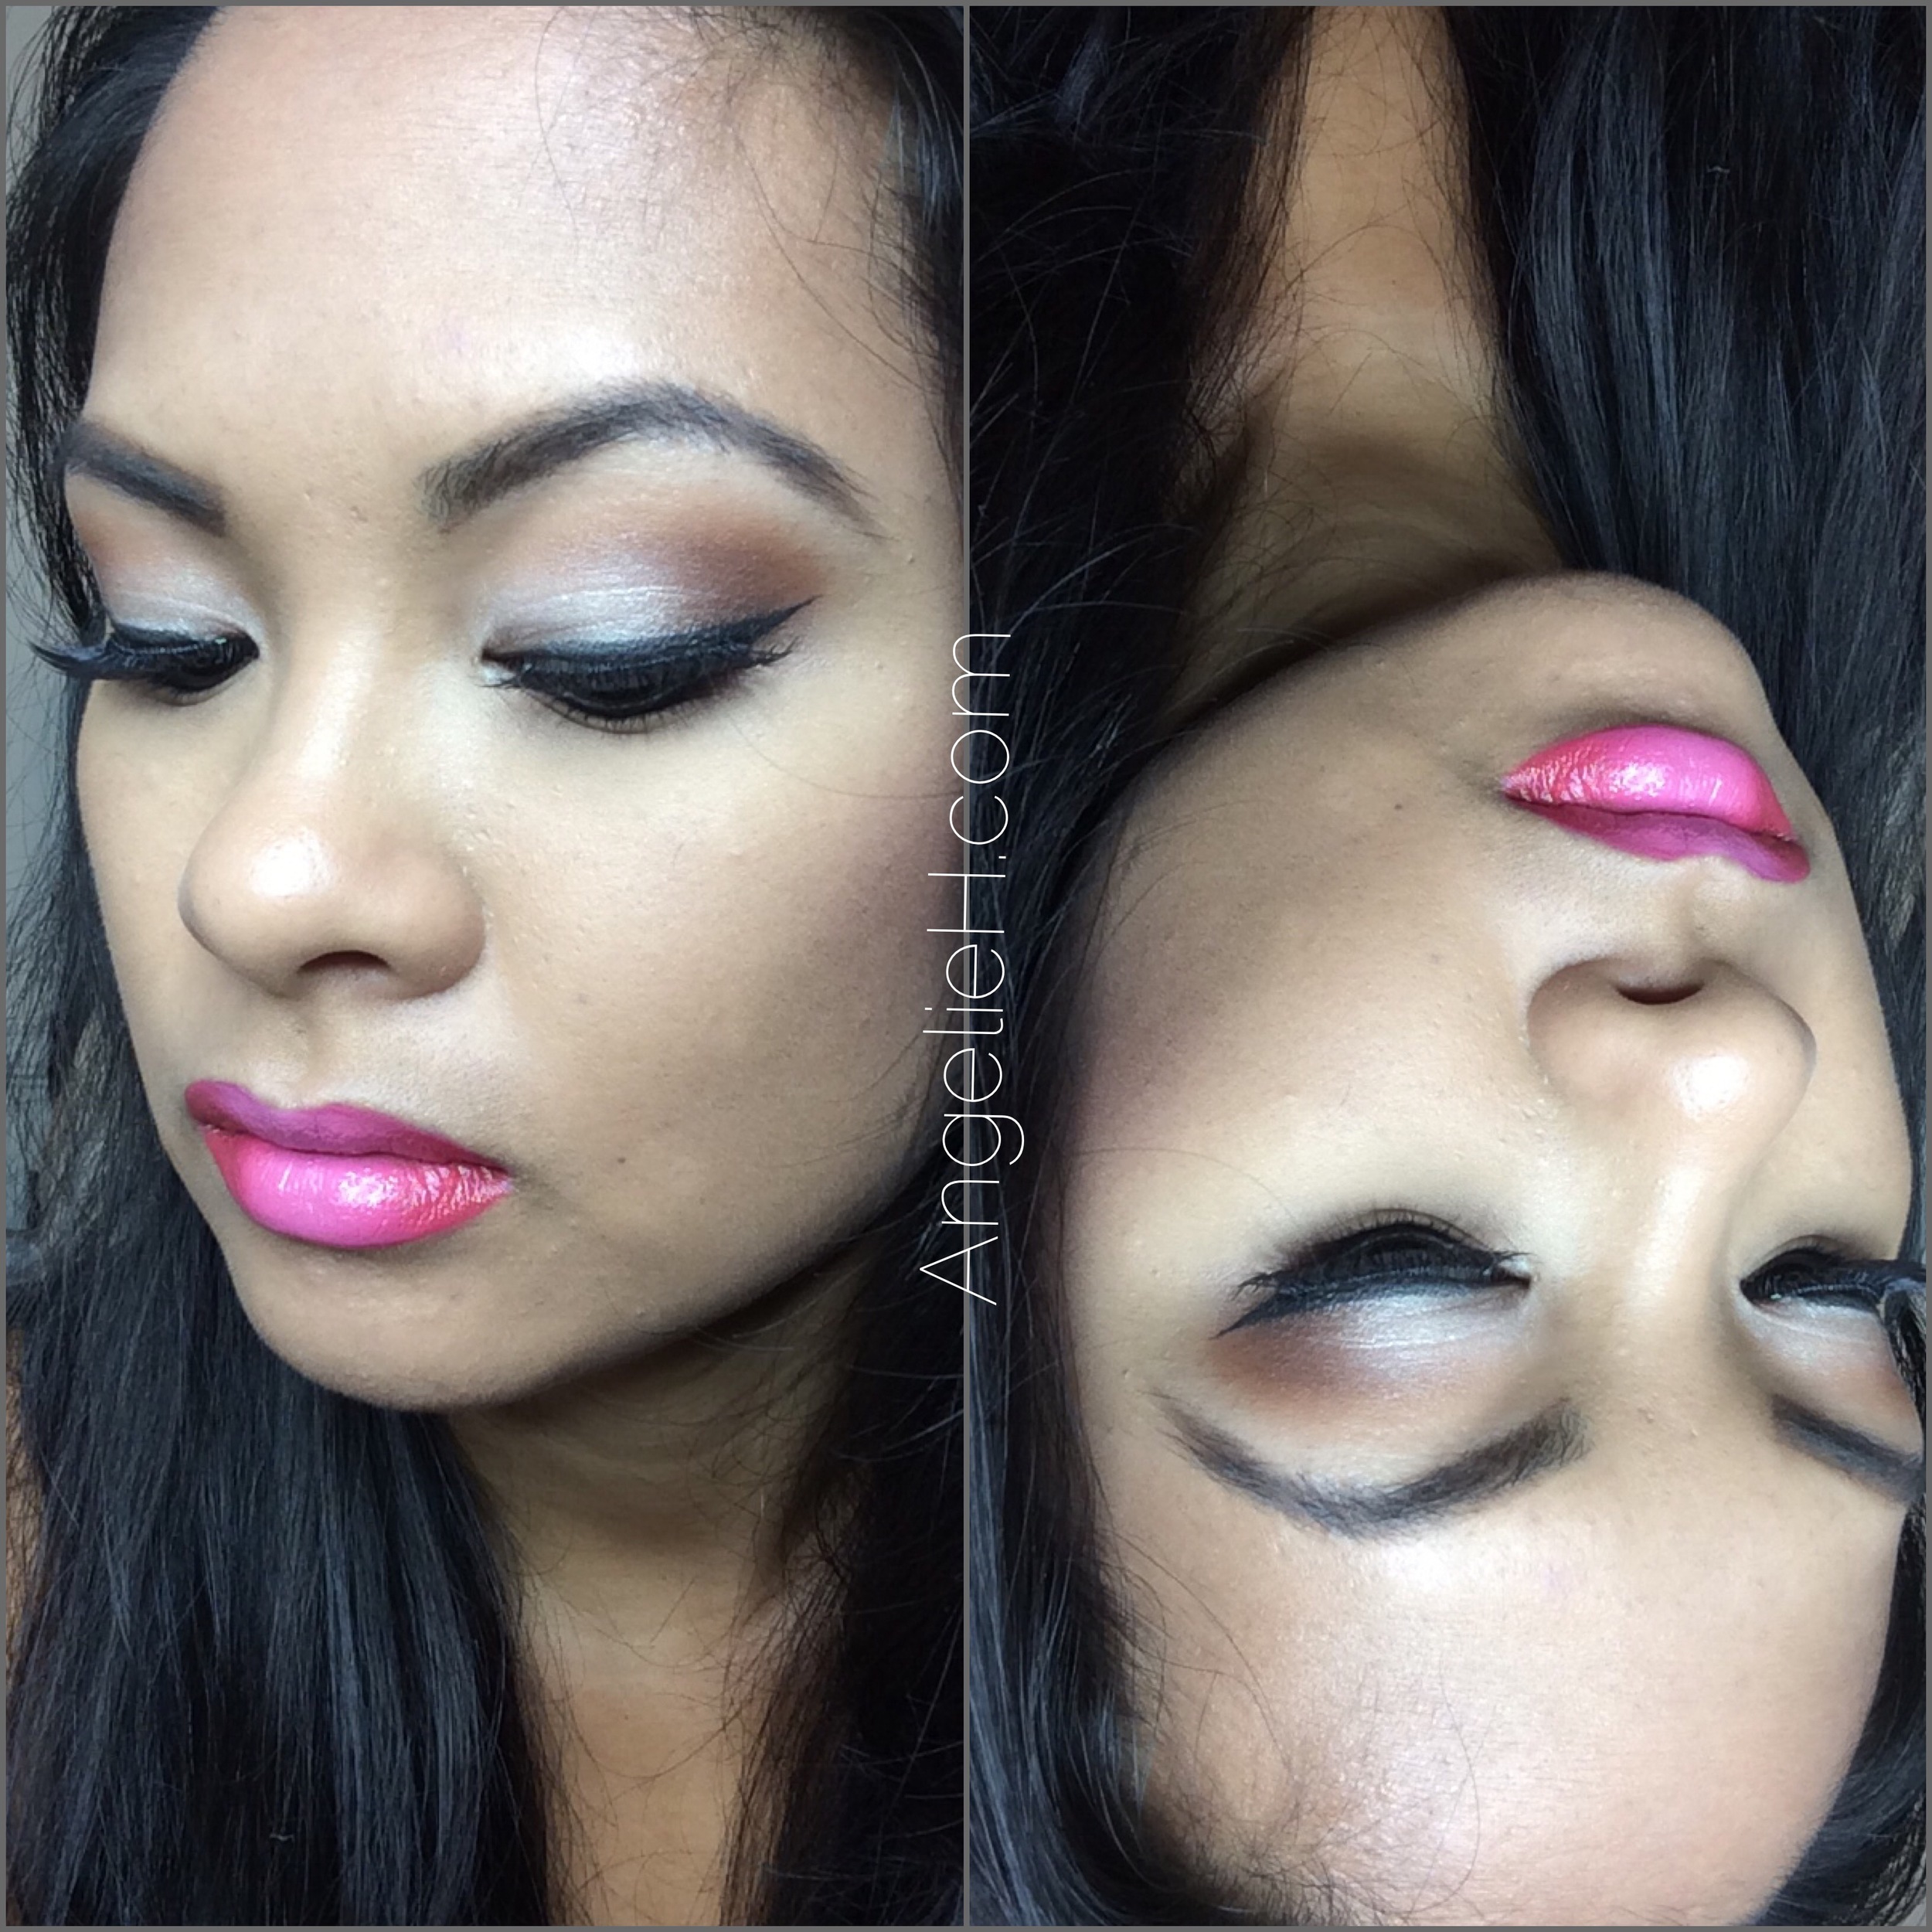
Two weekends ago i was invited to be a part of the SolSisters Revival, in conjunction with Glide SF. This event was put on to makeover 10 deserving women in the community who have survived some form of abuse or hardship. There were teams of makeup artists, hair stylists and fashion guru's who's sole purpose for the day was to make each and every one of the honored guests feel like a Queen. Not knowing what to expect I was simply hoping to do someone's makeup for the day, little did I know that I was in for an eye opening and fulfilling experience. 

Each of the individuals served were survivors, they are examples of women who did not allow the mistakes or happenings from their past dictate the direction of their future. When meeting the women for the first time, you could feel the reluctancy from some women to participate. Funny enough, just like the guests, I was reluctant to reach out as well. I thought, "What if my guest HATES her makeup?" or "What if we have nothing to talk about?", all of the negative thoughts seemed to run through my mind before any of the positive ones showed up. As soon as I met my first guest (names and photos shall remain anonymous), all of my fears were wiped away. 

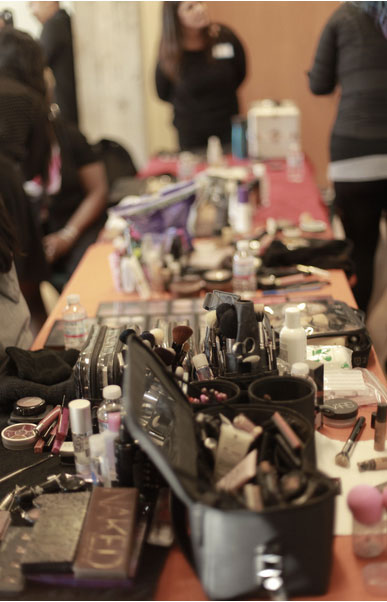
One after another, each woman made her way through wardrobe, hair and makeup, each person effecting the volunteer they worked with. Throughout the room, you could hear pieces of each woman's life story, some of them talking about their children and families, others talking about their journey to the women's group at Glide. For every story that was told I couldn't believe the strength coming from each person. Some of the women have gone through pain and hardship that you wouldn't believe, but aside from their adversity, every woman met me with a confident smile and an open heart. It brought me back to reality to see that these women who have been through so much pain could still be so gracious and kindhearted. It was truly an honor to be in the presence of these amazing warriors.

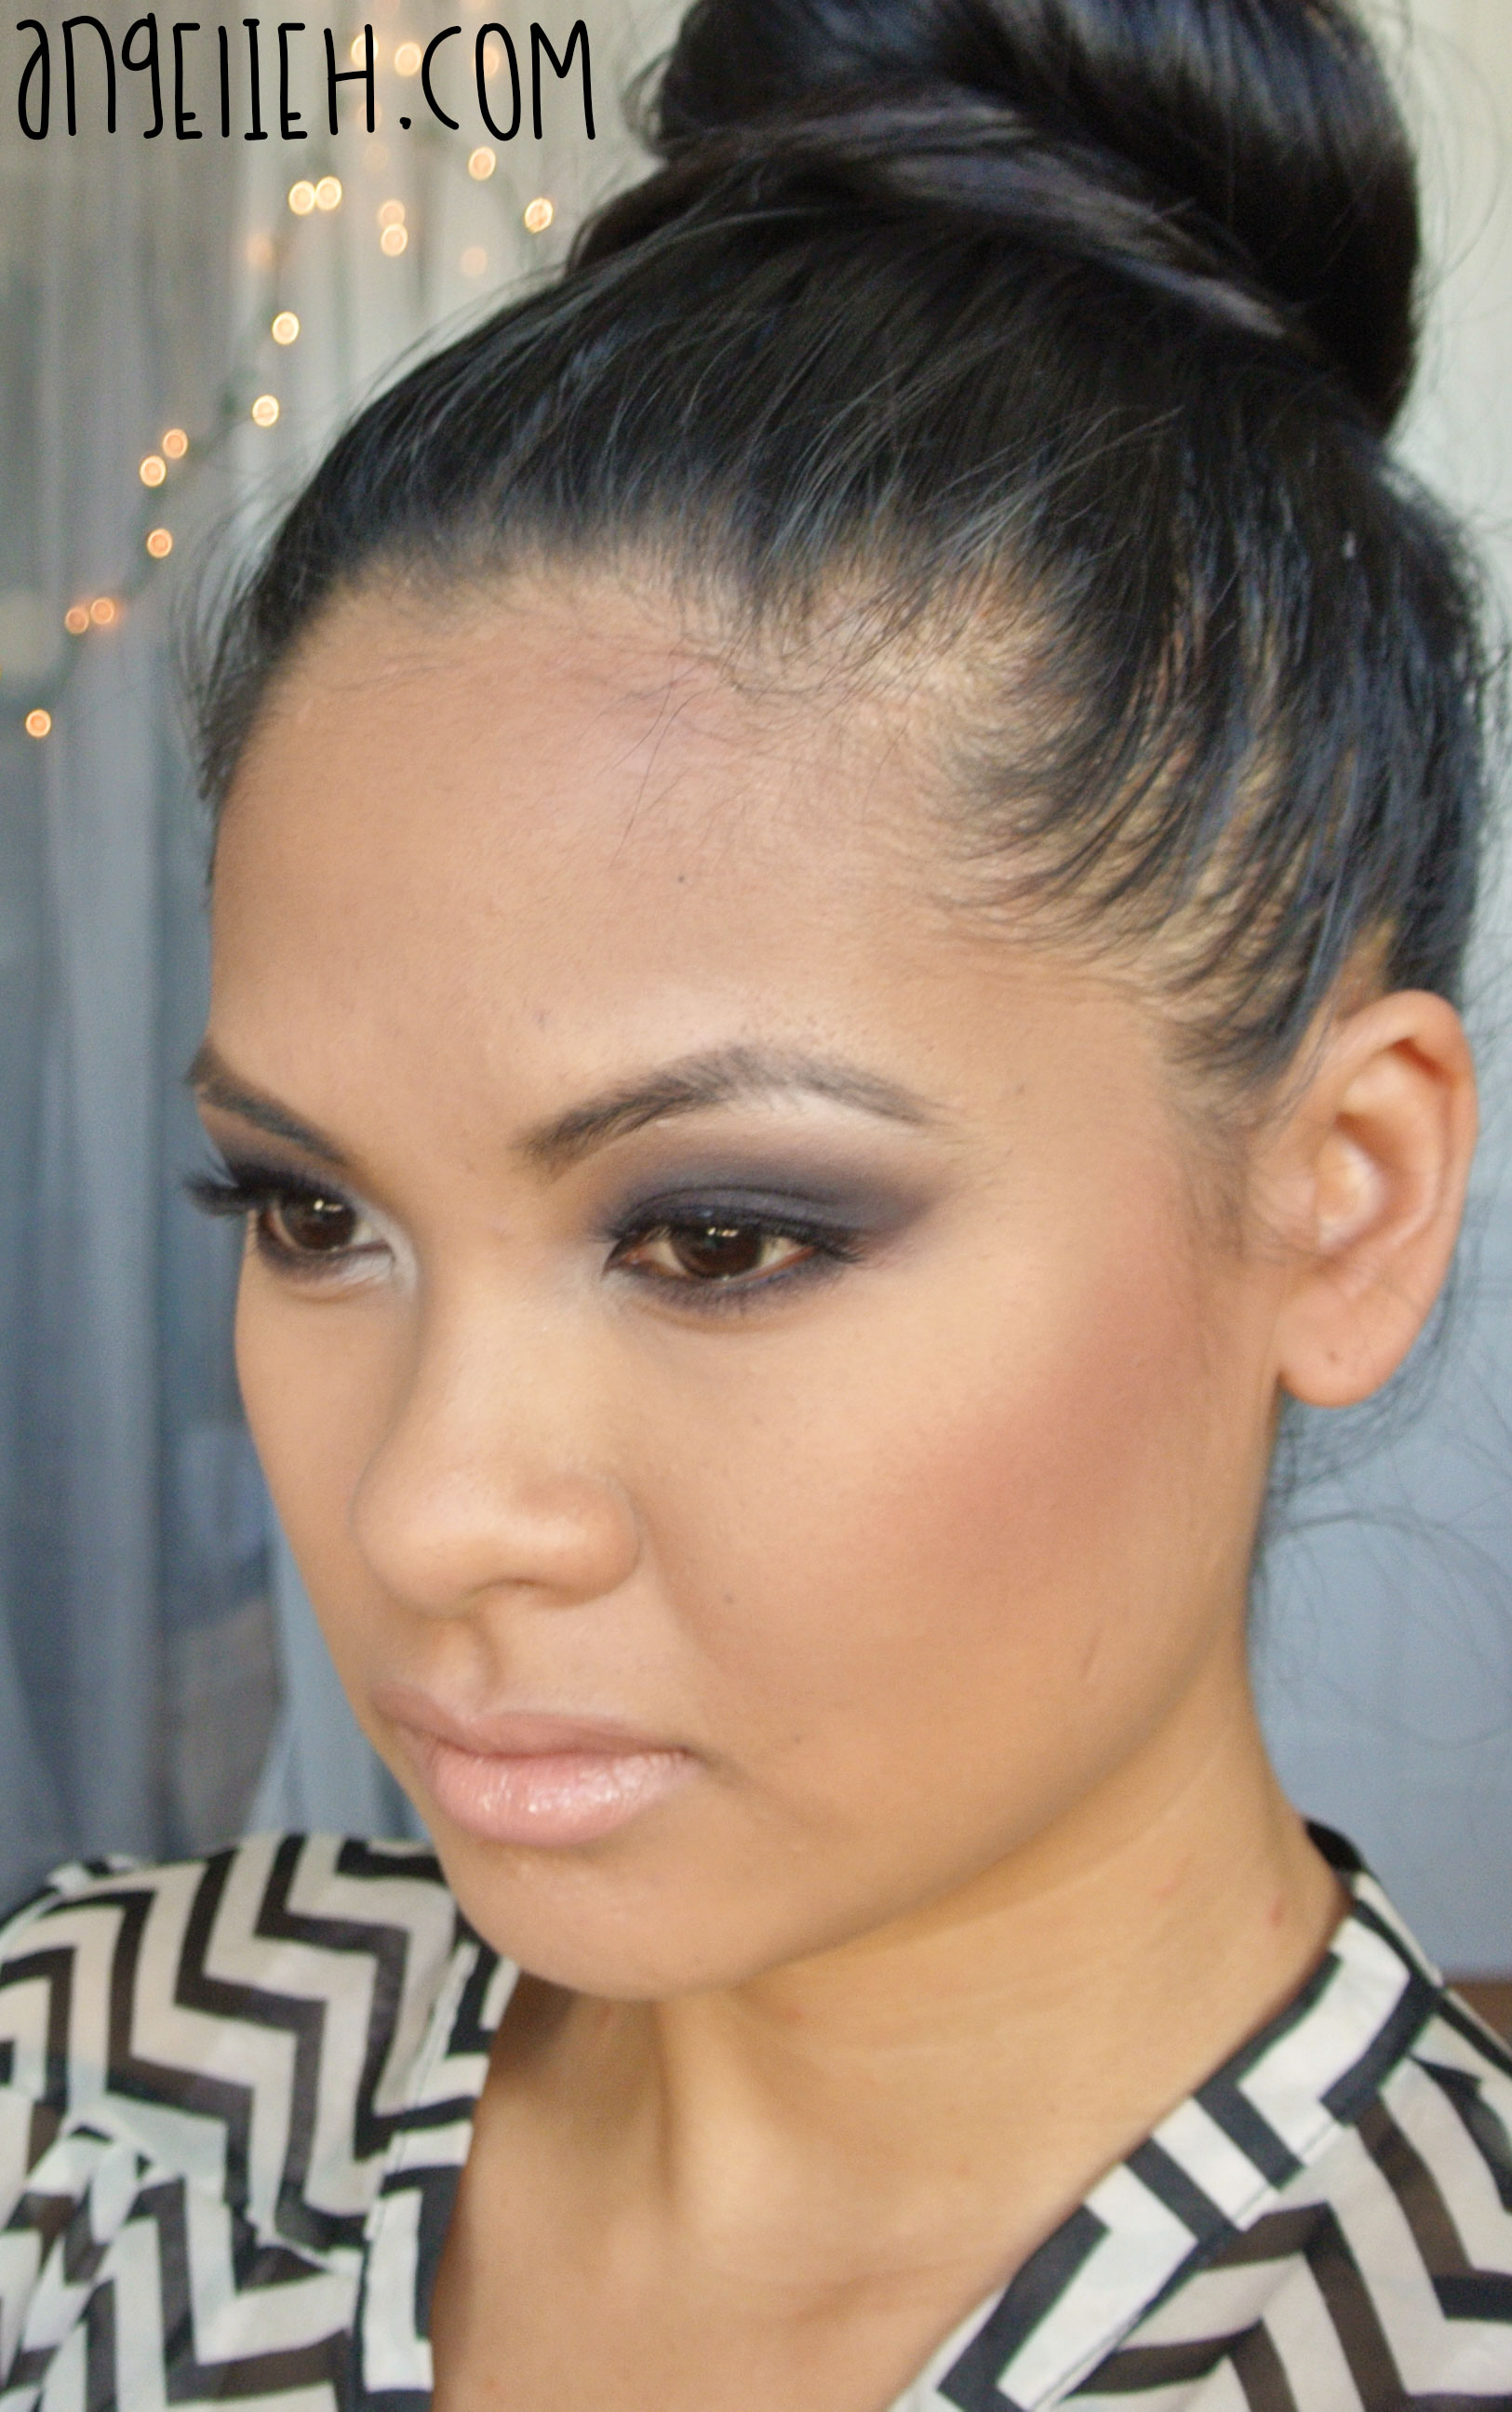
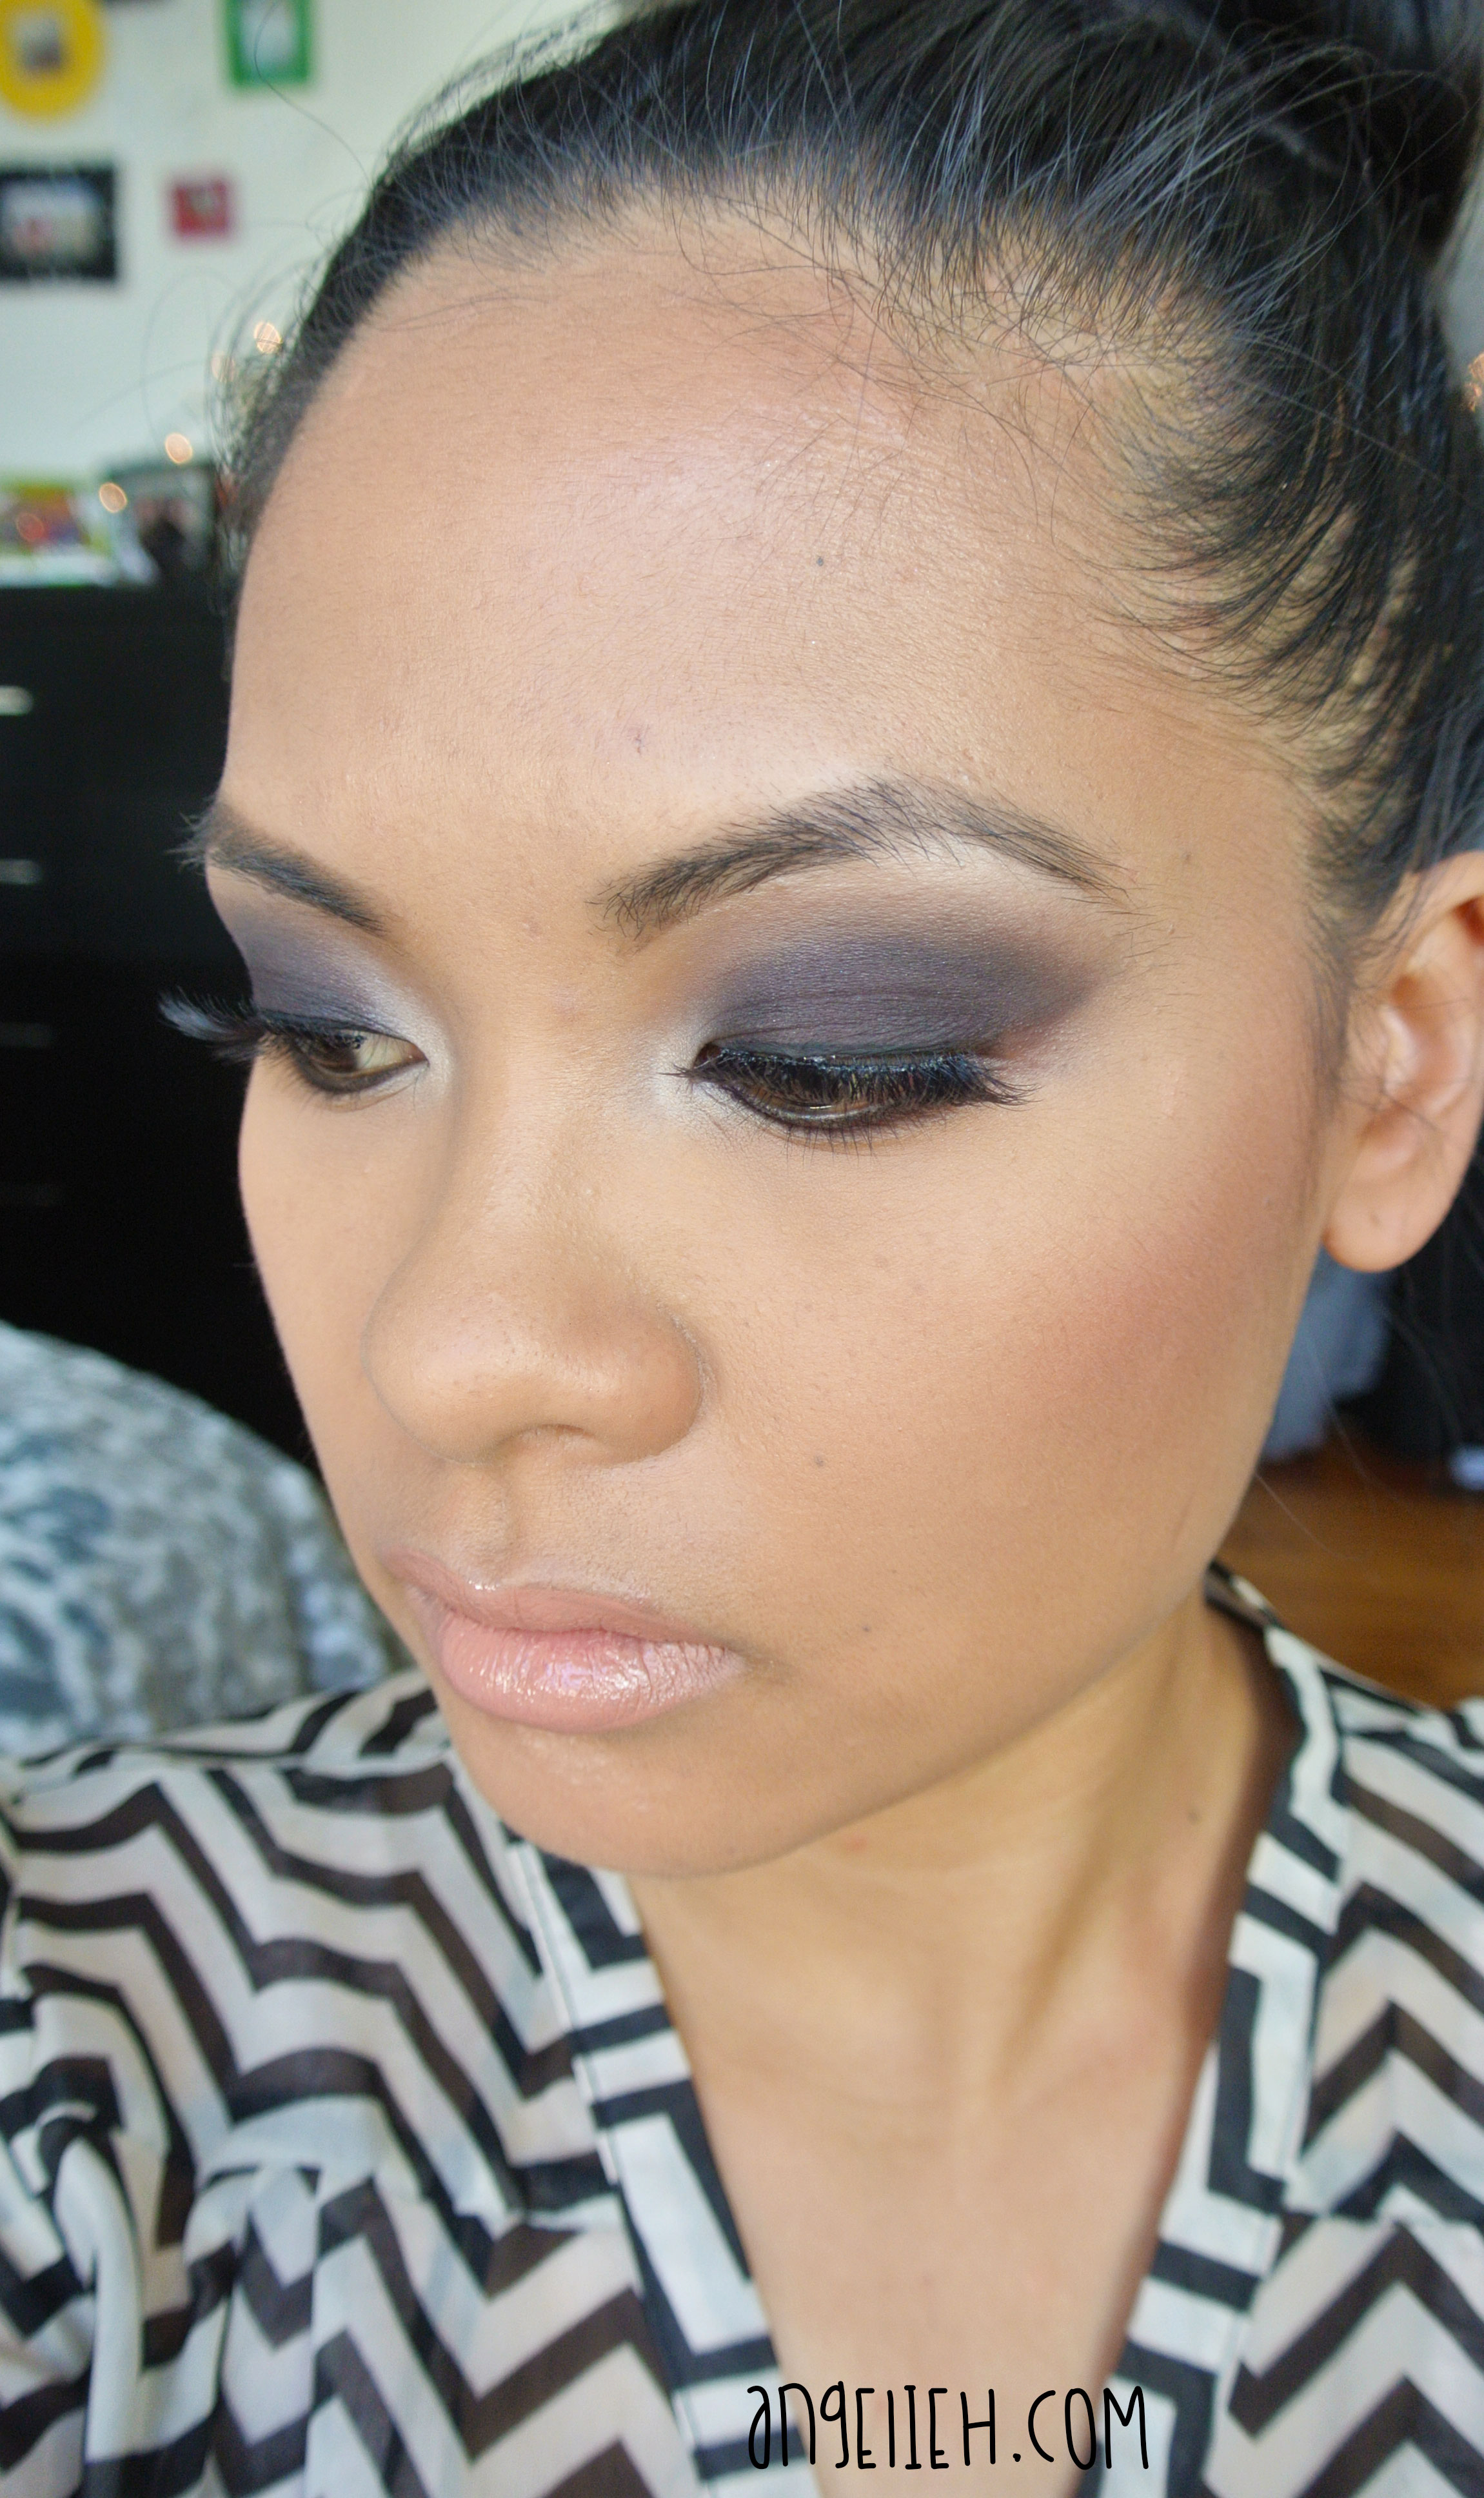
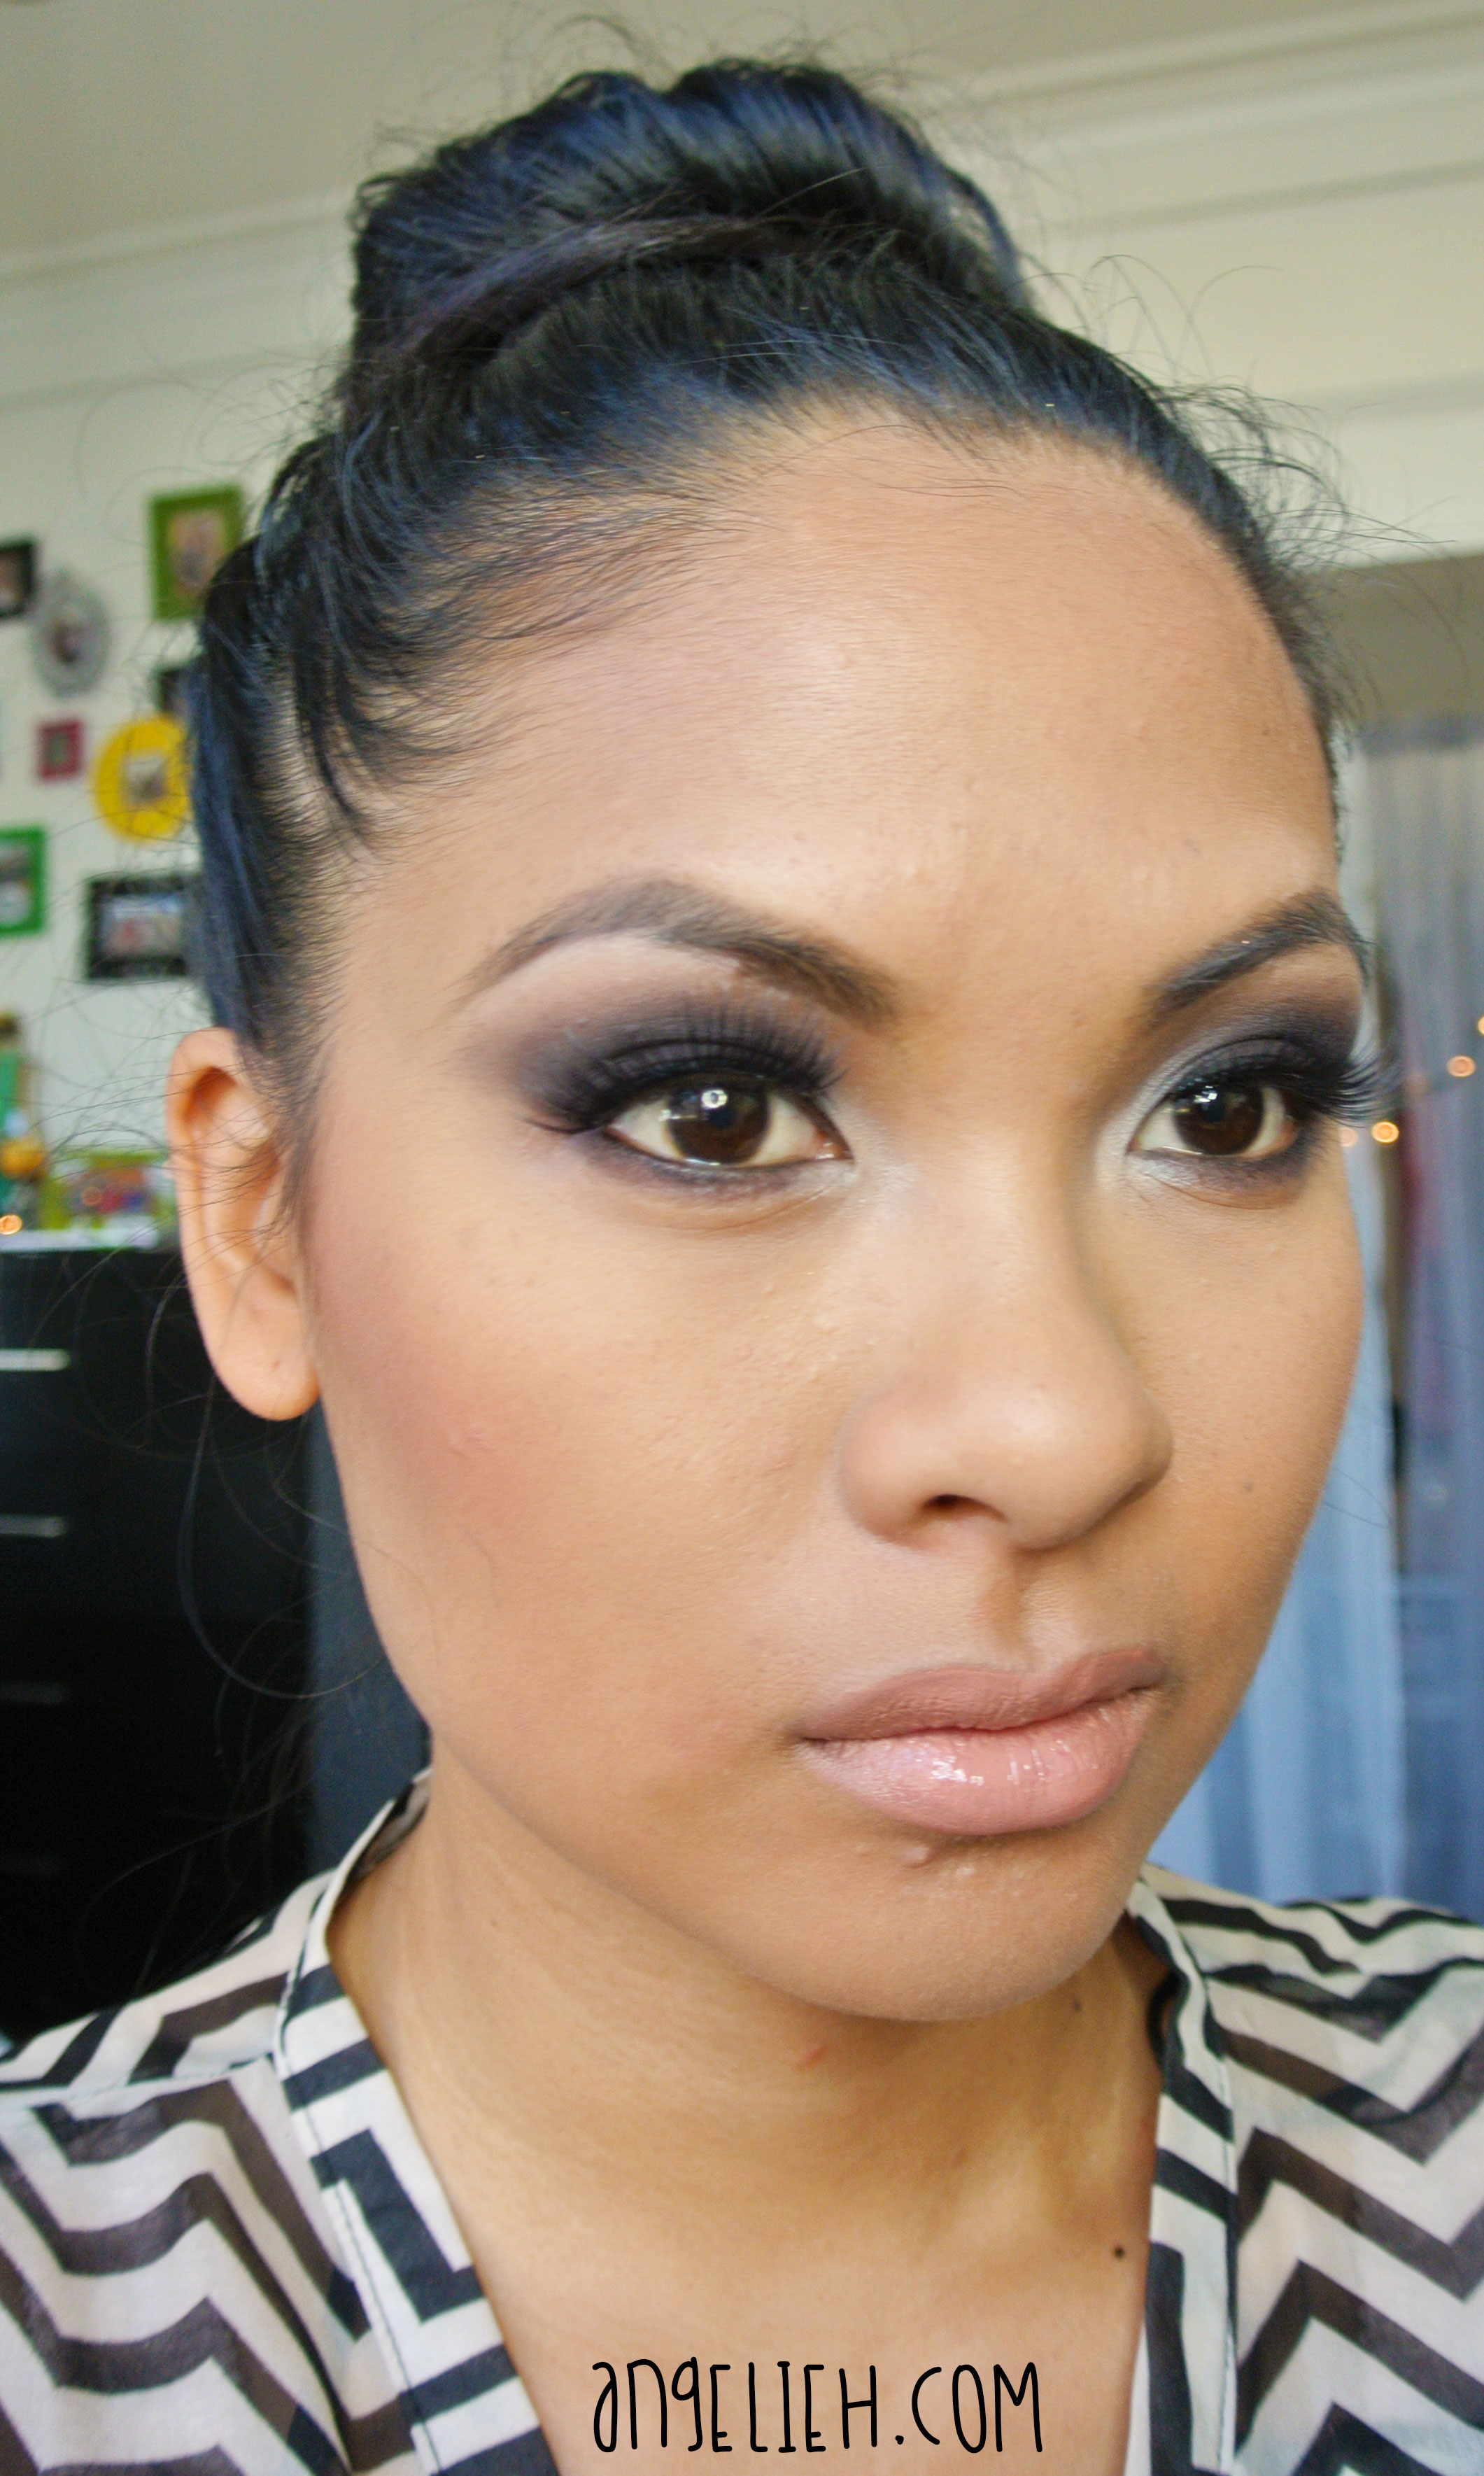
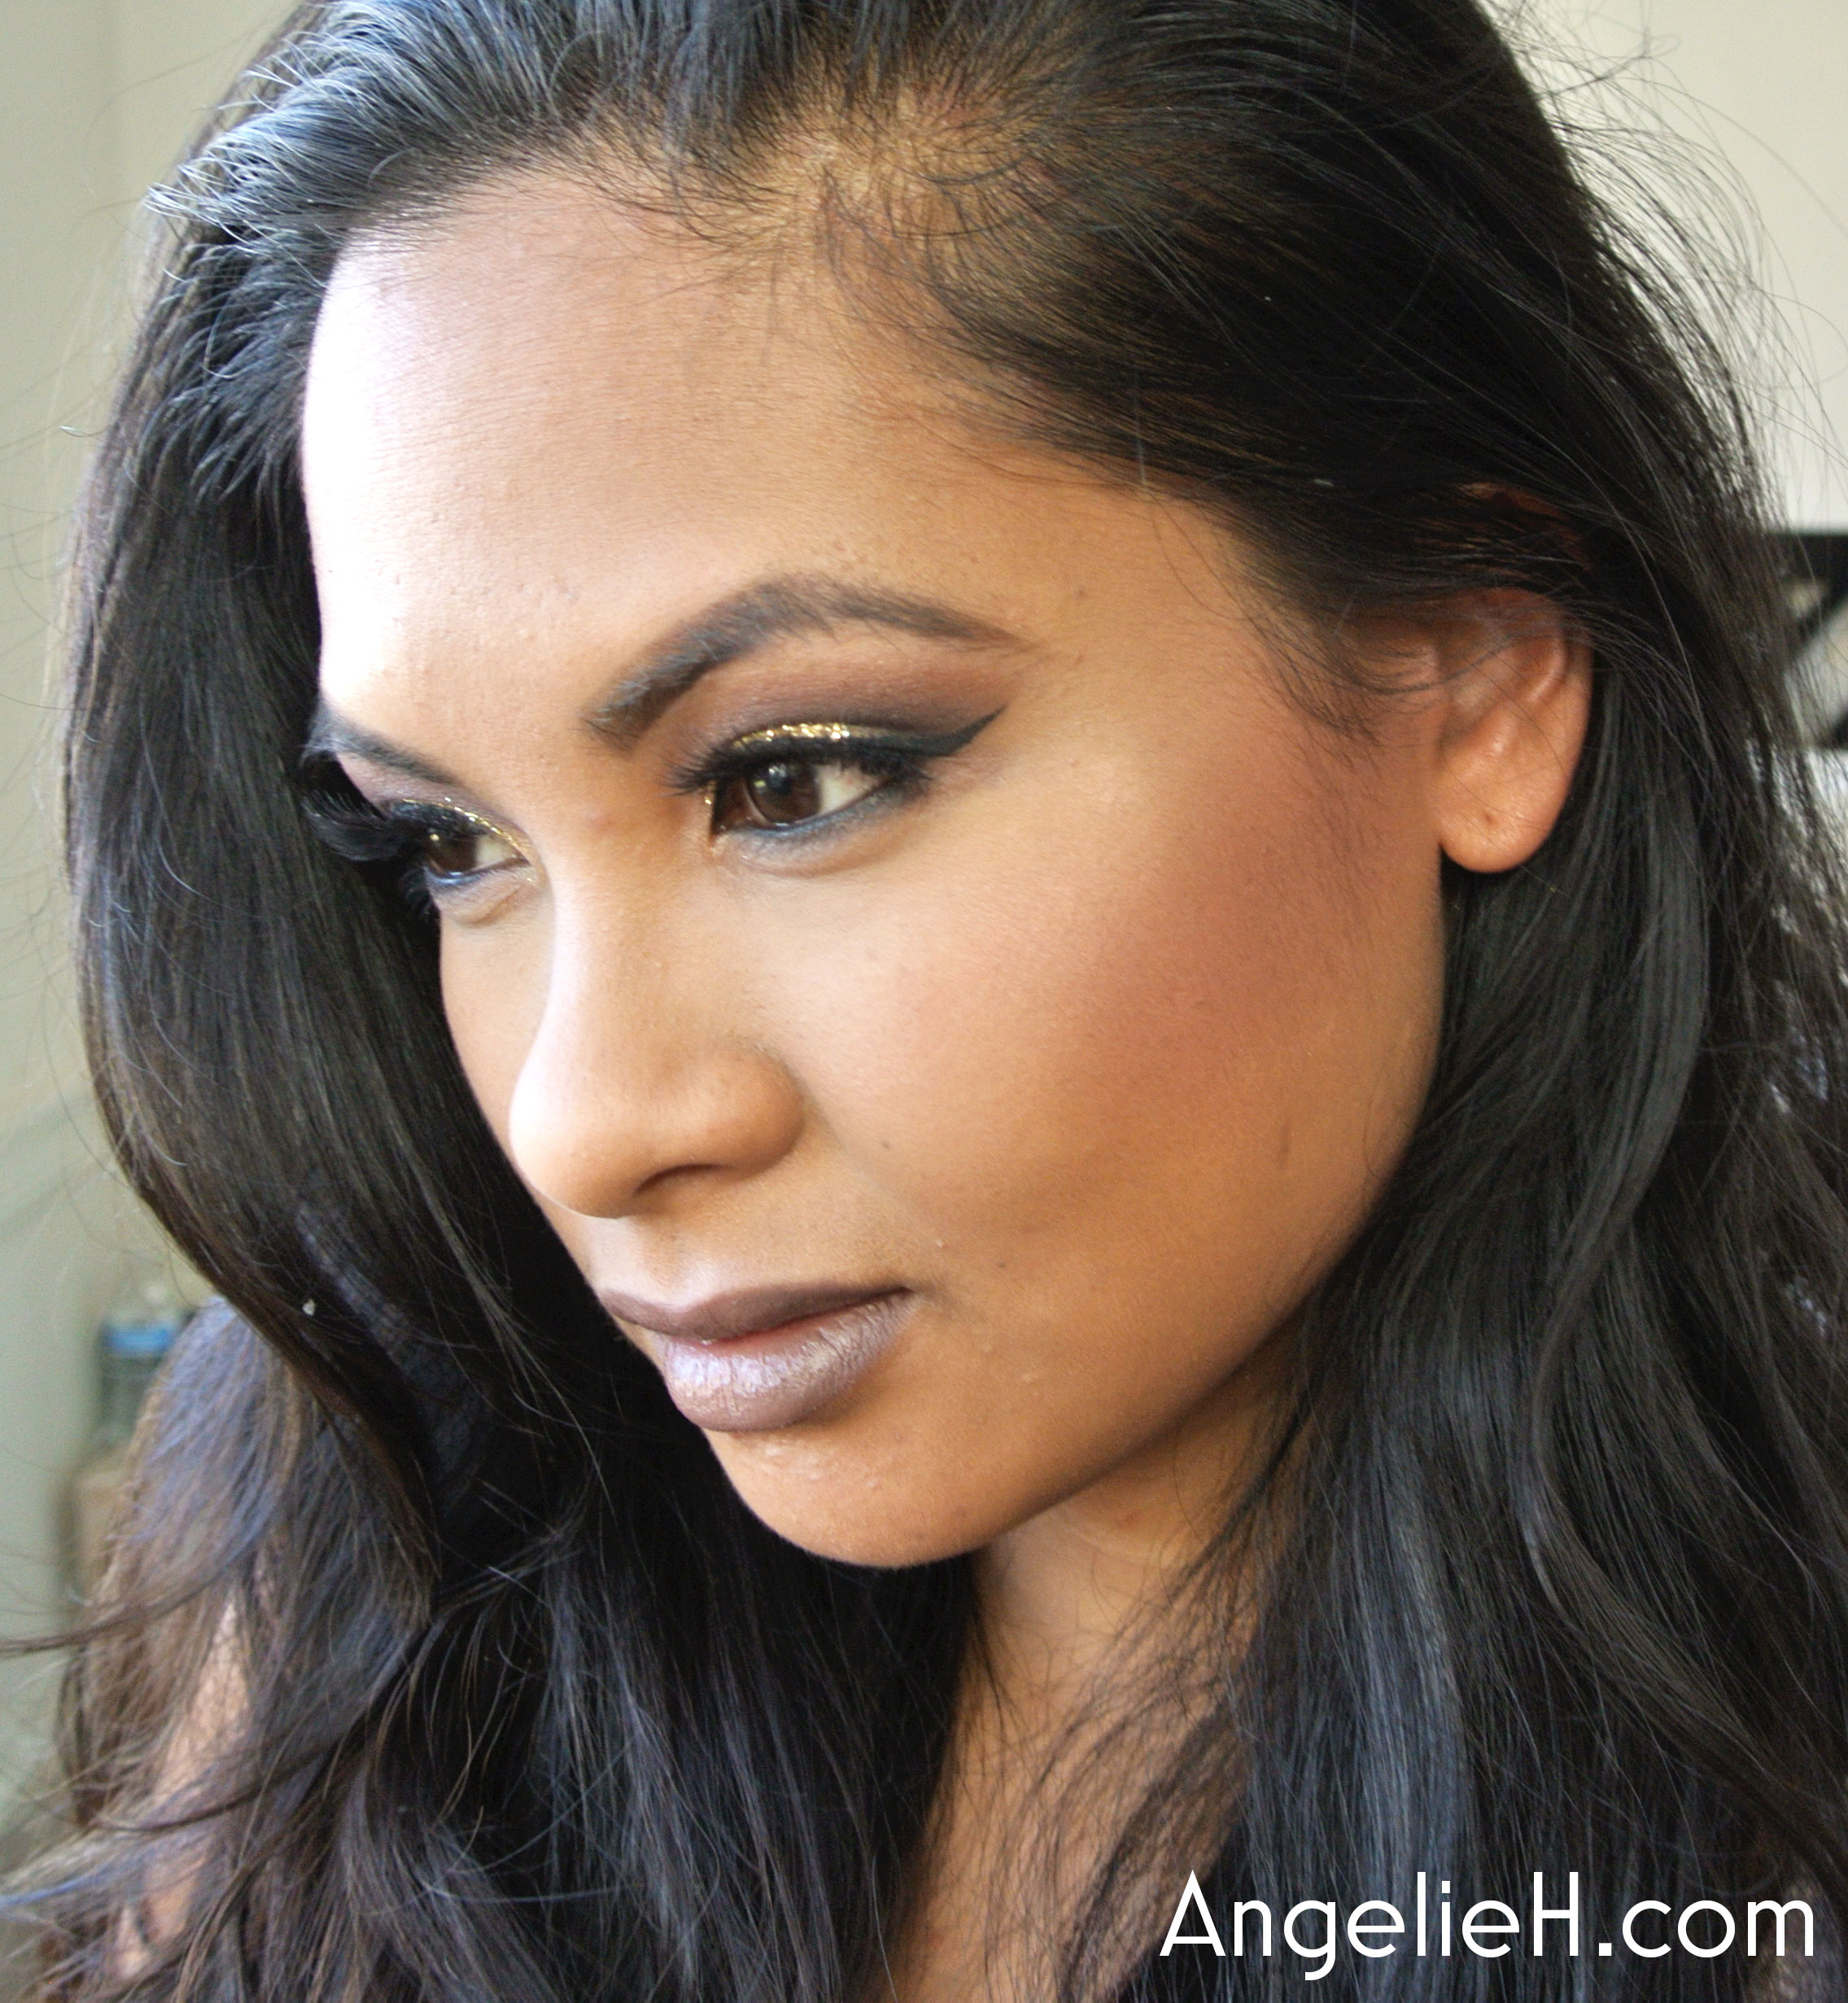
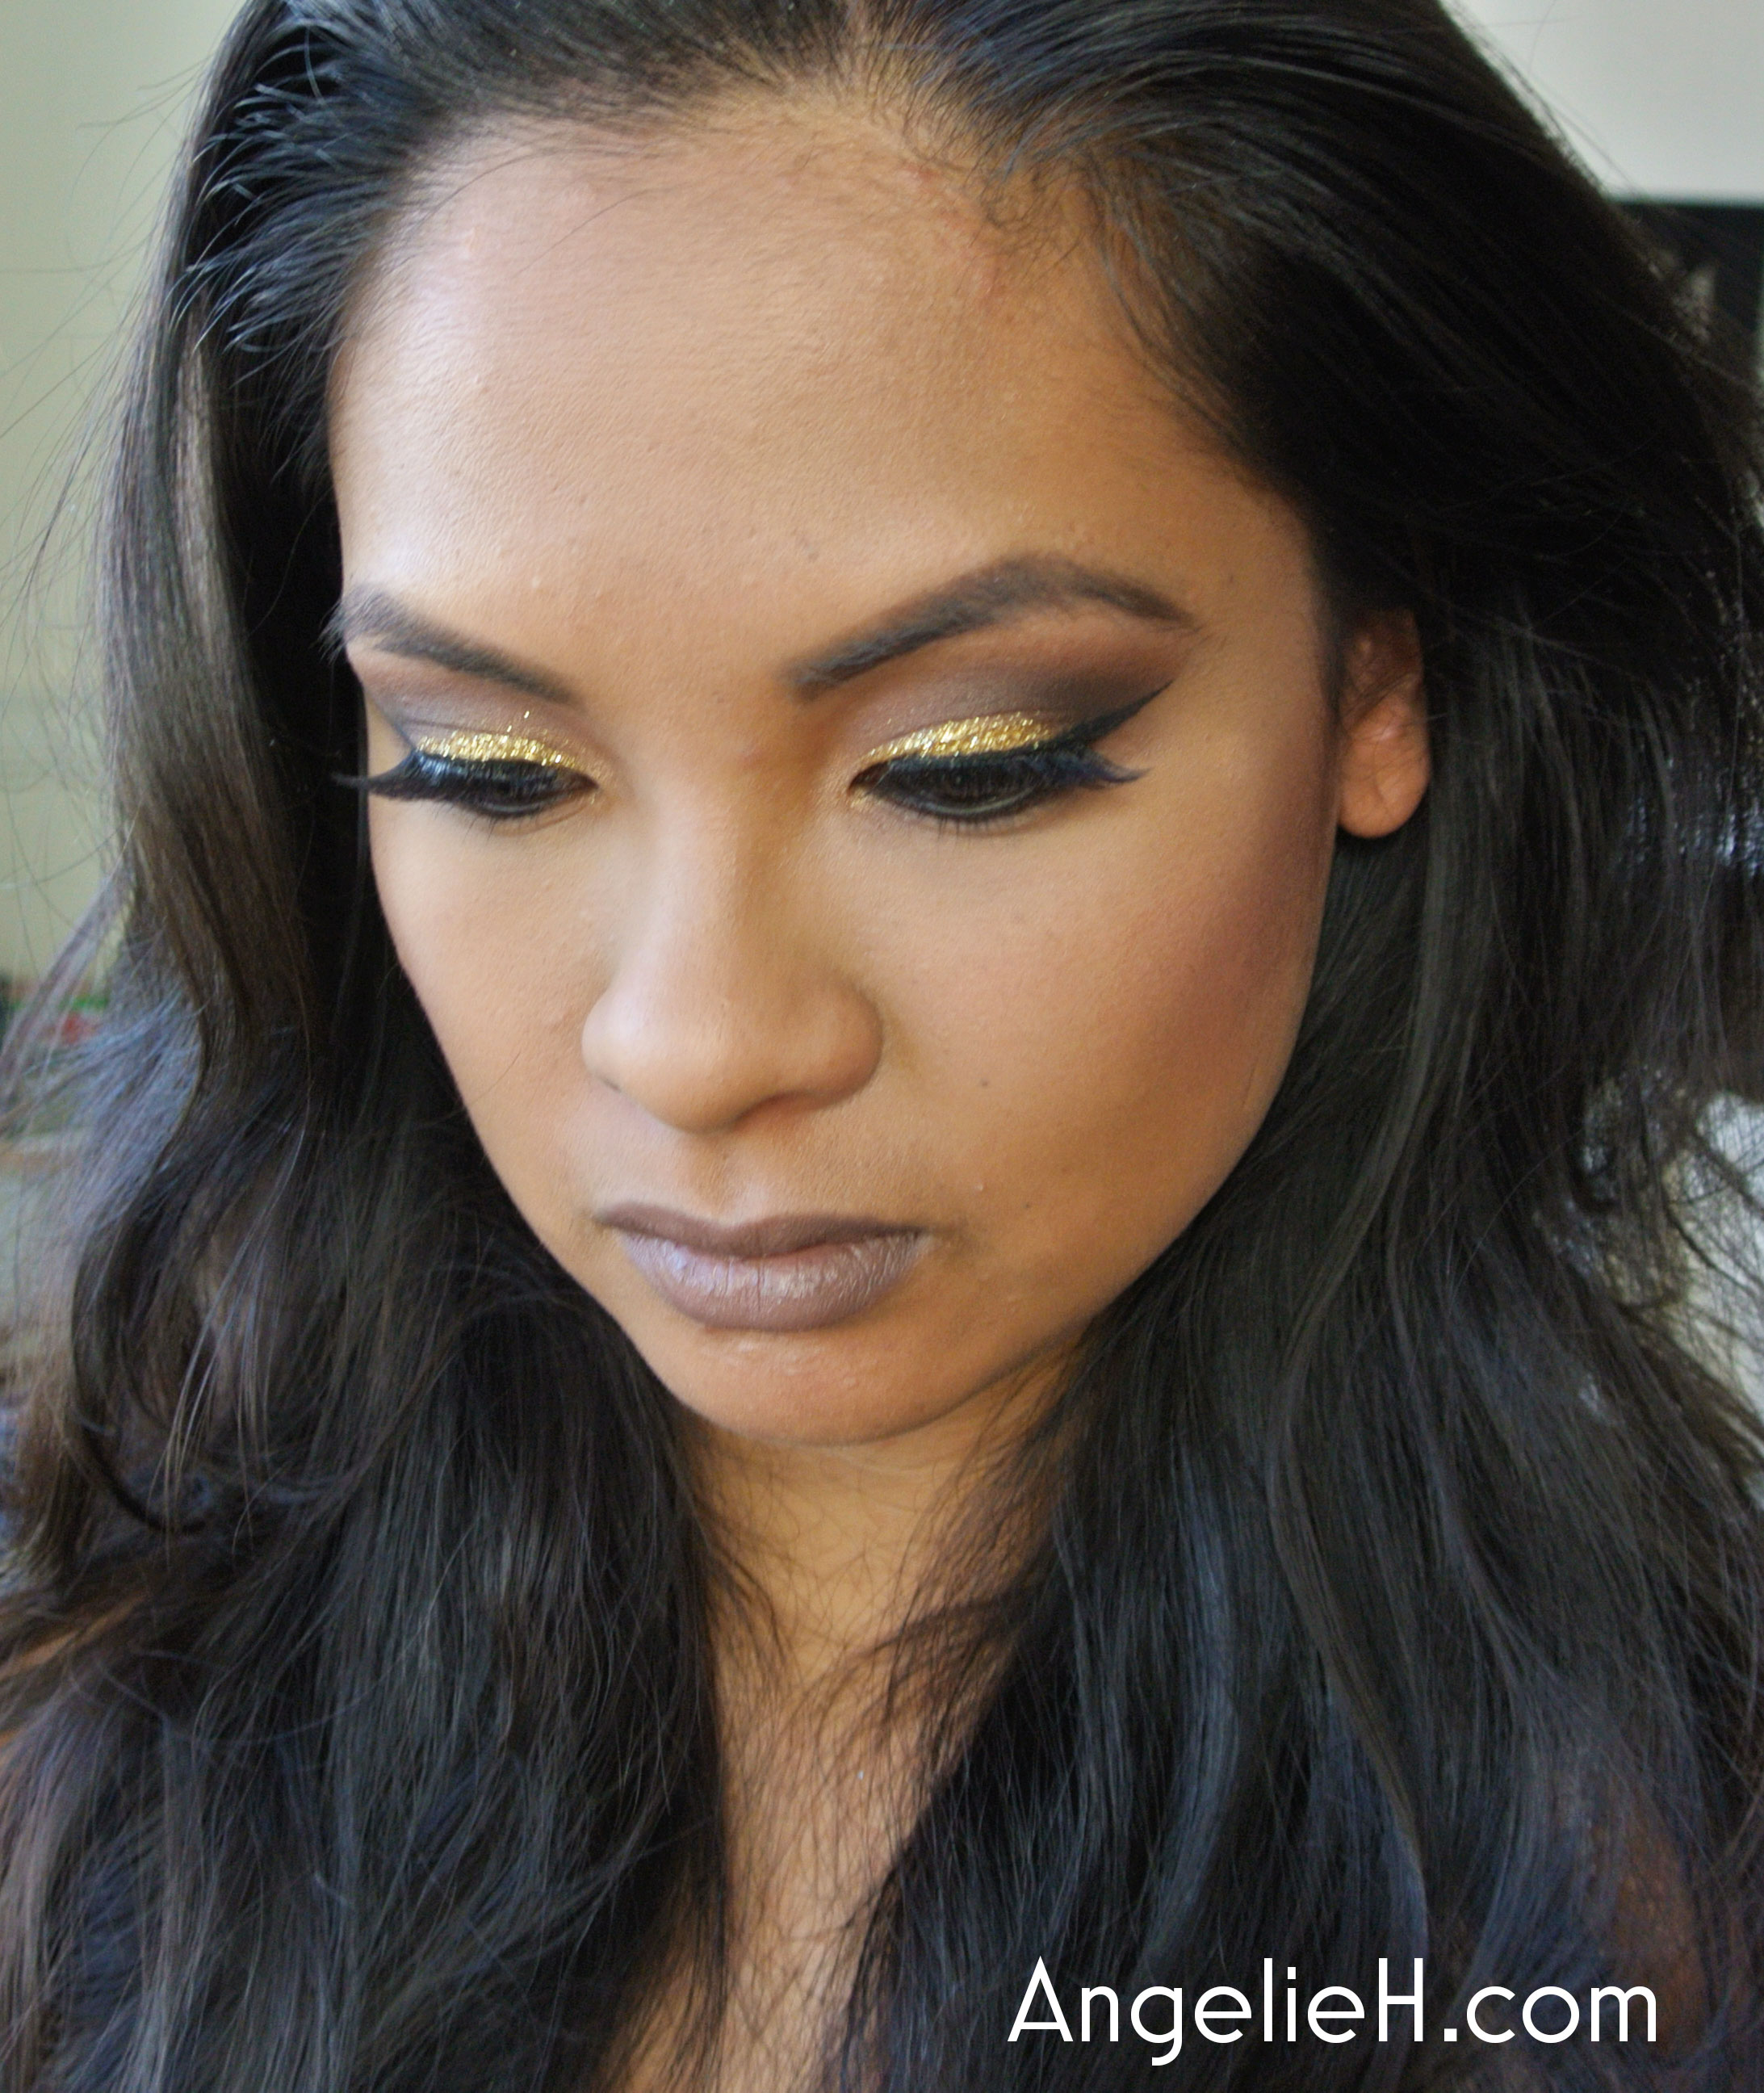
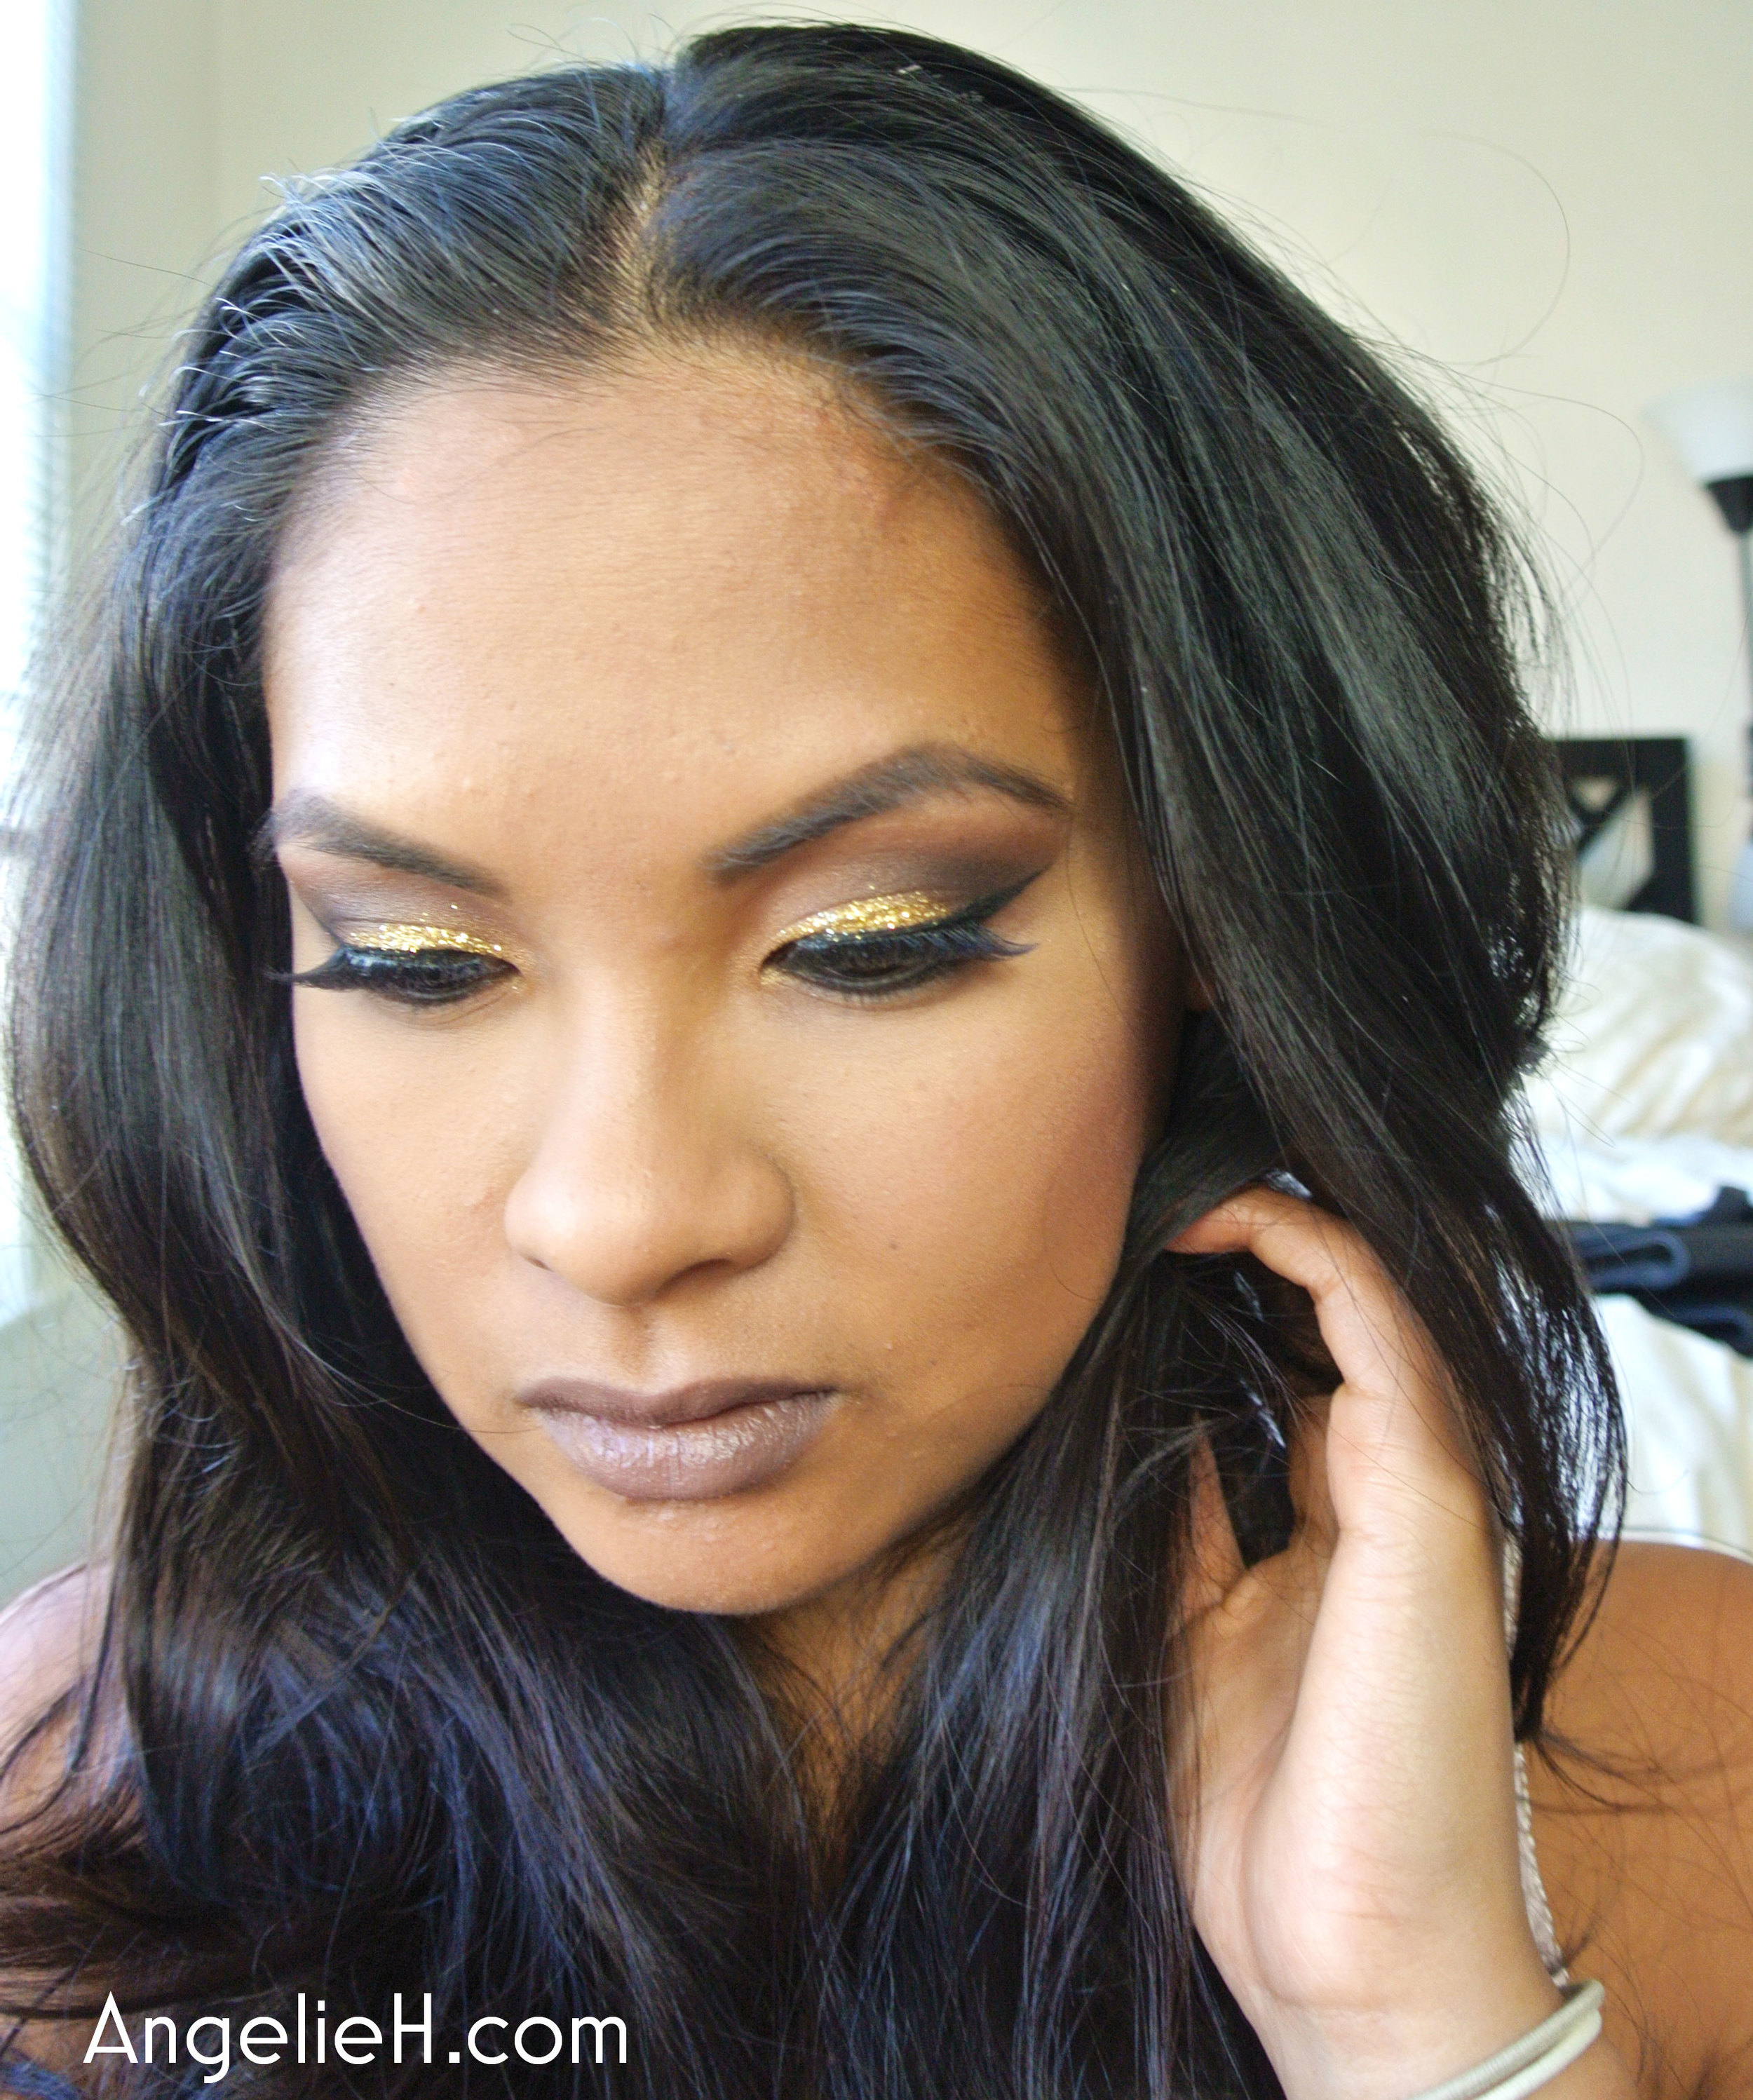
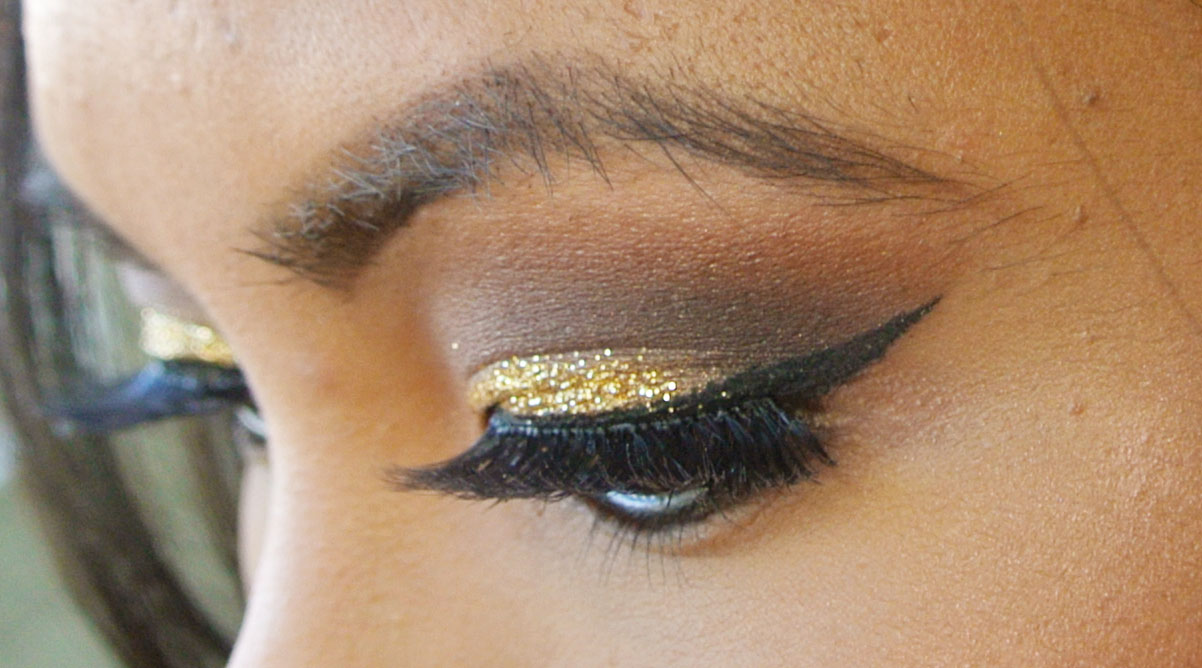
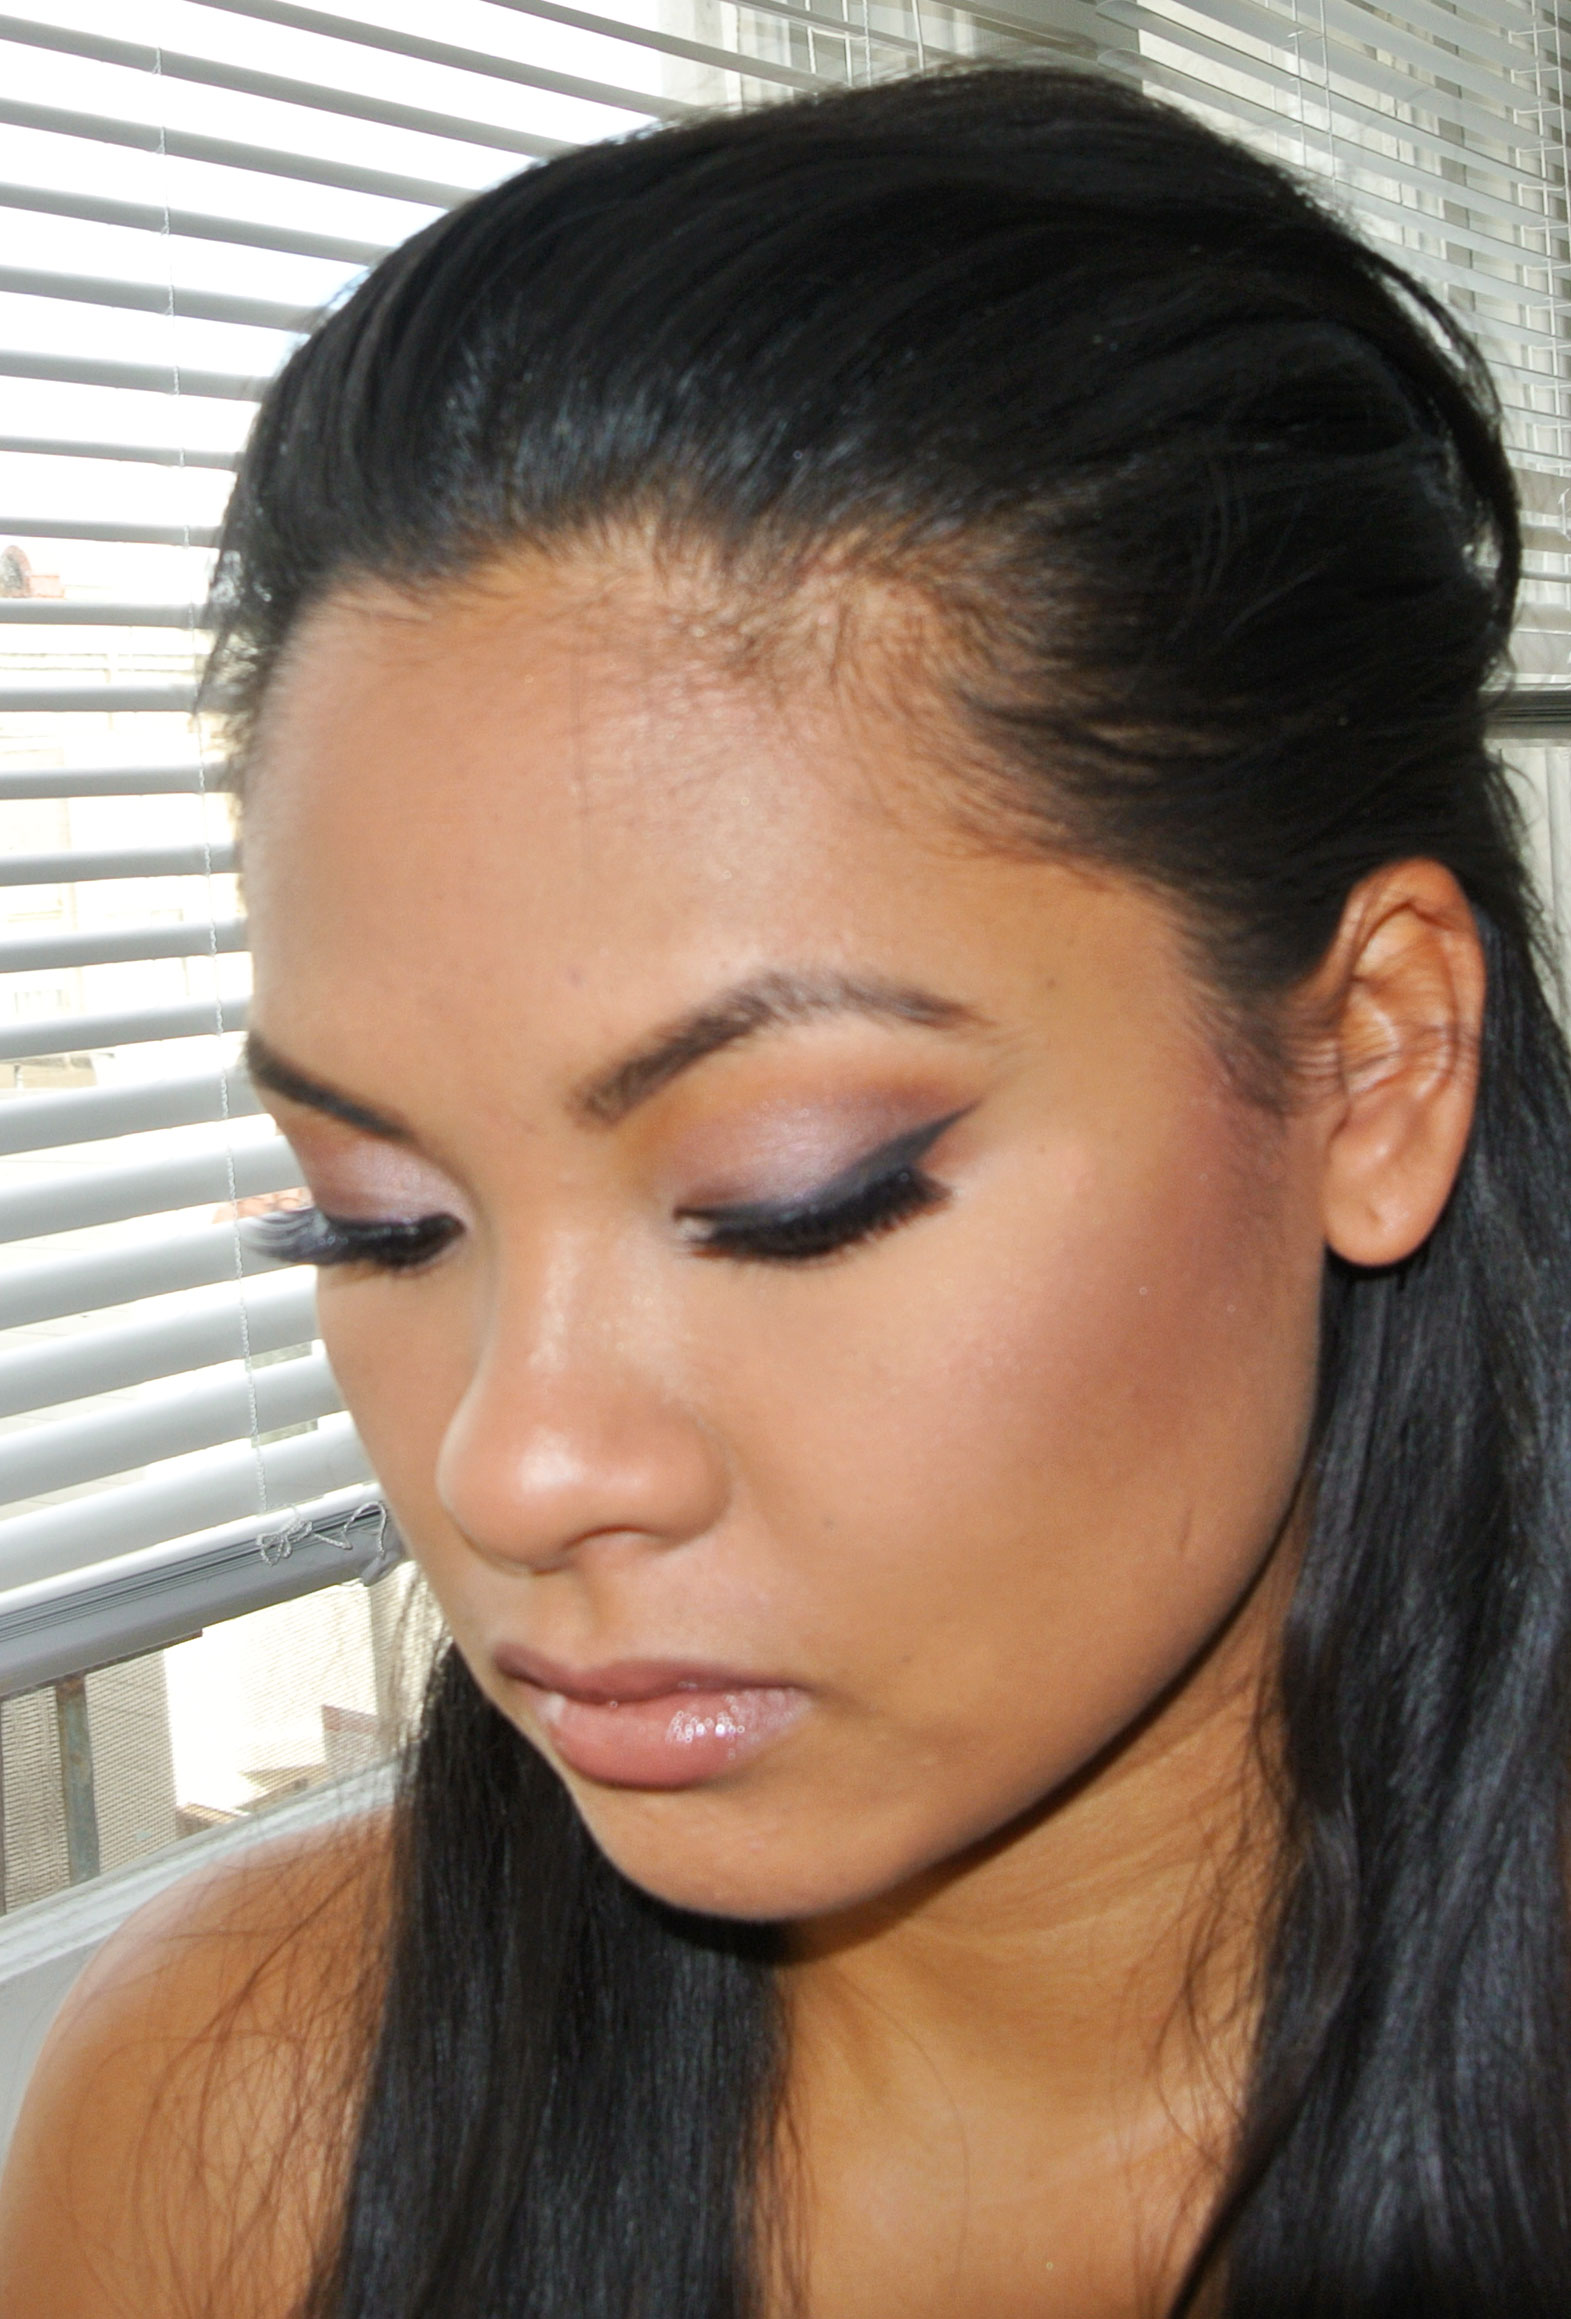
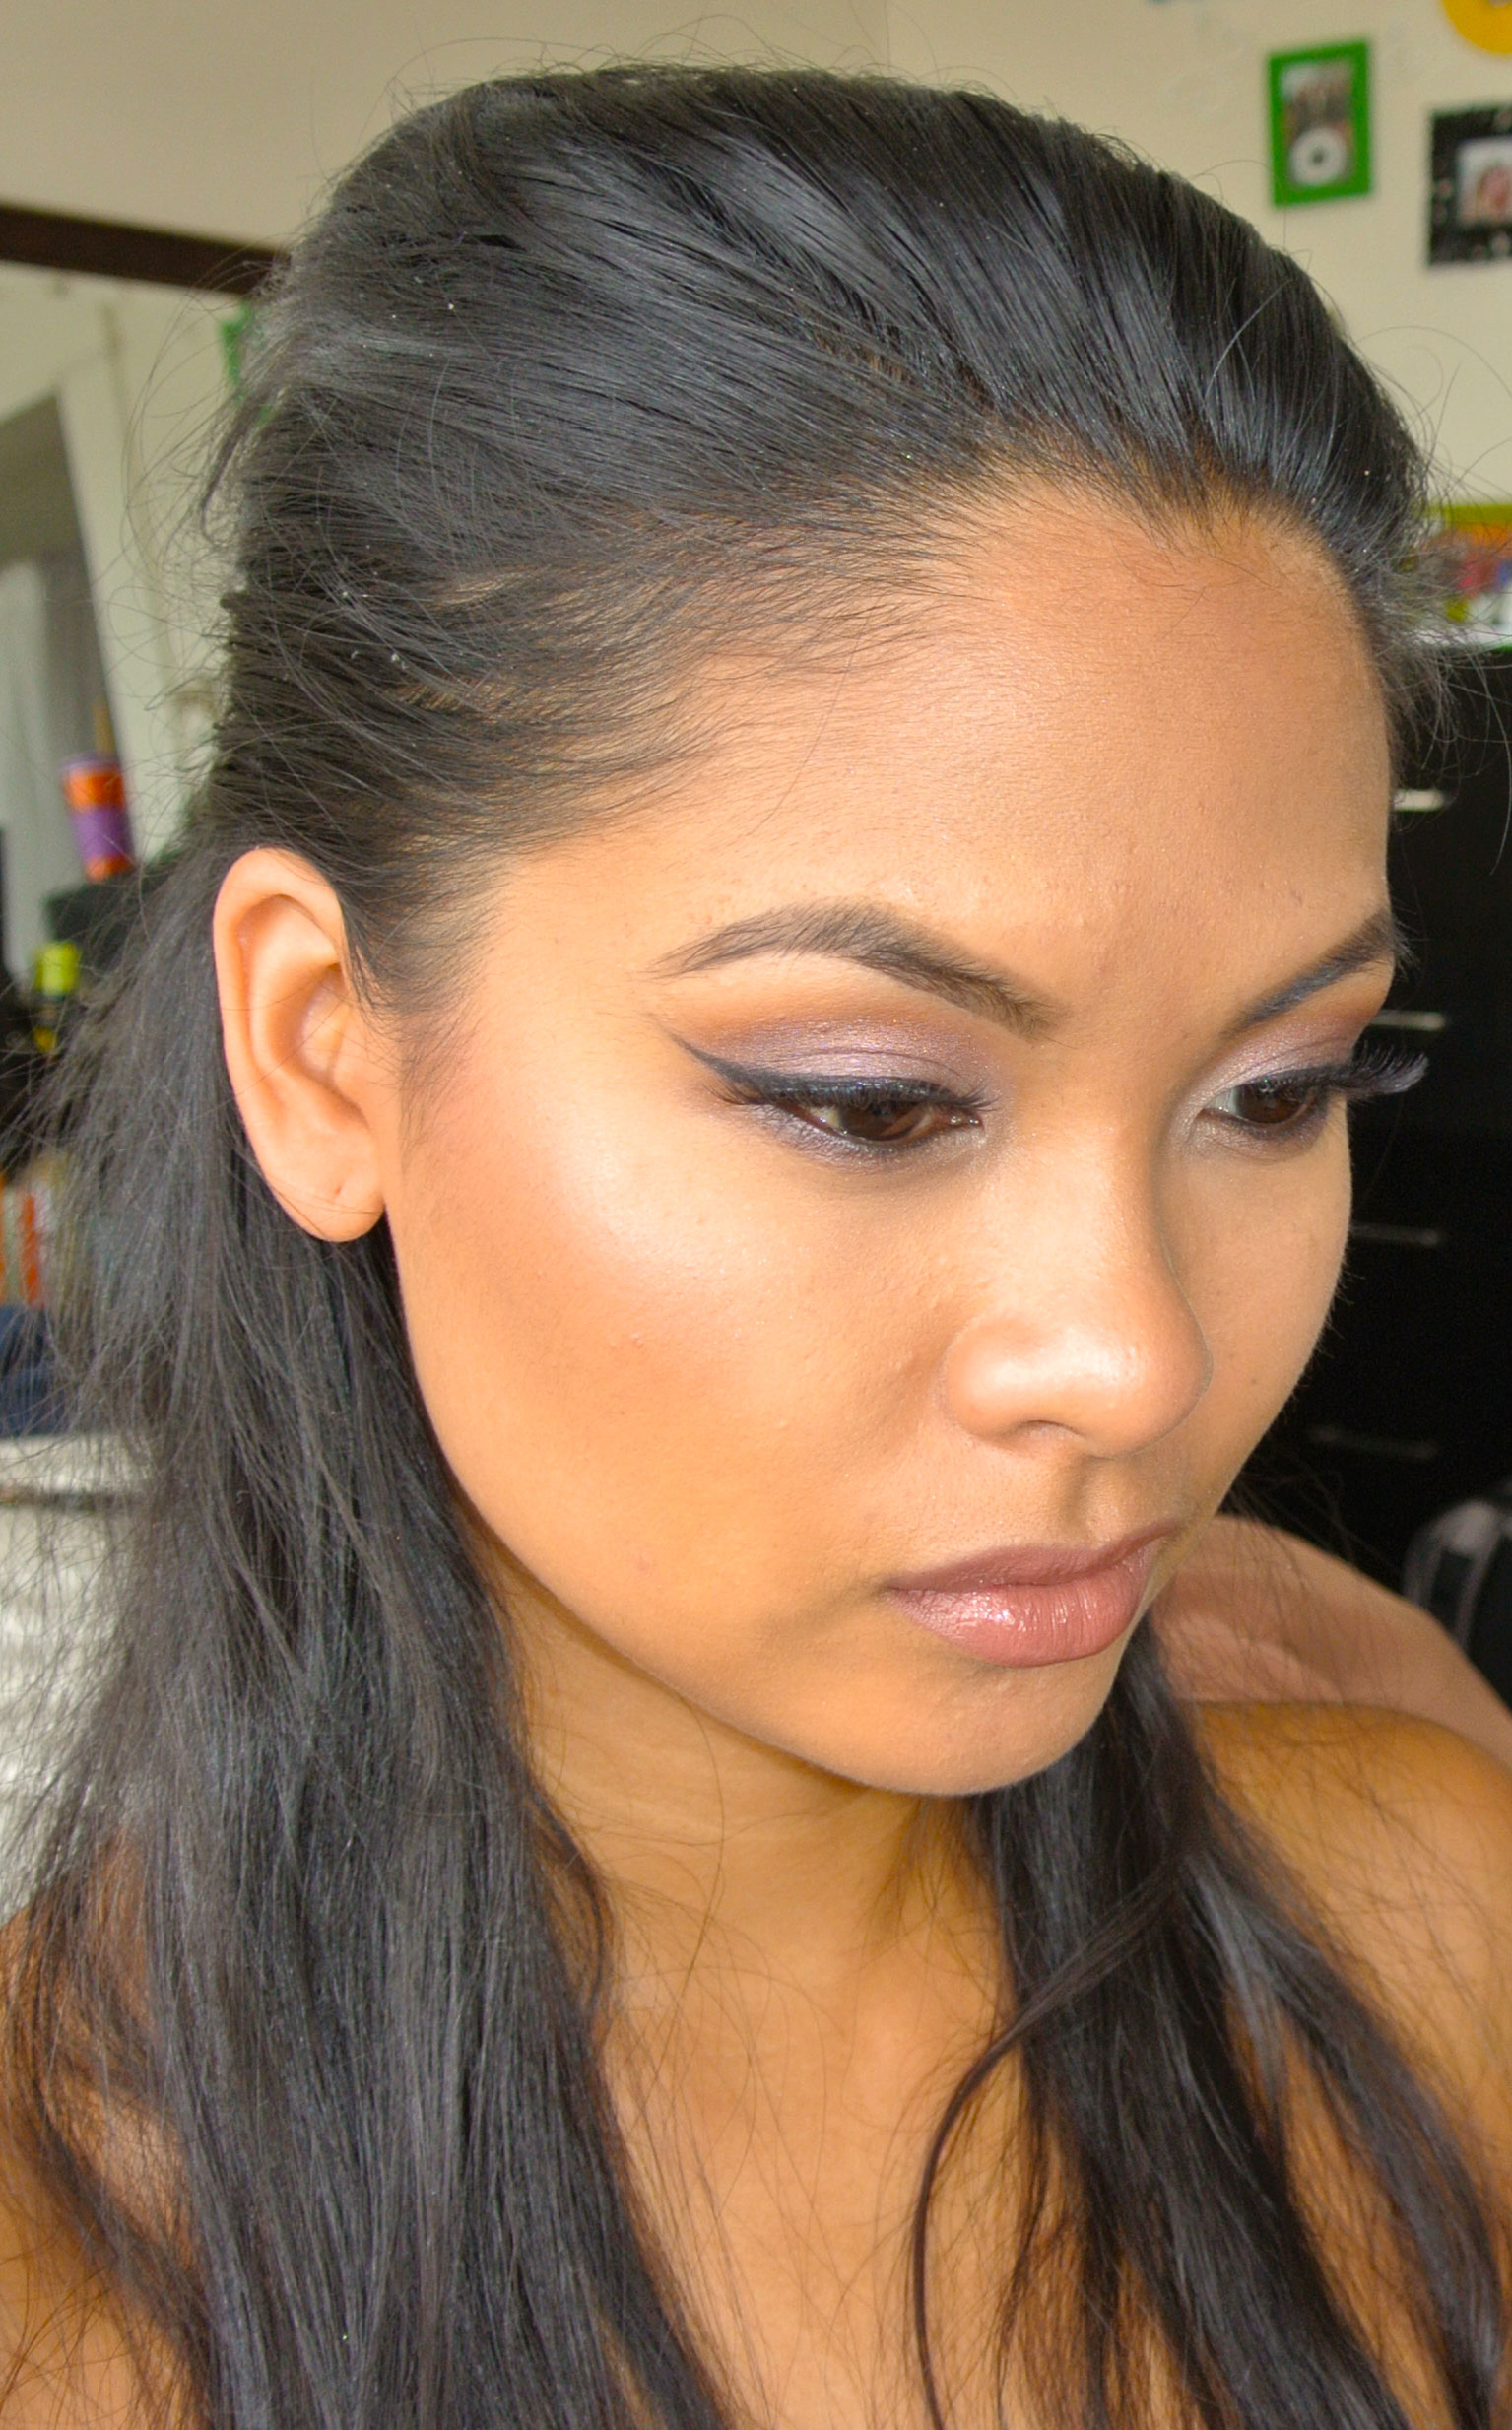
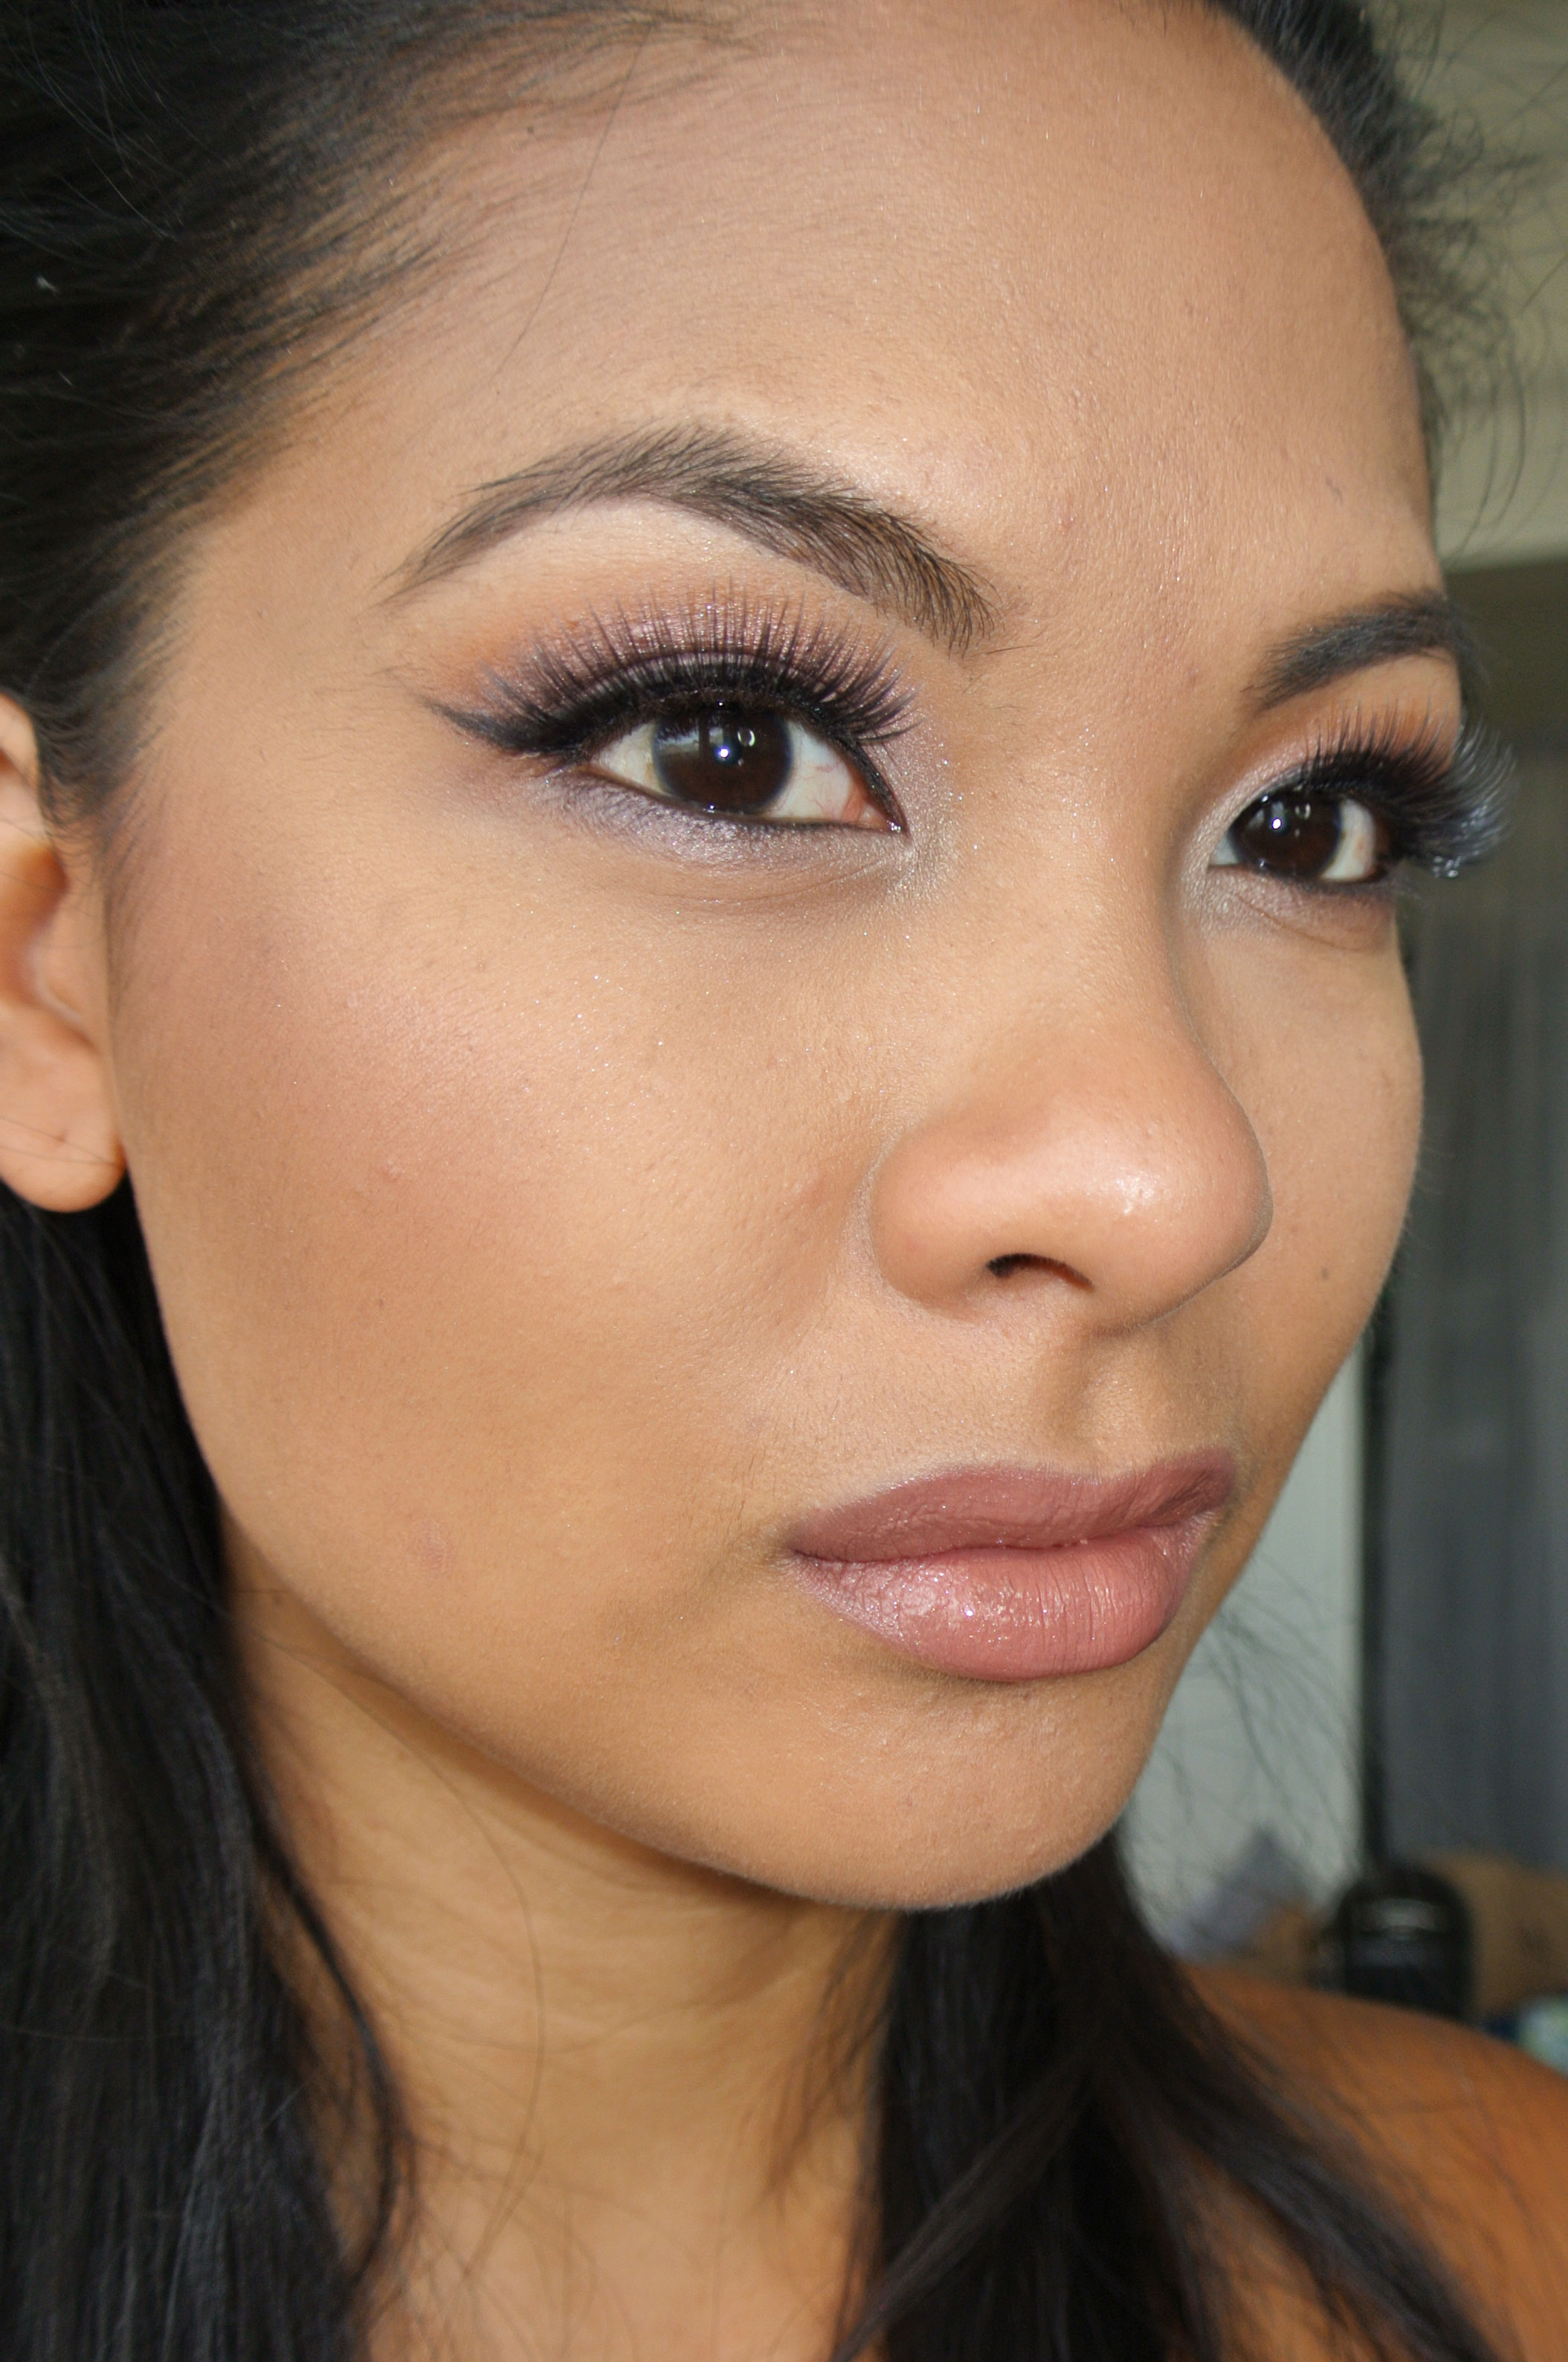
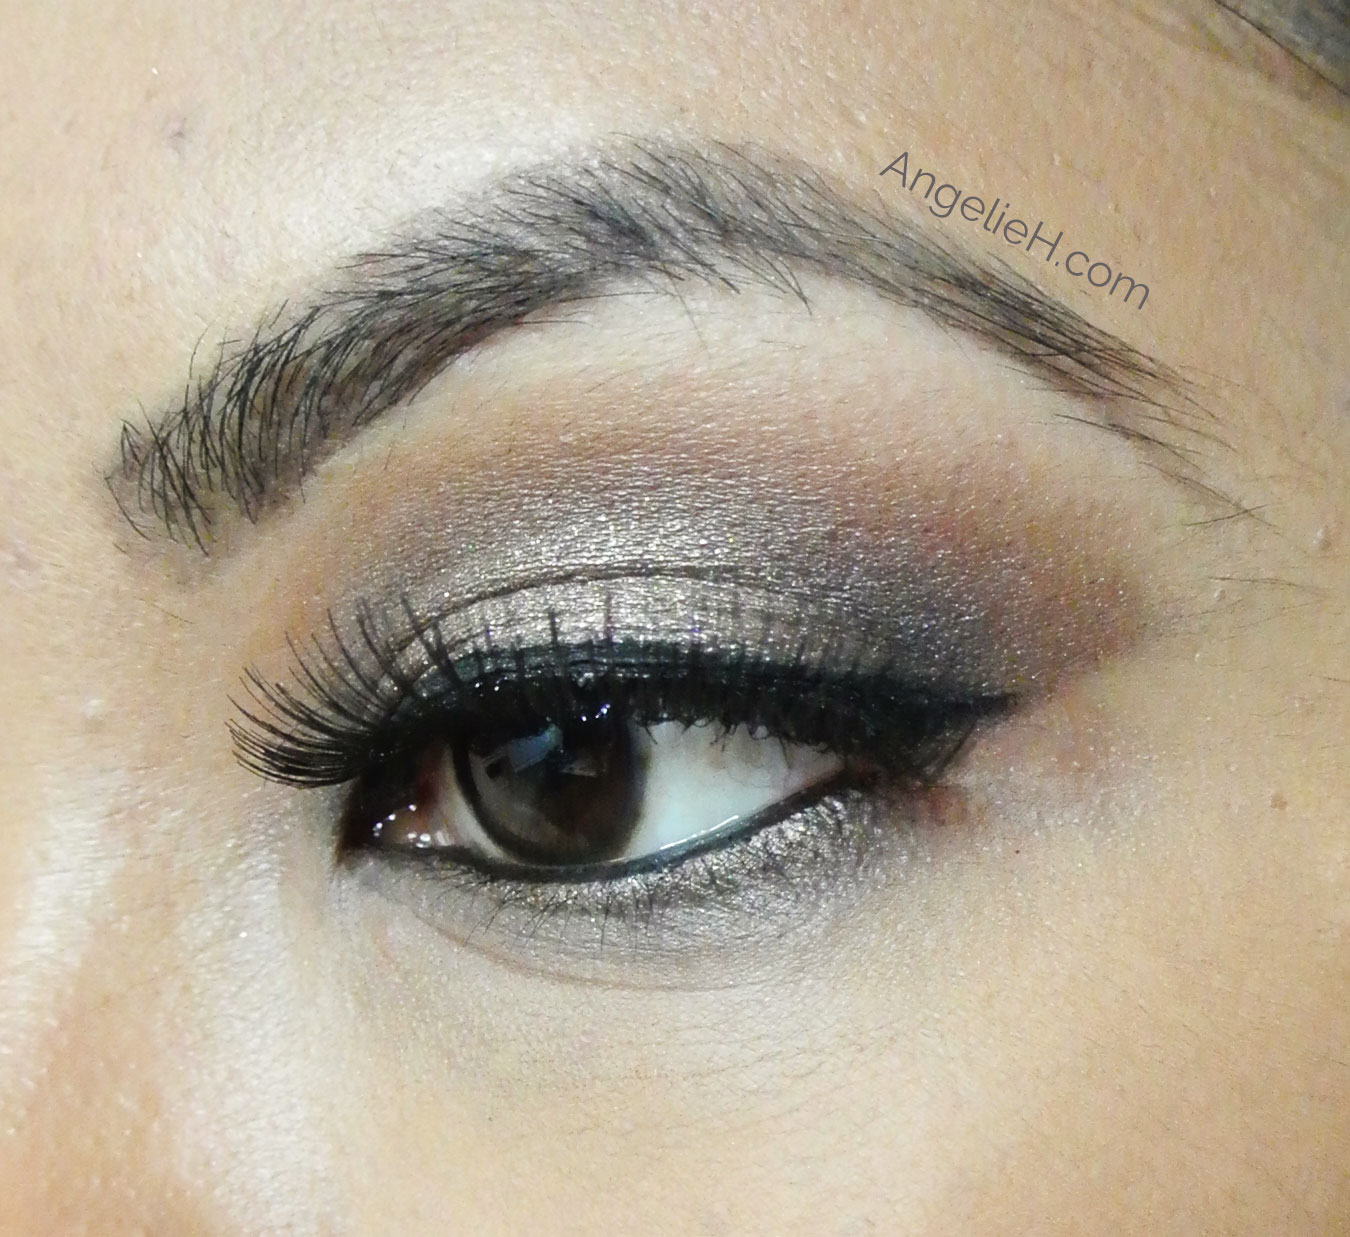
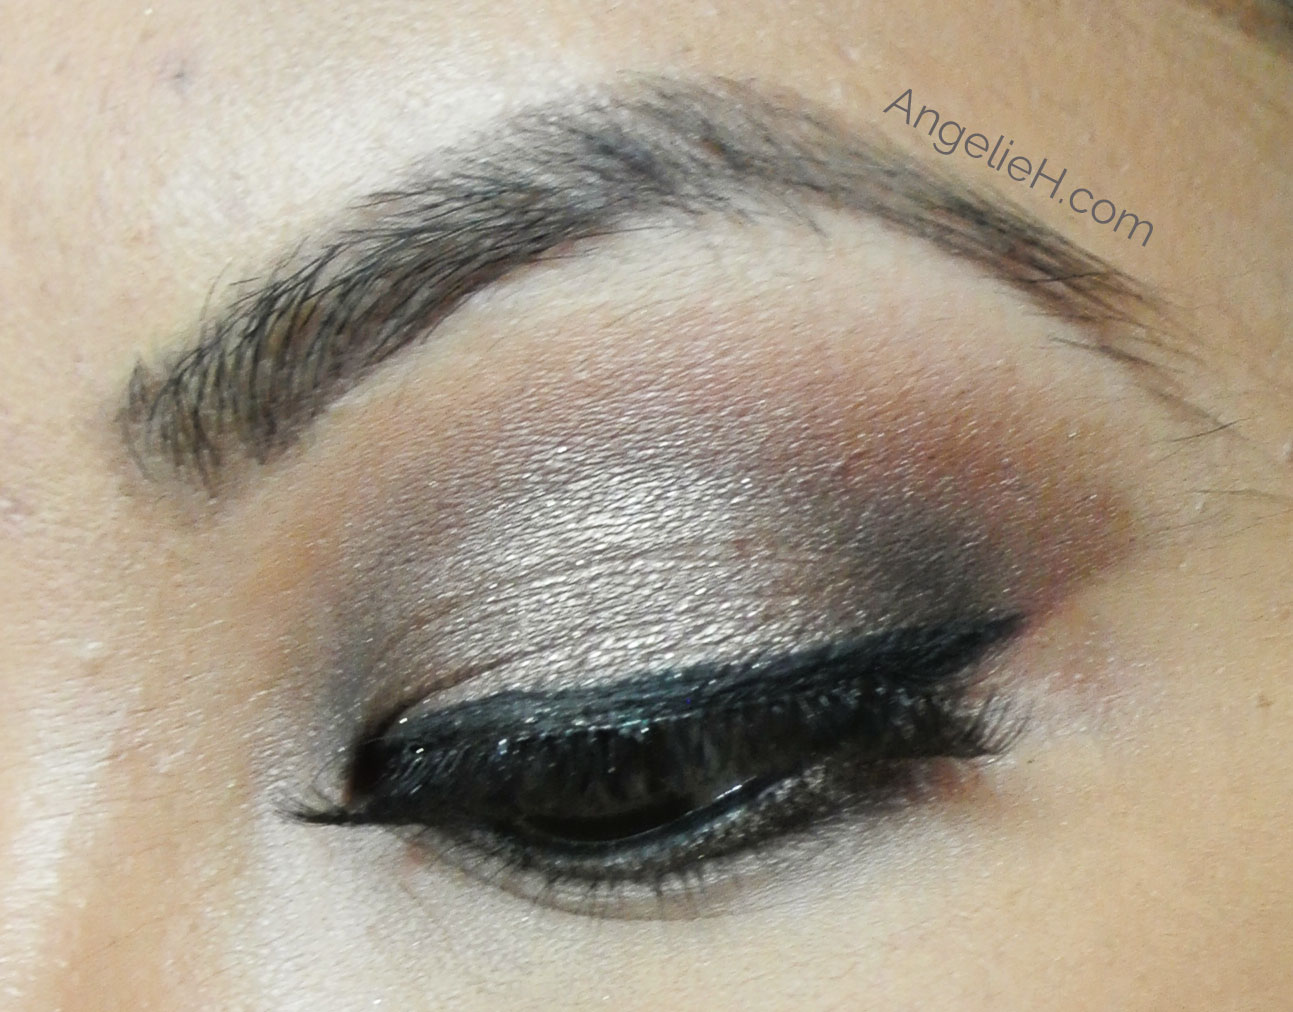
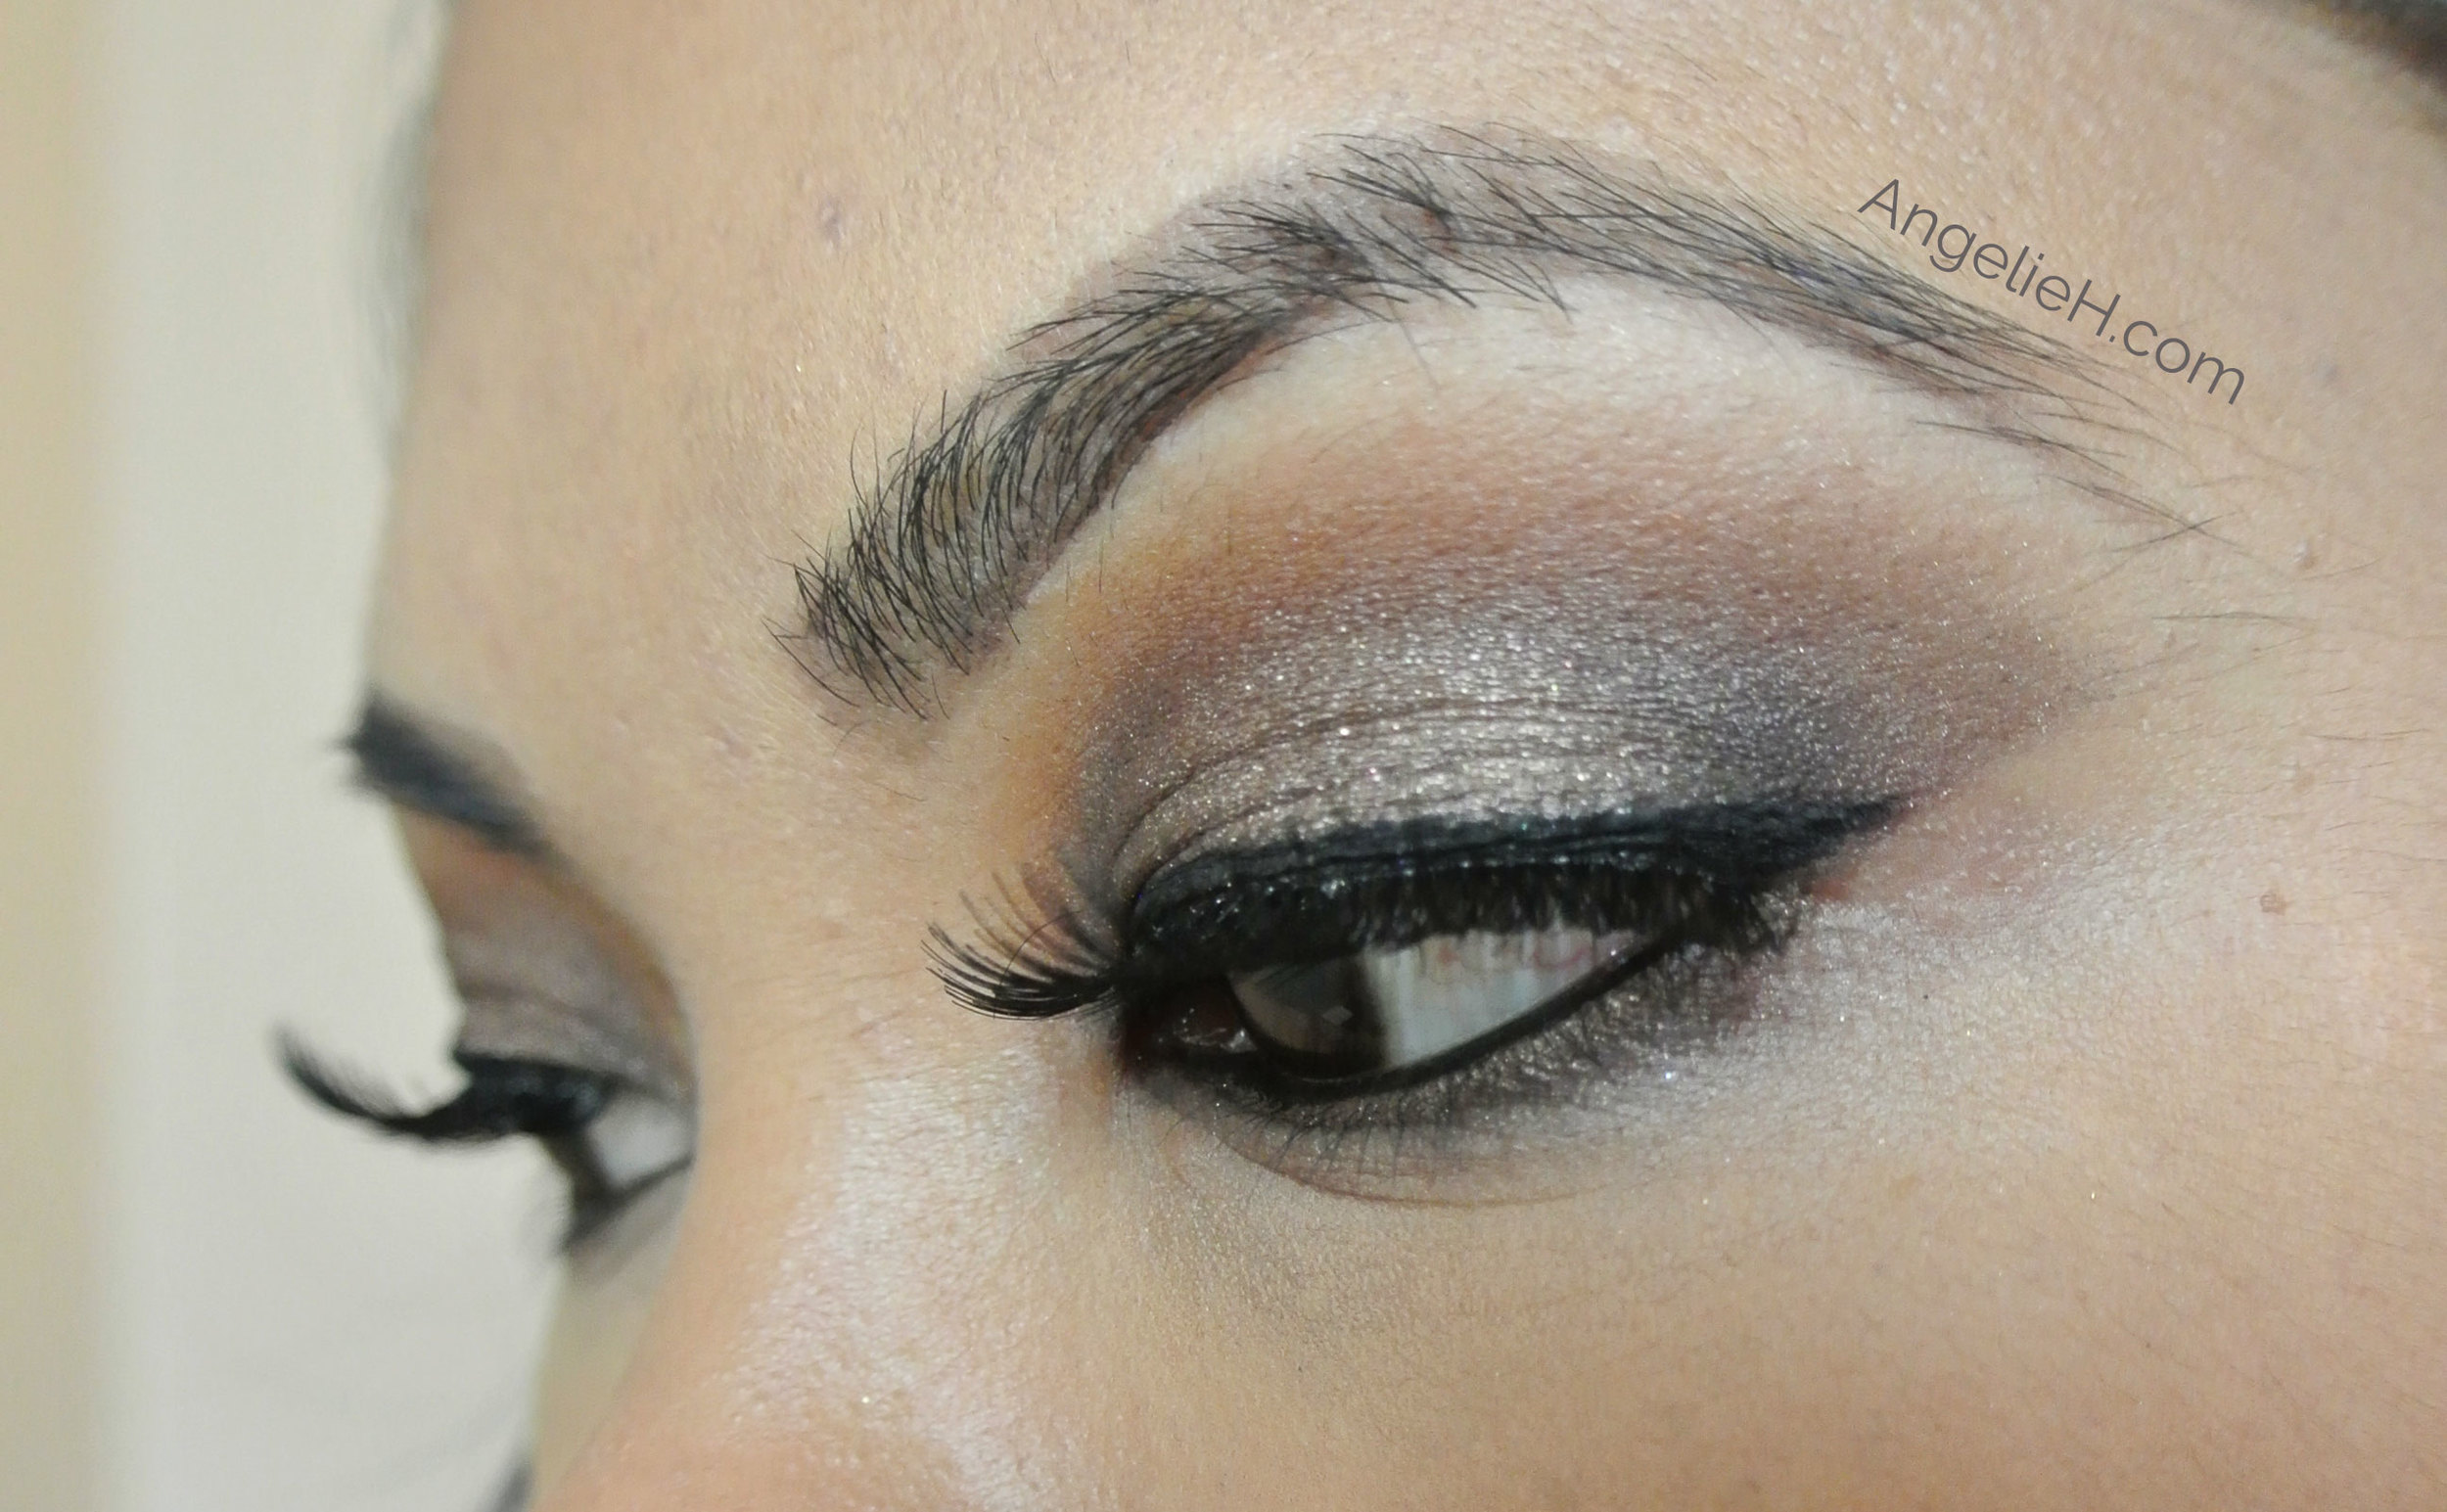
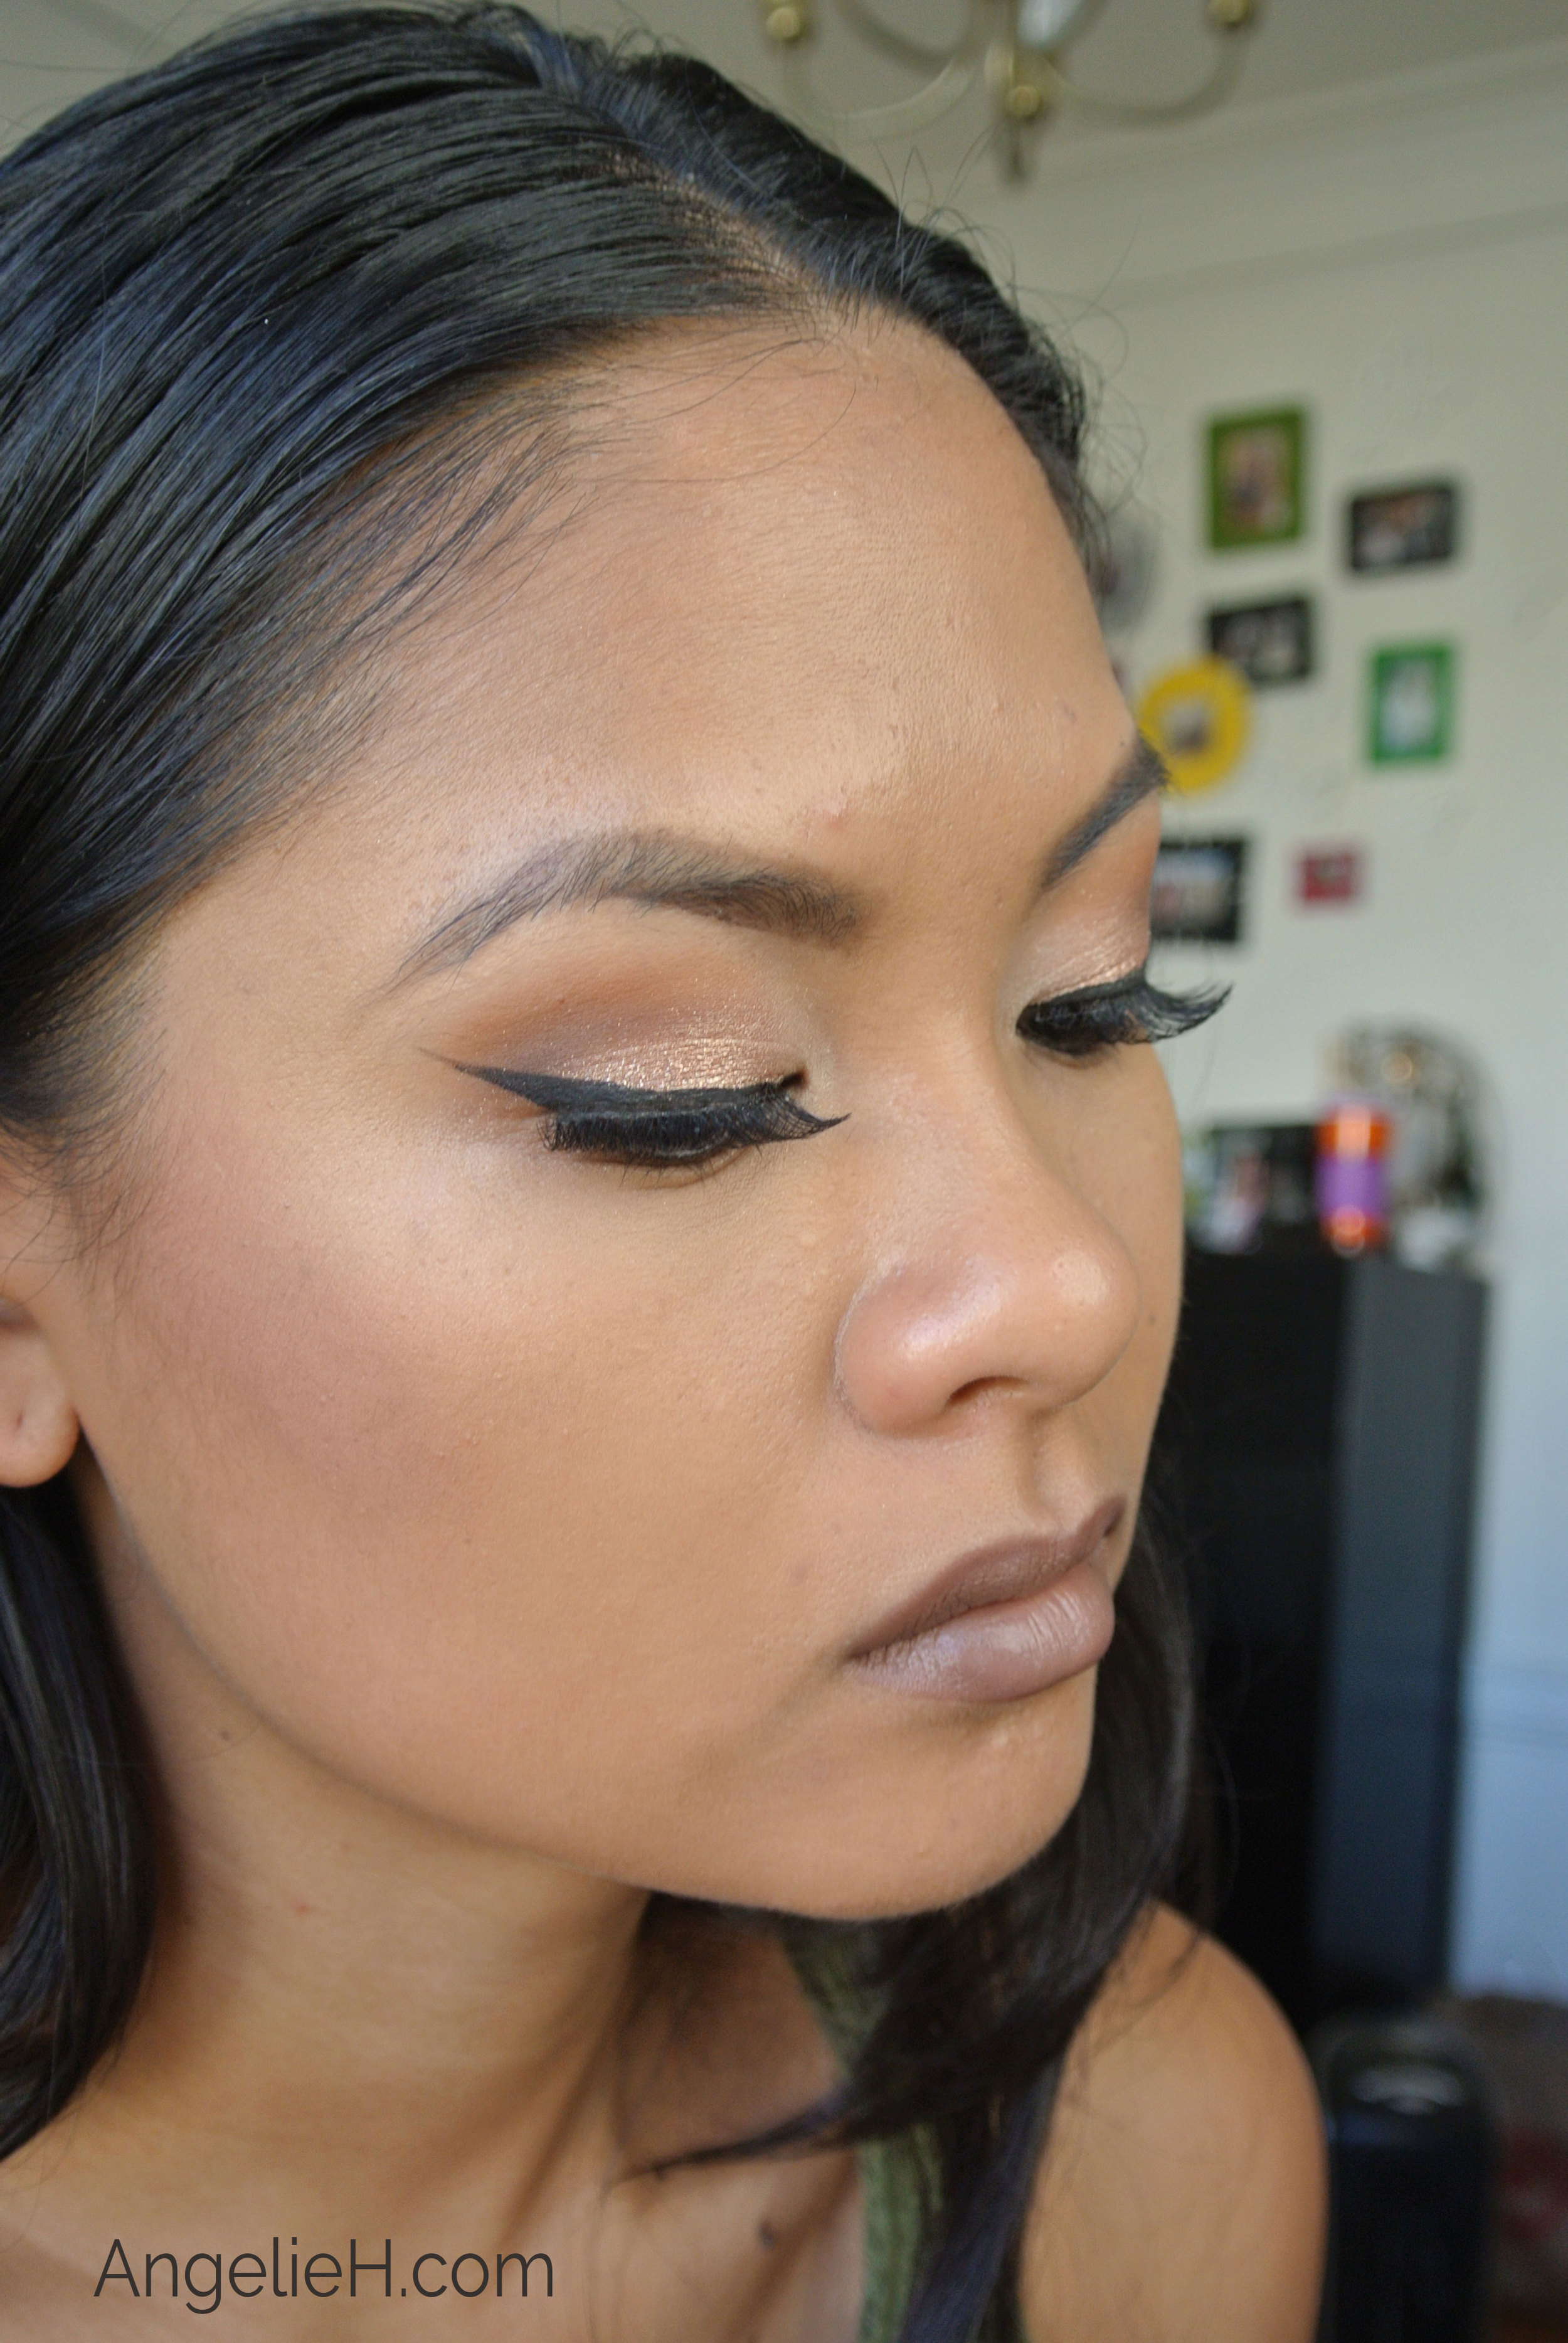
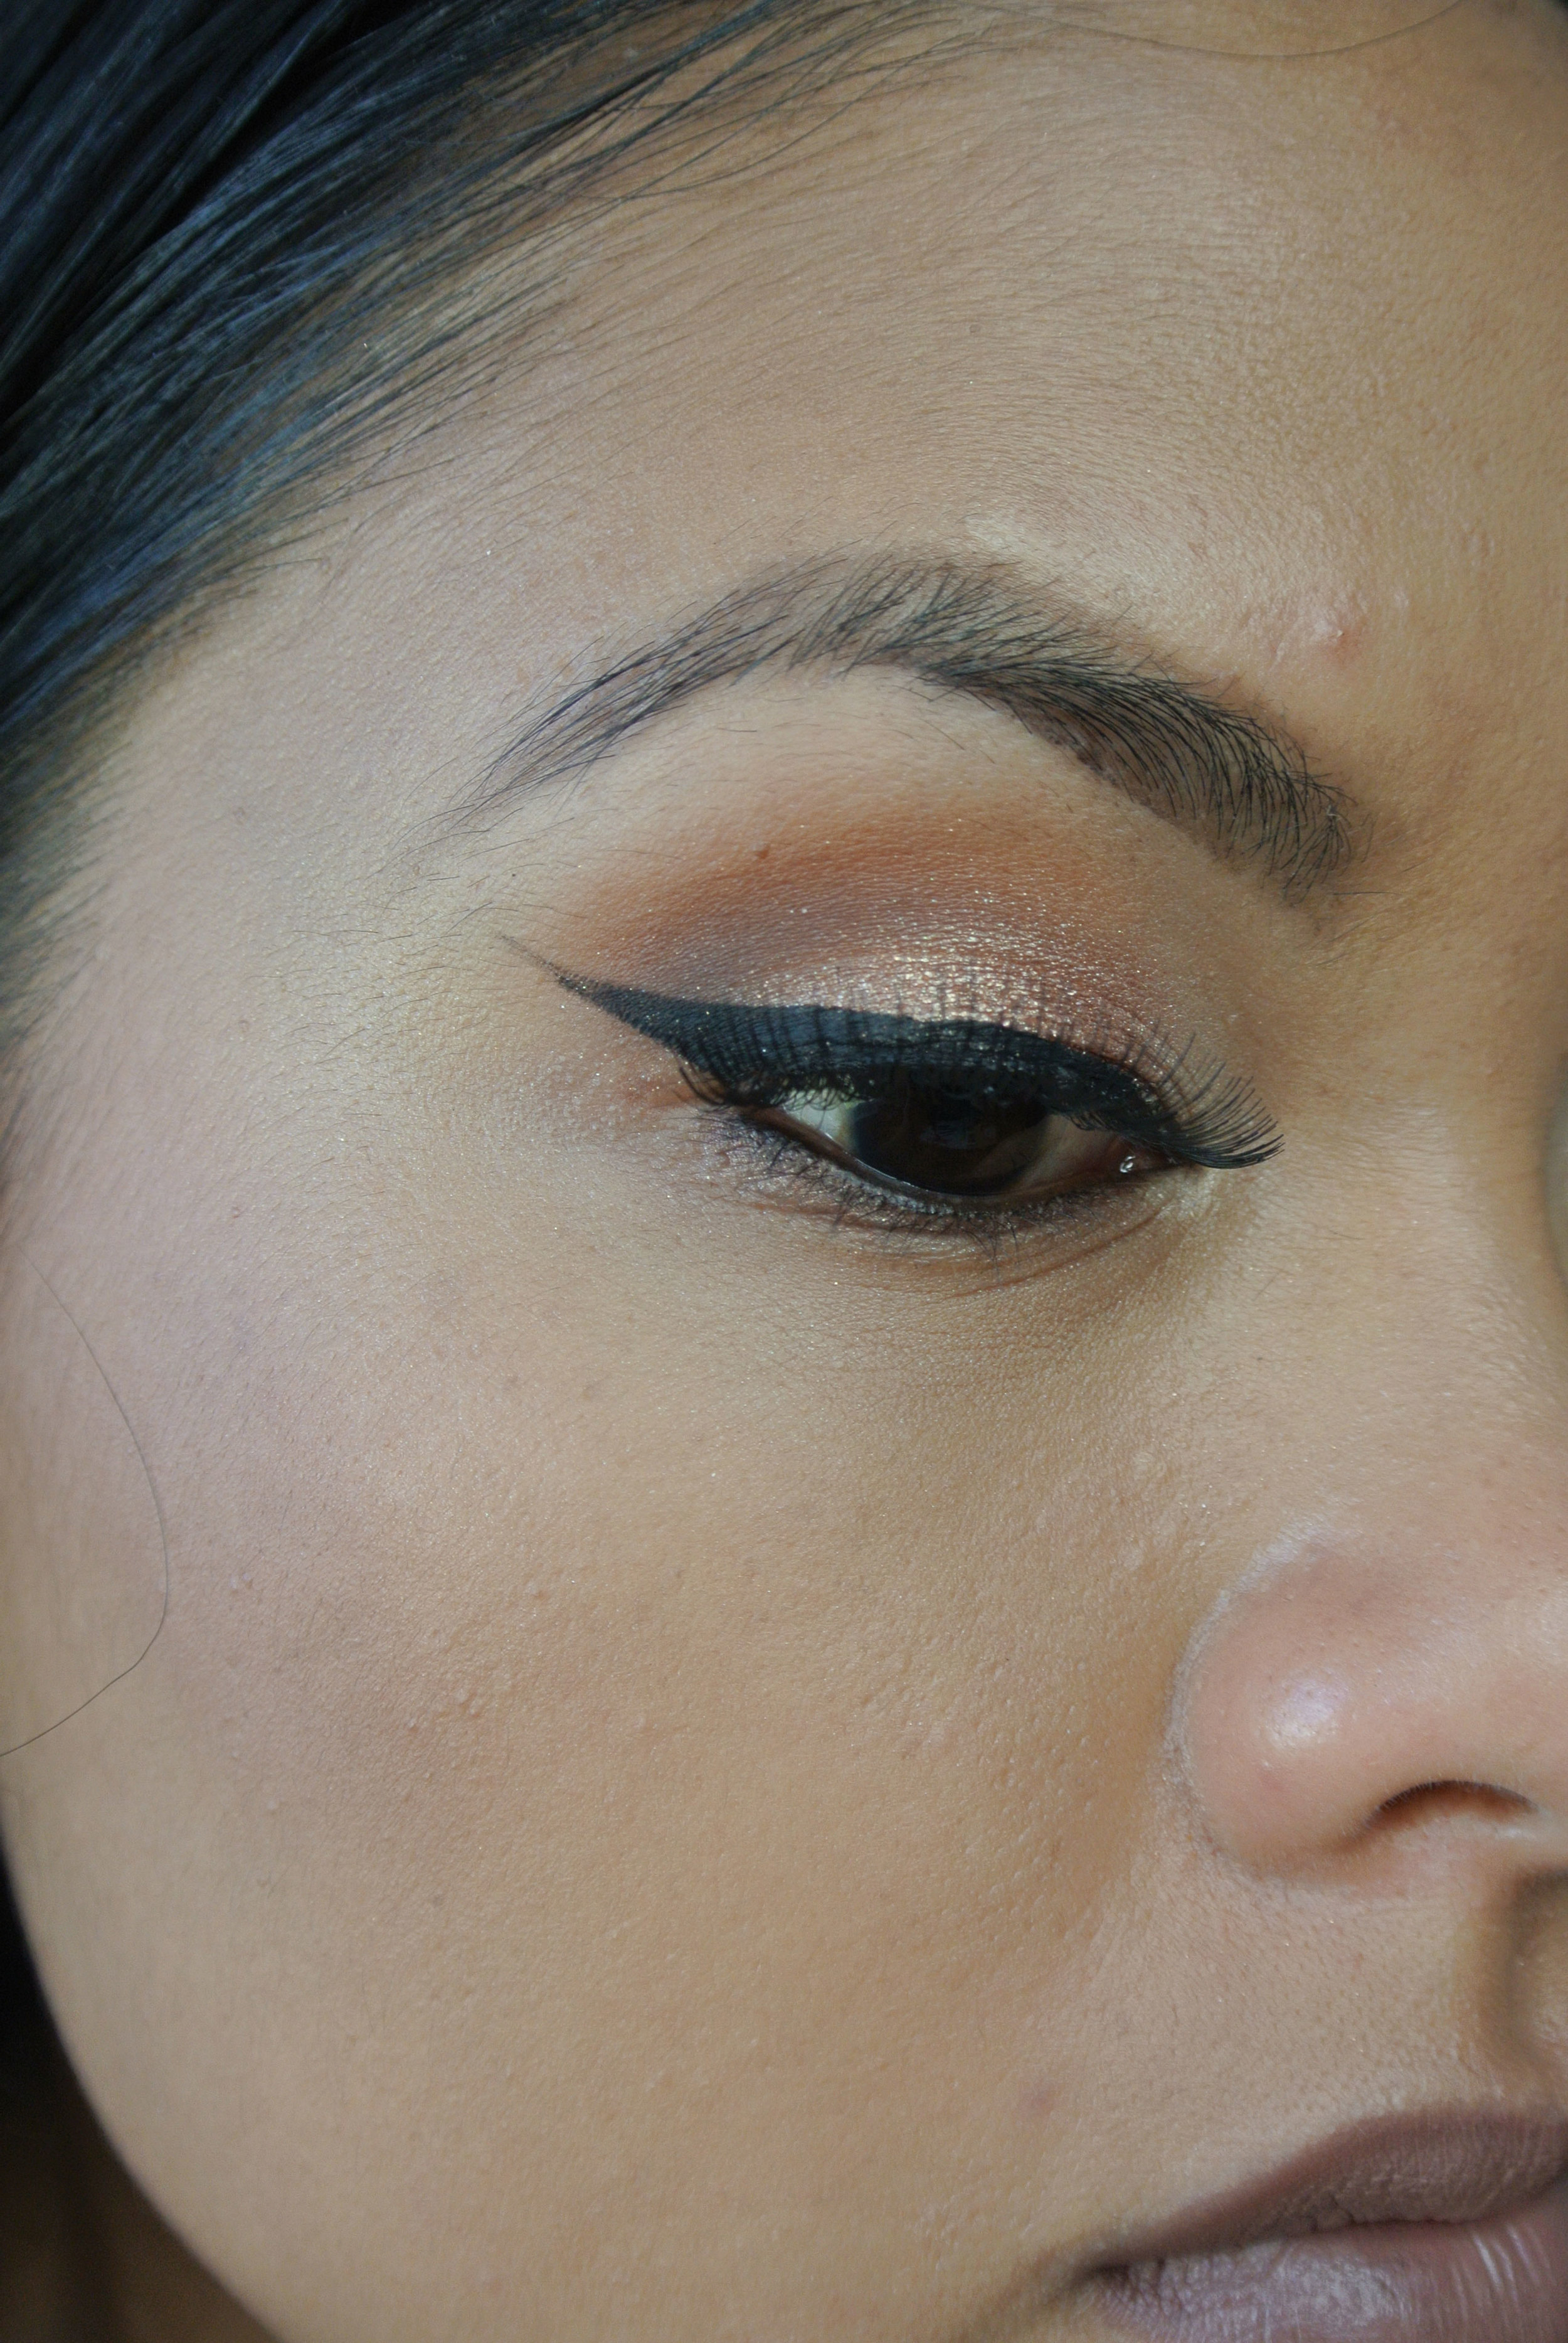
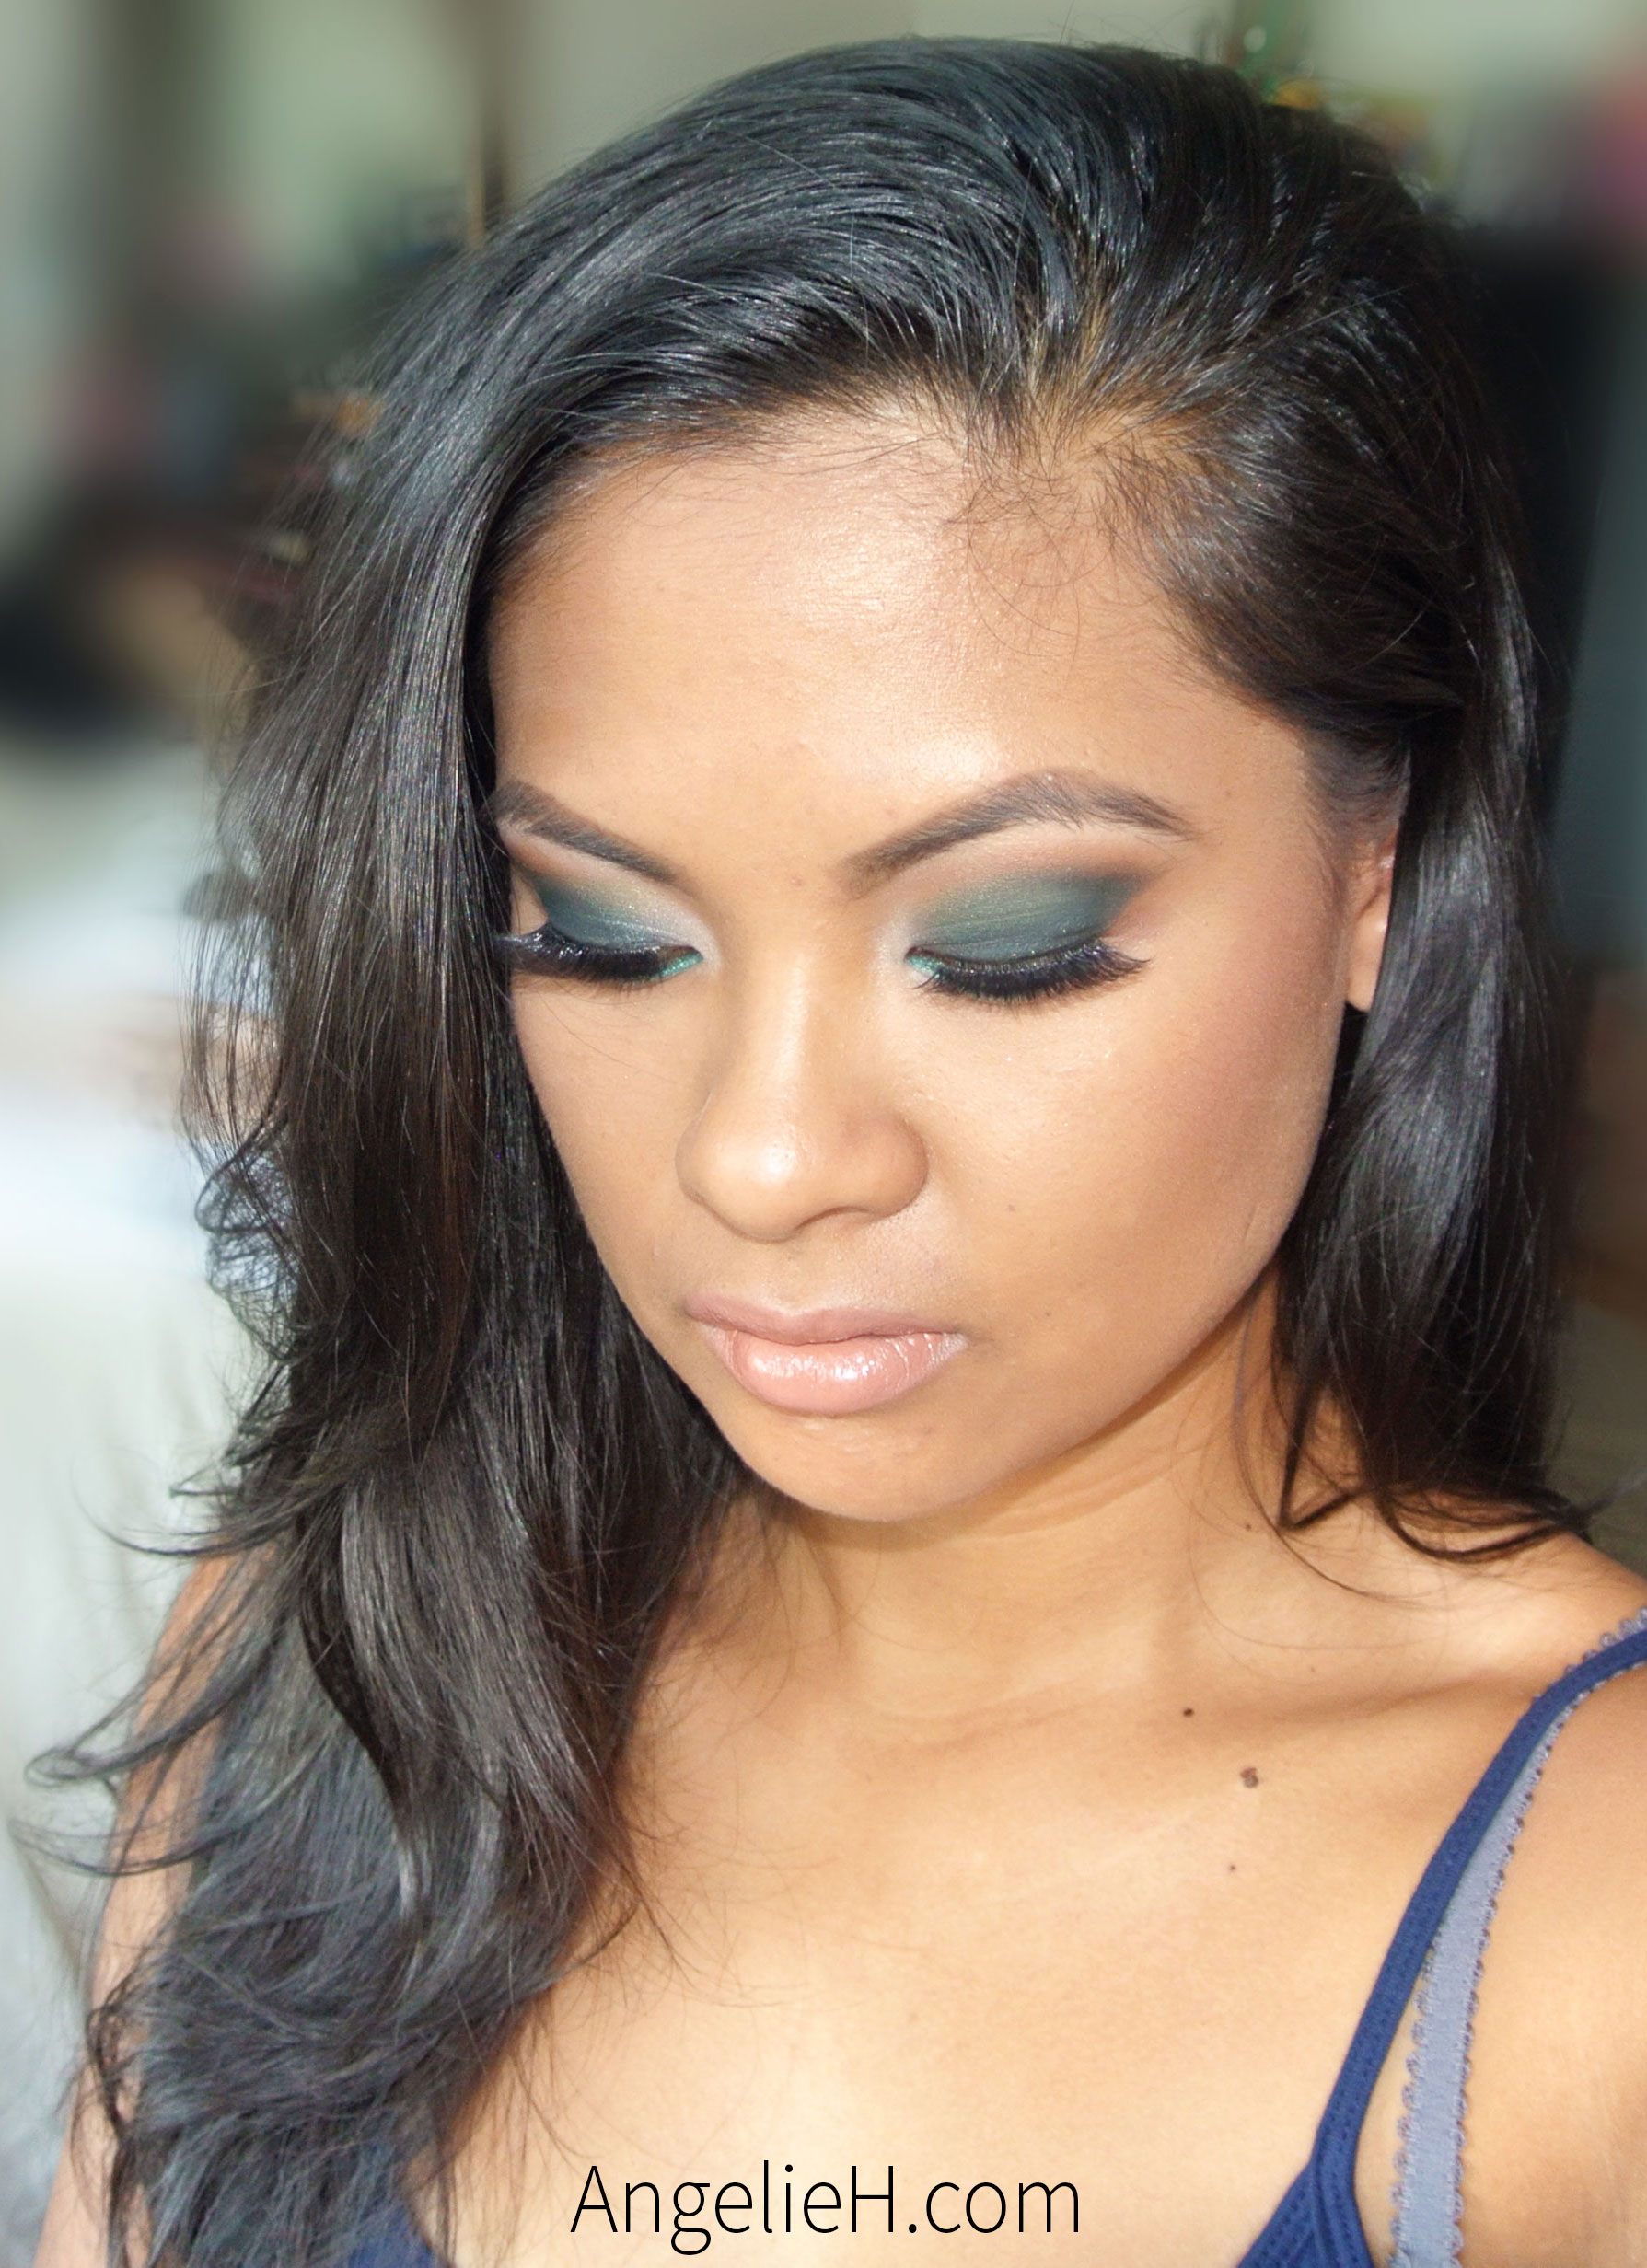
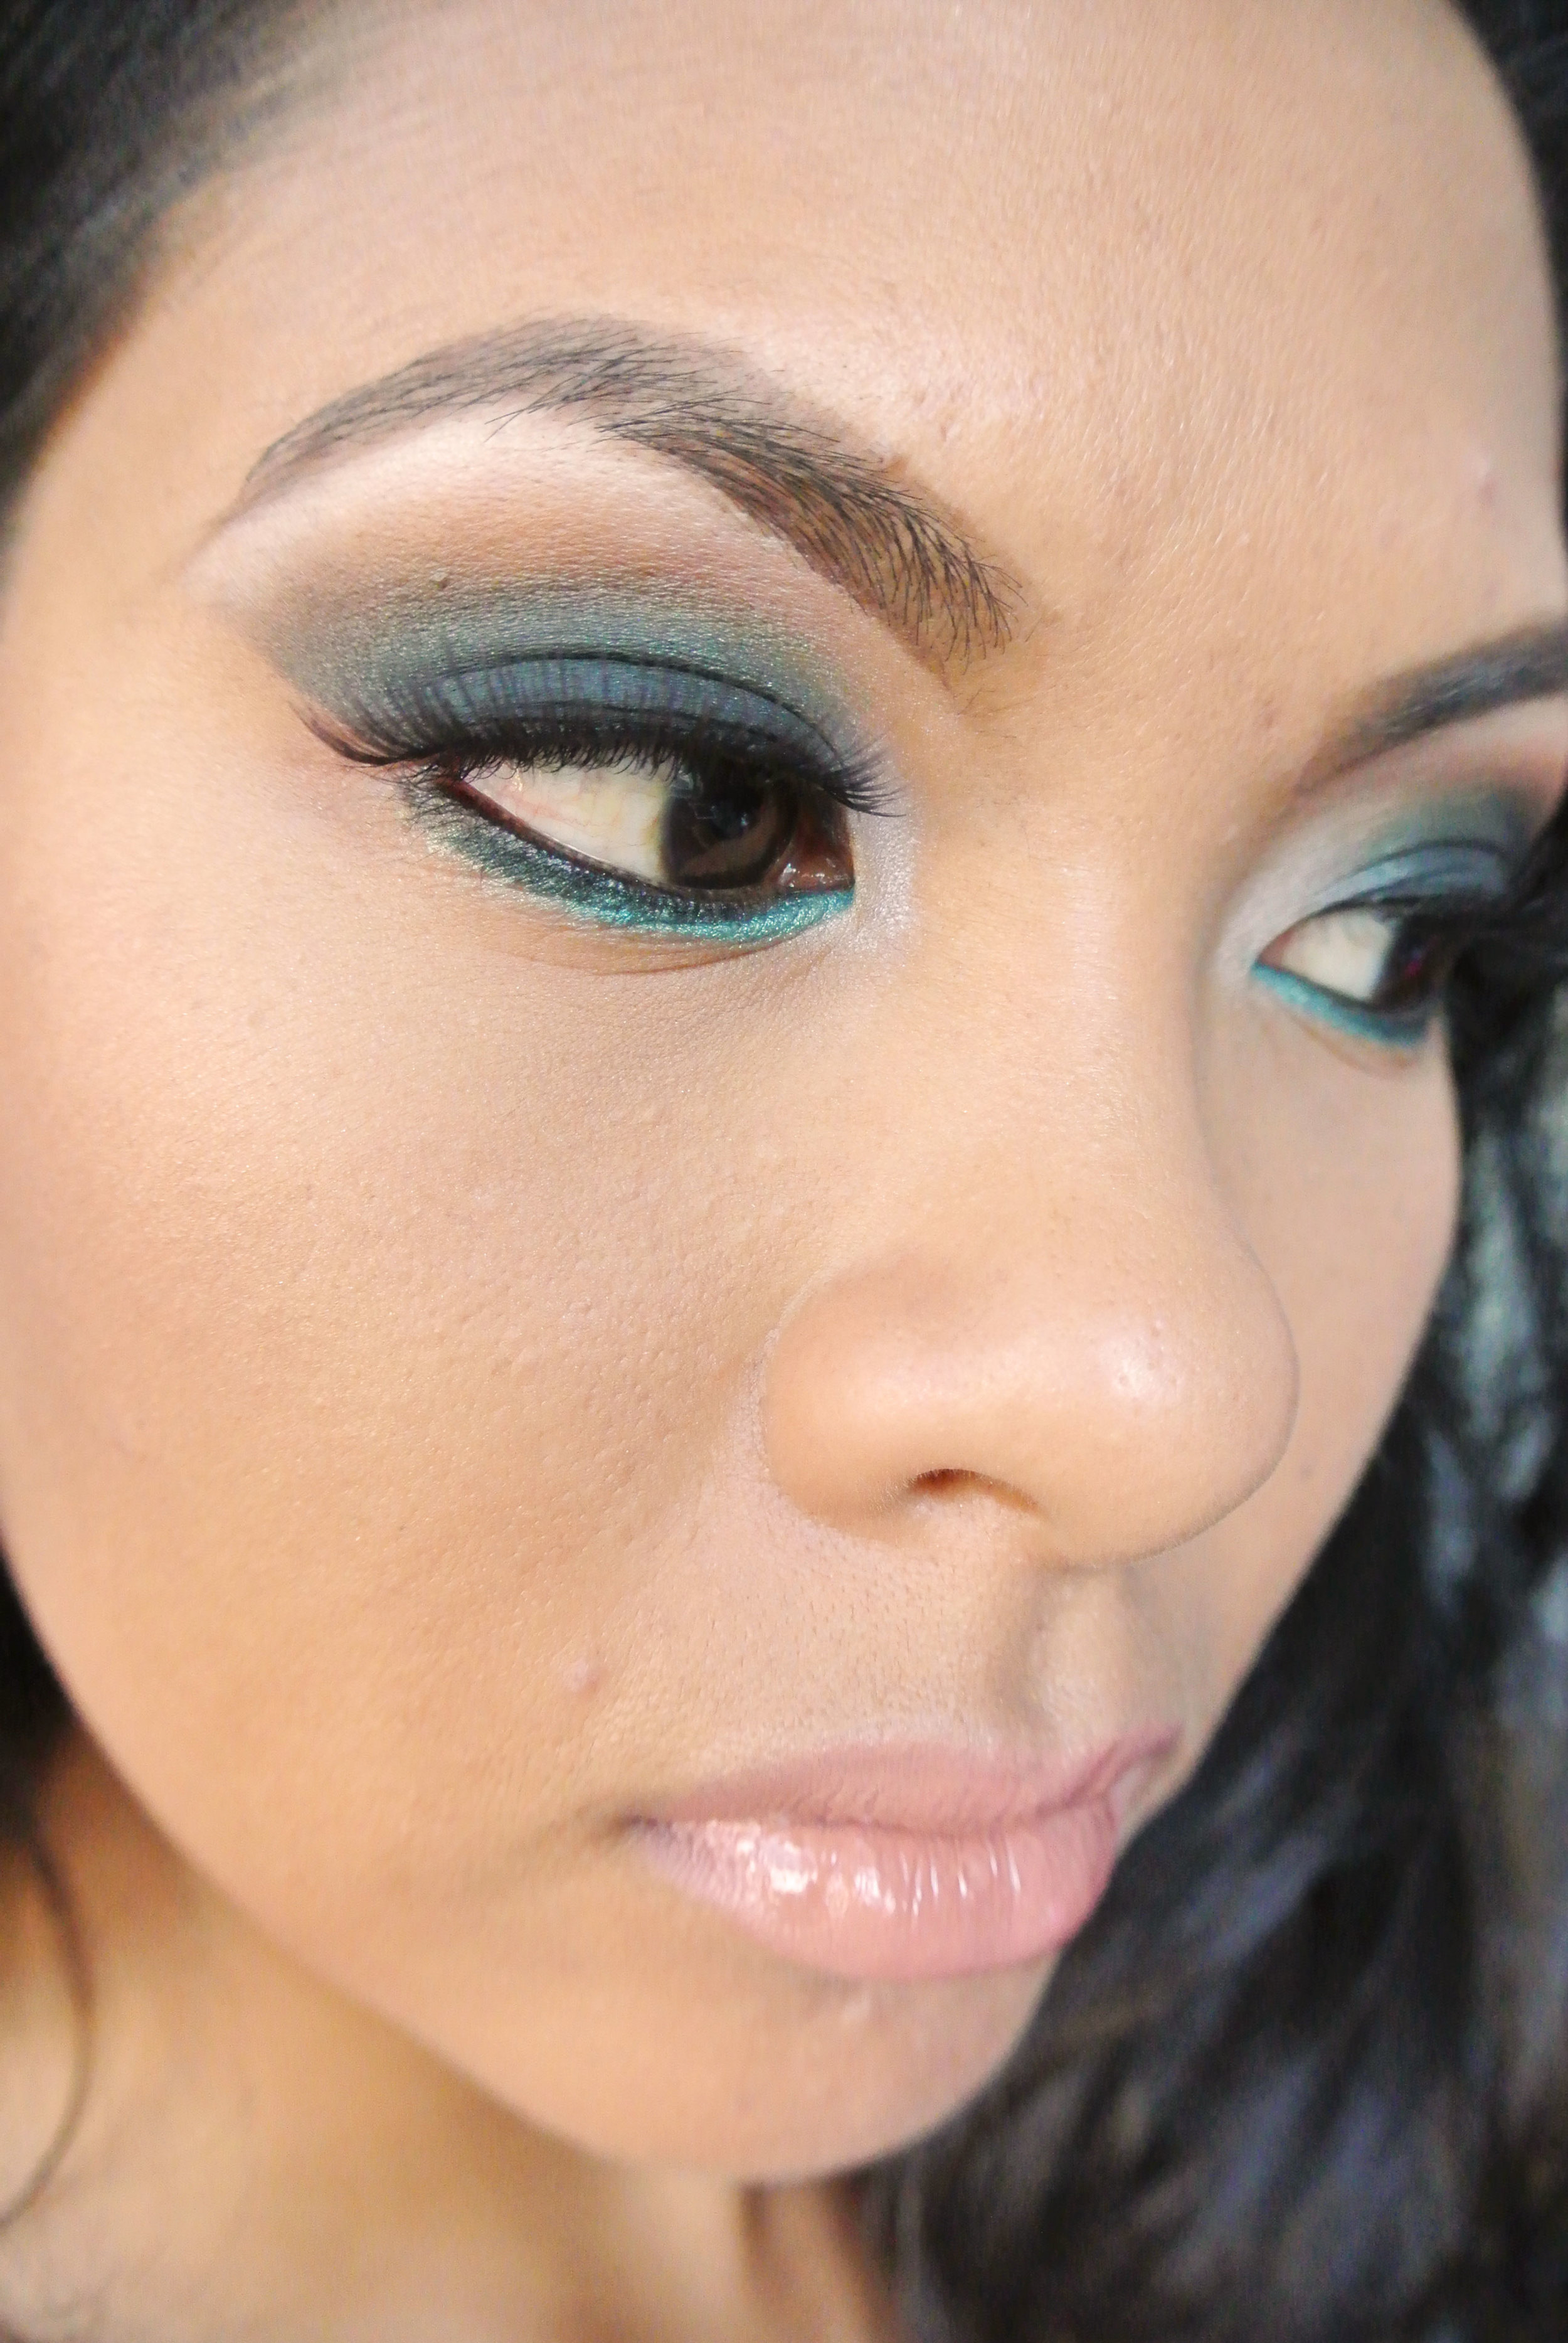
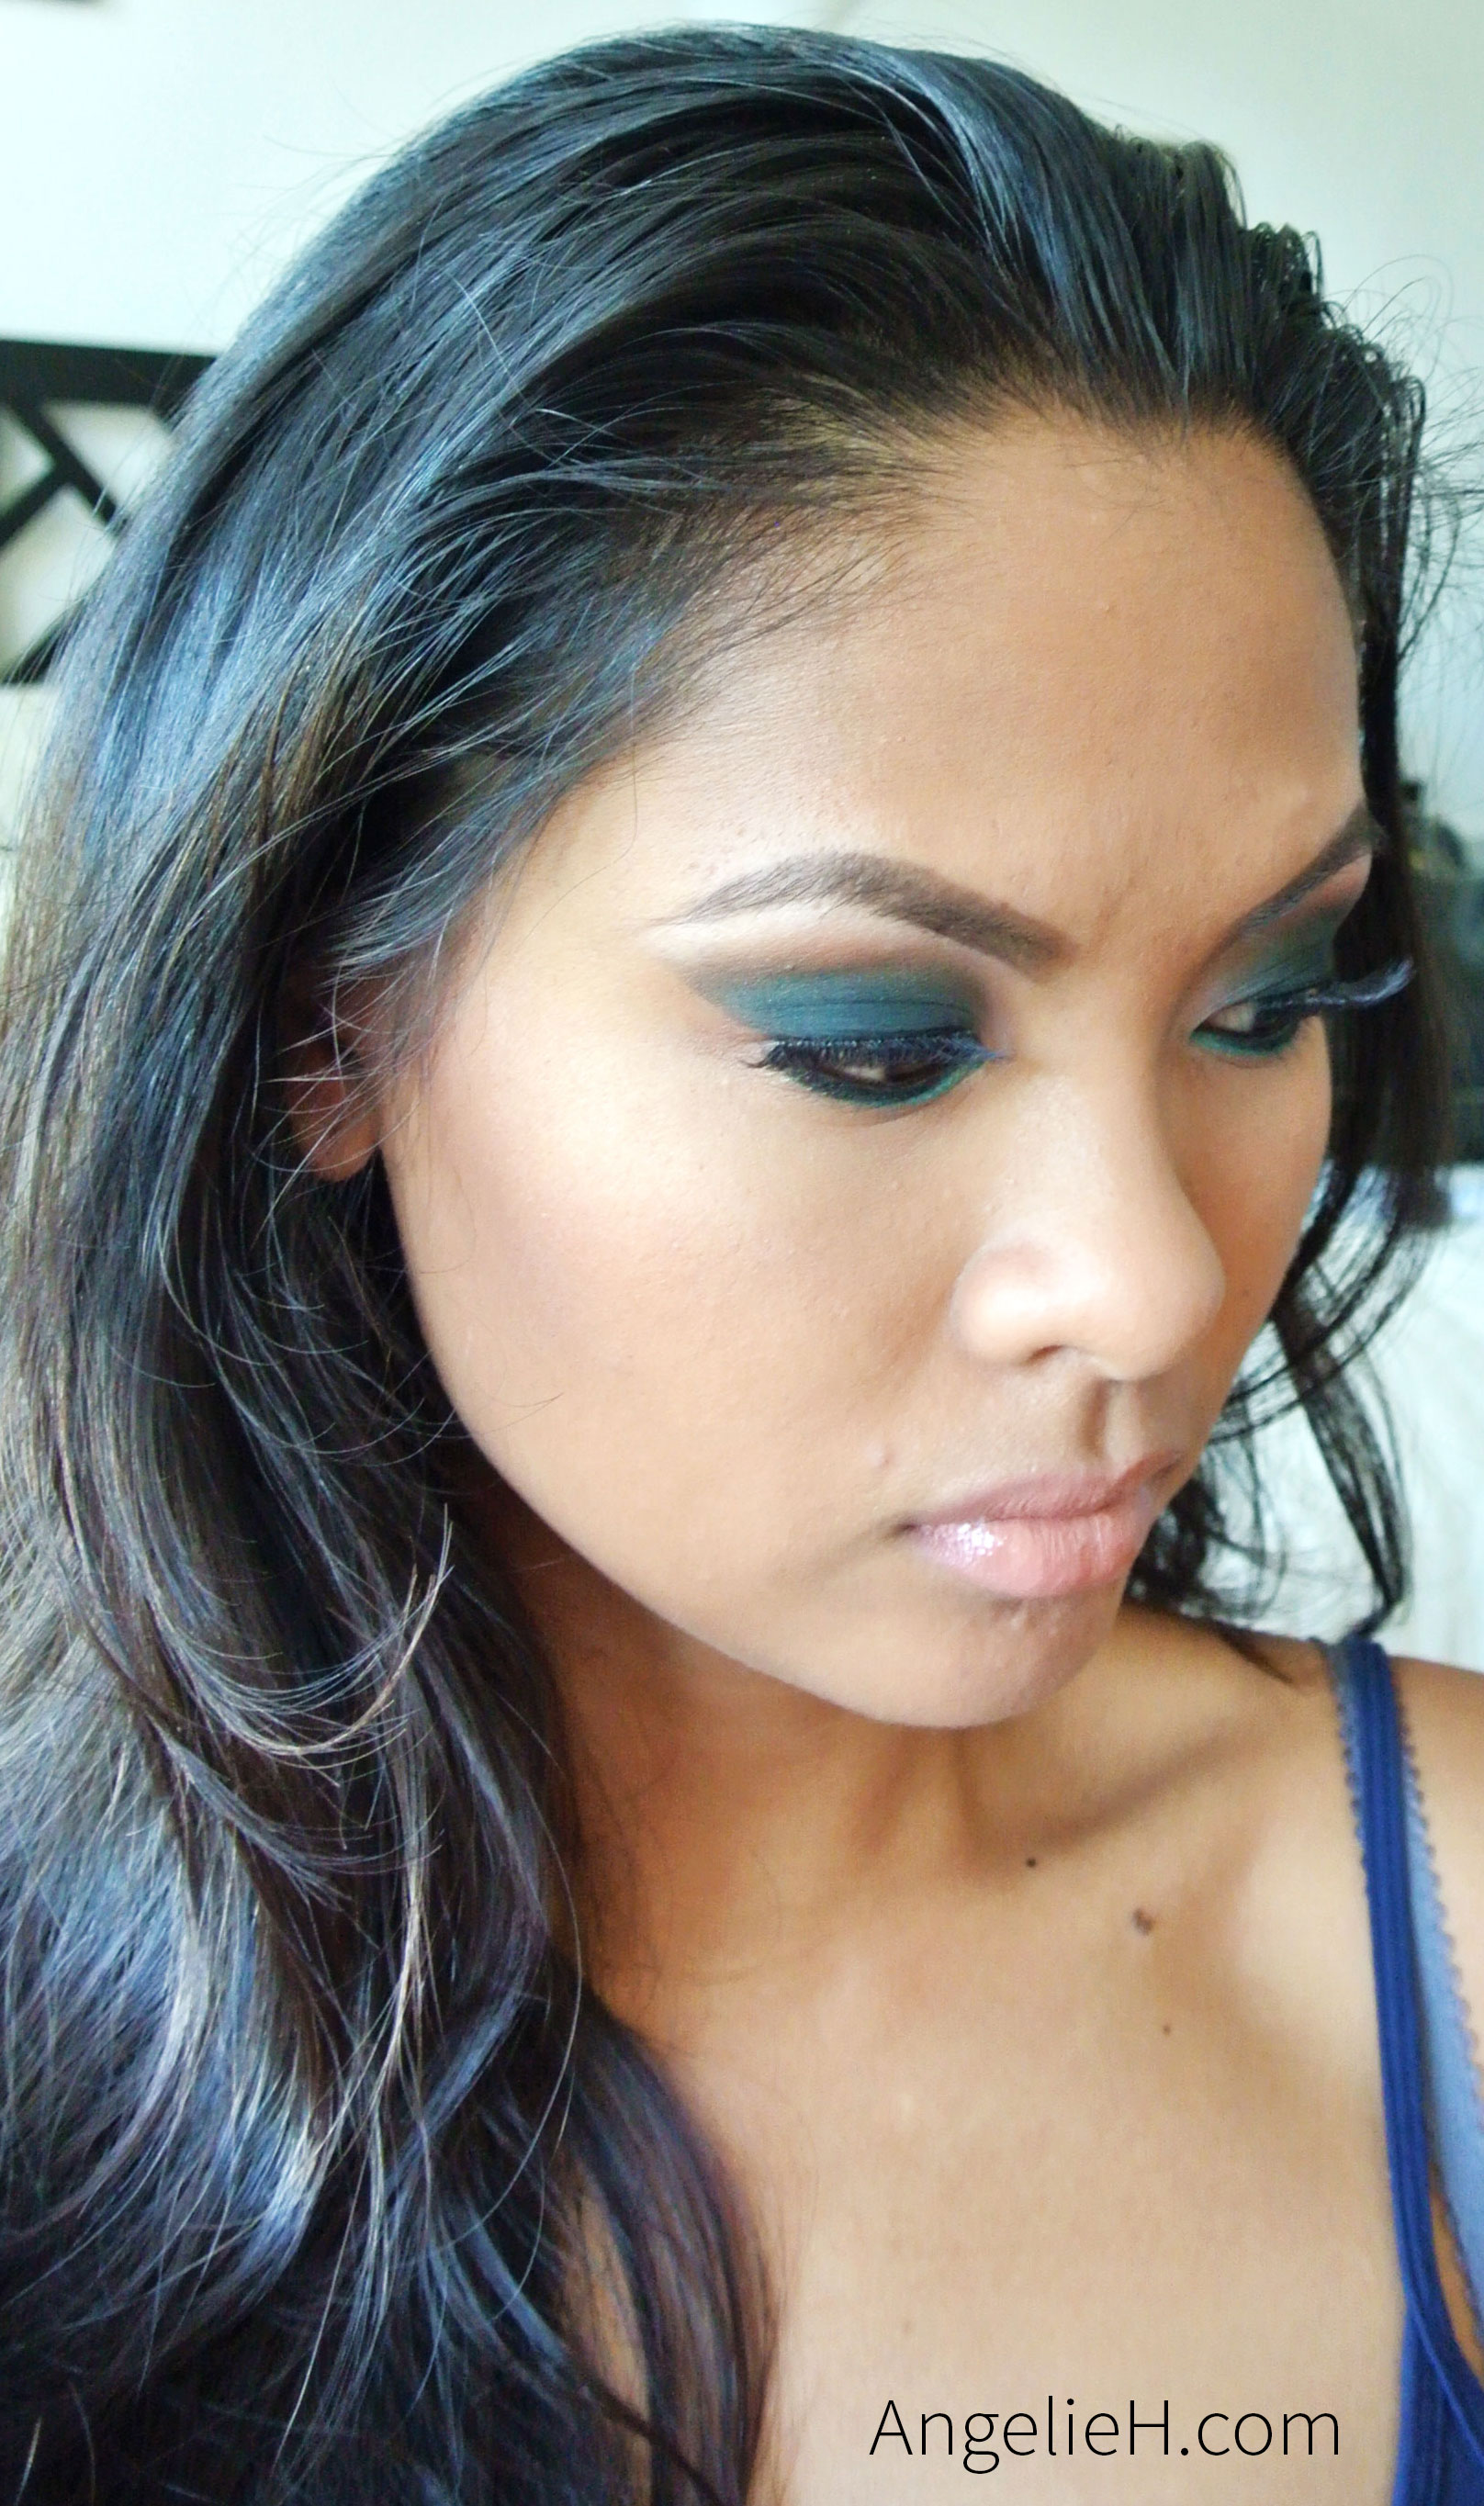
After all of the women were given new clothes, hair styles and makeup, the only thing left was the final reveal. The excitement was contagious, you could feel the nervous energy in the room when the women took their steps towards the mirror. Instantly the tears began to well throughout the room, It was truly as if these women were SEEING themselves for the first time. Not just with the new clothes, hair and makeup, you could see that these women could see their inner beauty shine outwards.

The connection that women have with one another is strong. Once you get passed all of the insecure thoughts that naturally run through your mind and you begin to embrace the person in front of you, the bond between women can be powerful. Each woman for all her faults and insecurities is still a Woman at the end of the day, each woman is still a Queen. For me, to help these women see the beauty beneath the crown, reassures me that my talents serve a purpose and that nothing feeds me more than building a sisterhood and uplifting the women around me.

This day reminded me that I am the one who creates my destiny. I am in control of writing my story and no matter what mistakes and hardships i think i've gone through in the past, it has no bearing over who I am today and who I can be in the future. Everyone you meet has a story and a struggle, but just because you are going through a painful experience doesn't mean that you have to wear your pain. 

I am not my mistakes and I am not my struggles, I am a Queen.

Soft Mauve Look Using my Naked 3 Palette

The other day I was meeting a few friends out for lunch and I wanted to use a few warm Mauve colors from my Urban Decay Naked 3 palette. I also wanted to make sure that my skin looked soft and glowy but not too shimmery, so I used my Barry M Dazzle Dust as a highlighter instead of an eyeshadow and I'm loving the way it turned out!  To keep the look warm and casual, I wore my MAC Viva Glam V for a neutral pink. For any interested I've listed all the products used below.

Eyes:
Urban Decay Naked 3 Palette - Liar & Darkside
Urban Decay Naked 2 Palette - Booty
LORAC - Sephia, Cream, Caviar
Makeup Forever Cream Eyeliner
Anastasia Beverly Hills Dipbrow Pomade - Dark Brown

Face:
Makeup Forever HD  - 173
Cover FX Cream Concealer - Medium
Sephora Microsmooth Baked Foundation Powder - Tan
Benefit Bronzer - Hoola
Benefit - Rockateer
Hourglass Ambient Light Powder
Barry M Dazzle Dust - DD105

Lips:
NYX Lipliner - Light Brown
MAC Viva Glam V 
NARS Lipgloss - Ophelia

Snakebite Smokey Eye w/ My Naked 2 Palette

Creating a smokey eye does not mean you need to cover your entire lid with black eyeshadow. Using neutral shades can create a subtle but sexy smokey eye. For today's makeup I mostly used my Naked 2 palette.

For this look, I decided to play with my eye shape and contour my lid using a dark eyeshadow on both sides of my eye. This highlights the eyelids and adds to the drama of a smokey eye. I simply took a pencil brush and swiped the eyeshadow from one side of the eyelid to the other using a windshield wiping motion. I listed the products used below. Enjoy!

Eyes:
Urban Decay: Snakebite, Busted, Blackout, Foxy
MAC: Texture
Anastasia Beverly Hills Dipbrow in Dark Brown
Inglot Liquid Eyeliner in Black (25)

Face:
Youngblood Mineralize Cream Foundation - Caribbean
MAC Concealer - NC42, NC 36

How To: Create Negative Space Nails

Negative space nails are all the rage in Nail trends, so i figured I would show you a little How To with step by step pictures here on my blog. For this look, I used Zoya's Marina nail polish, Nail Babe's Black and OPI's Top Coat. 

Supplies:
All i used were the 3 nail polishes, a strip of painters tape, cut up to my liking and a small nail brush to clean any mistakes.

Step 1:
take your painters tape and cut it into small strips and apply them to your nails according to your design preference. 

Step 2:
Take your nail polish and paint your nail over the painters tape. For the small gaps, i used a little bit of black to give my nails a color block.

Step 3:
As soon as you paint over the painters tape with nail polish, make sue to remove the tape from the nail while the polish is still wet, this will create a clean line. After you rip the tape off, take a small brush with acetone and clean up any polish mishaps. Finally, take your top coat and place it over the design.

Honey Lusting on Maison Matte Lipstick

Now that the weather is starting to cool down here in the Bay Area, I figured I could create a look using a grey toned lipstick and dramatic winged look on the eyes. For this look I used NYX's matte lipstick in Maison, Maison is a Mauve/Chocolate brown matte lipstick with a grey undertone. The lipstick itself was great, but I'm going through a phase where I like to ombre my lipsticks, so I used MAC's Viva Glam Gaga 2 on the middle of the lip. For the eyes I foiled MAC's Honey Lust eyeshadow on my lid and Espresso and Brun in the crease. 

"Foiling" your eyeshadow or your pigment means to create a metallic or "wet" look to your eyeshadow. I foil my eyeshadow by taking the eyeshadow onto a flat eyeshadow brush and spray MAC's Fix+ on the brush before applying the shadow to the lid. If you do not have MAC's Fix+, a few drops of contact solution works just the same. For anyone interested in this look, I've listed the products below. Enjoy!

Eyes:
MAC e/s: Honey Lust, Espresso, Brun, Brulee, Rice Paper
Inglot Liquid Eyeliner
Anastasia Dip Brow Pomade 

Face:
Youngblood Liquid Mineral Foundation - Caribbean
Sephora Microsmooth Baked Foundation Powder - Tan
Benefit Bronzer - Hoola
MAC Blush - Mighty Aphrodite
Concealer - MAC Studio Finish Concealer – NC 30

Lips:
NYX - Lipliner in Light Brown
NYX - Matte Lipstick in Maison
MAC - Viva Glam Gaga 2

Under the Sea

I know I said I'd do 3 Halloween looks, but I thought I could do a 'pretty' Halloween look, I know that there are some people who are not comfortable with painting their entire face or applying prosthetics for Halloween. So for those of you who are thinking about an under water costume or a dramatic makeup look using blue (without sacrificing your beat) check out my photos ;) For anyone interested I listed the products used below. 

Eyes:
Anastasia Beverly Hills Contour Palette
MAC - Nehru, Plumage, Newly Minted, Rice Paper

Face:
Youngblood Liquid Mineral Foundation - Caribbean
MAC - NC 35 Concealer
MAC - Blunt Bronzer
MAC - Briar Rose Beauty Powder
Hourglass - Luminous Light Beauty Powder

Lips:
MAC - Etcetera Lip Liner
Dose Of Colors - Poise Lipstick 

Slashed Neck for Halloween

Welcome to part 3 of my Special Effects Halloween series. I must have been in a sick and twisted mood when I made this, but whatever it was, I had this idea that I'd slit my throat and then try to put it back together again using safety pins. Weird? I know :)

For this look I used Graftobian Modeling Wax in "Flesh". This was the first real time I used this wax and I had THEE hardest time getting the wax to stop sticking onto my fingers. So I took some advice from YouTubers and coated my fingers in Canola Oil before I molded the wax onto my neck. after that step, playing with the wax was became less stressful and more fun :)

I've recorded how I applied the wax and created this look, for a more in depth "How To", check out my video below. Thanks for watching!

Diseased Zombies for Halloween

EEEEEEE!!!! For my 2nd look in this Halloween makeup series, I decided to create a diseased zombie scar using liquid Latex and my Makeup Forever Flash Palette. I tried to record this session and unfortunately the video cut off towards the beginning and I had no idea. So I'm sorry for not posting a video, but I will be posting one for my next Halloween look.

Using Mehron's liquid Latex, I created the scarring using liquid latex and tissue paper. It's actually quite simple, just apply liquid latex to your skin in the desired area and apply a thin layer of tissue paper (just separate a 2-ply tissue) on top and repeat those steps 2 or 3 times depending on how you want your scar to turn out. After all the latex has dried, just apply your foundation on top of the scarring. This will help the scar to blend in with your skin tone. 

Using my Makeup Forever Flash Palette, I mixed Brown, Red and Blue into a pan and blotted the mixture into the scar with a sponge to bruise and dirty the scar. To create the small popped boils on the scar, I took a toothpick and carved out small circles on the scar. To deepen the boils I placed black from my flash palette into the circles and then covered the edges of the boil with Red from the same palette.

To create veins, I took a very small liner brush and dipped it into Blue and Red from my Flash palette to make purple. I placed the color from the scar and spread the line outwards in Vein-y motions.

For my makeup, I wanted something dark so I created a smokey eye with MAC's Nehru and gave myself a dark Lip using MAC Cyber lipstick. 

I hope you all enjoyed! I have one more look coming up with this week, so stay tuned :)

Scarred Lips for Halloween

So Halloween is coming up and I am Ex-Cite-eD! I've created 3 special effects looks for those who are interested in looking like death for Halloween :) My first look, is this slashed mouth look inspired by the movie Gone Girl. I watched the movie Gone Girl recently and I thought, "How would I create my own death if I was Amy? What would be a cool way to go out?" No, i'm not psycho lol, but i thought about Halloween makeup and what that would look like. Now I’m not saying I’d go and fake my death, but playing with special effects to make it look like I'm dead is a fun second :) 

For this look I used a small bottle of Mehron’s Rigid Collodion scarring liquid to create the scarring effect on my face. Rigid Collodion is a clear solution that you apply to your face (or wherever you want to create scarring), and when it dries, it wrinkles the skin. To create deep scarring like I did for this look, apply the liquid onto the area of your choosing and repeat until you’ve reached your desired look. The only problem I had with the application of the liquid was the little brush that came with the bottle. The liquid dried so quickly on the bristles that the brush became stiff after a while. It was difficult to deposit the liquid onto my skin without peeling the product off of the brush beforehand. It was a lot of work, but totally worth it. 

For my face makeup, I mixed Mulberry and Espresso from the Lorac Mego Pro palette and placed the eyeshadow all over my eyes and the orbital bone area. For a full list of products I used, I listed them below. 

Scarring:
Mehron Rigid Collodion Liquid
NYX Cherry Lip Liner
MAC Nightmoth Lip Liner
Lorac e/s in Khaki
OCC Lip Tar in NSFW

Eyes/Face
Lorac e/s: Mulberry & Espresso
NYX eyeliner in Dark Brown

Ombre Pink Lips

I was channeling my inner Asia-Barbie and I thought I'd post a fun ombre pink lip. I kept the eyes neutral using my LORAC Mega Pro Palette. At first I started with just pink lipstick and then I looked over at my lipsticks and I saw a few of my NYX lip butters and thought I'd add some Orange to my lips. I love the look and I'm happy with the turnout! In order to achieve the ombre look, I used a lipstick brush to blend the two colors together into a fade. For anyone interested, i've listed the products used below.

Eyes:
Lorac Mega Pro Palette: Camel, Sepia, Espresso, Vanilla
Makeup Forever - Aqua Cream Liner - Black

Face:
Youngblood Mineralize Cream Foundation - Caribbean
Sephora Microsmooth Baked Foundation Powder - Tan
Kat Von D Tattoo Concealer - Almond
NARS - Orgasm Blush
NARS - Laguna Bronzer

Lips:
NYX - Bloom Lip Pencil
MAC - Viva Glam Gaga
NYX - Hot Tamale

Bold Lips for Fall

Want a bold look for Fall? Try doing a silver smokey eye with a dark red lip. When working with a smokey eye and a dark lip, sometimes the juxtaposition of the dark eye and the dark lips can wash out your skin tone. When you have a sultry look like this, it's important to apply bronzer and/or blush to keep your color from washing out. Plus for me, I have dark hair, so it's even more important to keep my color from fading. For this look I used my OCC Lip Tar in Black Metal Dhalia which is a metallic burgundy color with red shimmer or "pearl". For anyone interested, i've listed all the products used below.

Eyes:
Urban Decay - Vorpal & Foxy
MAC - Espresso & Texture
Makeup Forever Aqua Cream Liner - Black
Anastasia Dip Brow - Dark Brown
NYX Wonder Pencil - Dark


Face:
Makeup Forever HD Foundation - 153
Benefit - Hoola Bronzer
MAC - Stereo Rose

Lips:
NYX - Light Brown Lip Liner
OCC Lip Tar - Black Metal Dhalia

LORAC Mega Pro Palette Review

TeaLogo_AngelieH.jpg

Every once in a while I come across a beauty product that I become obsessed with. If it's good enough for me to use everyday, it's good enough for me to share. This week I HAWKED amazon.com to purchase the LORAC Mega Pro Palette. Of course I chose overnight shipping so that I could play with the colors as soon as possible :)

The LORAC Pro Palette comes with 32 eyeshadows, 16 matte and 16 shimmers. The colors range from white, plum, teal to black. The palette is primarily warm toned, with a few cool toned colors, but the shadows apply well to the eyelid with a primer. The formula of the eyeshadows are soft, silky and are pigmented with good color payoff. What I noticed about the eyeshadows was that they blended well together without coming off too sheer. 

When looking up the palette, I loved the idea that LORAC decided to sell the palette on Amazon.com because fans of the pro palettes could purchase the products globally. The only issue I had with the Amazon.com release was that there was very little clarity on the launch time, so the morning that the palette went on sale the Twitterverse pretty much blew up with frustrations and concerns about the release.     

I've always looked for palettes with a variety of matte colors, and this palette has all of that and more.  And that's my cup of tea :)

Matte Black Nails with Glossy Strip Accents

Anyone that knows me, knows that I am obsessed with Nails and Nail Designs! I love accents and I LOVE fun nails. But my go to nail polish is ZOYA's Matte Black Velvet nail polish in Dovima. I've had this bottle for a LONG time and I'm beginning to run out, but anytime i'm in a nail design rut, I run to Dovina. For anyone who is interested I've listed step by step instructions on how to achieve this nail look. It's super easy and fun to do, if I can do it, anyone can :)

What You'll Need:
Black Glossy Nail Polish 
Matte Black Nail Polish
Striping Tape

Step 1:
Paint your nails with the Glossy black nail polish (or if you'd like a different accent color, choose whichever color you prefer). Make sure that the base color has dried completely before starting on the next phase.

Take your striping tape and apply it in straight lines onto your nail. You can add one line or two depending on your style preference. 

Step 2:
Apply a layer of Zoya's matte black velvet nail polish in Dovima over your entire nail. Immediately after you apply the Matte nail polish, make sure to pull the striping tape off.

Pulling the striping tape off immediately after you apply the matte polish while it's still wet is key to achieving a clean and crisp line. 

And Voila! You've got yourself some really great looking nails using Zoya's Dovima :)